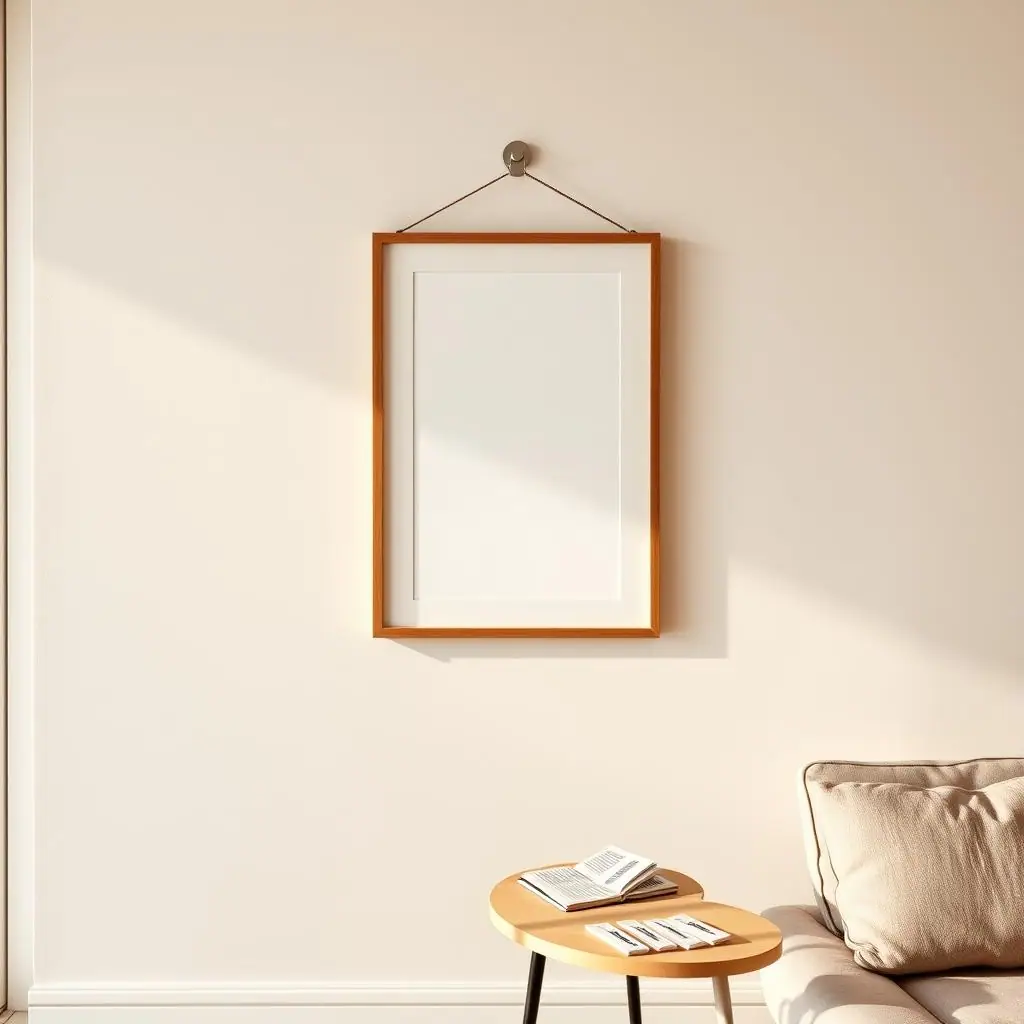
A gallery wall can make a rental feel intentional without paint, shelves, or permanent hardware. The risk is that a full wall of frames also multiplies every small mistake: too much weight, dusty paint, hidden removal tabs, uneven frame backs, or adhesive placed on a surface it was never meant to hold.
The calm way to make a gallery wall without damaging your apartment walls is to plan the wall like a temporary installation. You choose lighter pieces, test the surface, map the layout first, and leave yourself a clean removal path before anything sticks.
This guide walks through a no-drill gallery wall method for renters who want a finished look but still need to protect their lease, paint, and move-out deposit.
Why This Matters
One small frame is easy to troubleshoot. A gallery wall is different because the finished look depends on many frames working together. If one strip fails, the wall can look uneven. If several products are overloaded, the risk is not just wall damage; glass frames can fall and break.
Manufacturer instructions matter here. Command's official picture hanging strip instructions include surface limits, cleaning guidance, pressure steps, waiting time, and removal direction for its own products. That does not make every adhesive strip identical, but it is a useful reminder to check the exact product you bought before building a full arrangement.
Before you install anything, review the current instructions for the hanging product you plan to use, such as the official Command picture hanging strip guide. Then compare those instructions with your lease, wall condition, and frame weight instead of relying on the front of the package alone.
Start With No-Drill Wall Decor That Fits the Wall
No-drill wall decor works best when the surface is smooth, clean, dry, and stable. It works poorly when paint is peeling, wallpaper is involved, texture reduces contact, or the object is heavier than the adhesive product allows. A gallery wall should begin with surface judgment, not with frame shopping.
Pick the lowest-risk wall first
Choose a wall that does not sit above a bed, sofa, crib, desk monitor, or fragile item. Avoid steamy bathrooms, hot sunny spots, and recently painted areas unless the product instructions specifically say the timing and surface are appropriate. If the paint already looks soft, chalky, bubbled, or poorly bonded, removable products may still remove paint later.
Use lighter pieces than you think you need
A renter-friendly gallery wall looks better when it is made from lightweight frames, thin mats, small canvases, fabric art, postcards, or paper prints in simple frames. Heavy glass, deep shadow boxes, ceramic decor, and valuable originals are poor first choices for adhesive hanging. If you would be upset if the item fell, choose a tabletop, leaning shelf, or landlord-approved hardware instead.
If you are still deciding between hooks and strips, compare the object first. This earlier NoDrillHome guide on adhesive hooks vs picture hanging strips explains why flat-backed frames and hanging-point decor need different support.
What to Check First for a Damage-Aware Gallery Wall
Before you design the layout, gather the facts that decide whether the project makes sense. These checks prevent most gallery wall problems before they turn into tilted frames or paint repair.
- Lease limits: check whether your lease or property rules restrict adhesive products, wall decor, or changes to painted surfaces.
- Surface condition: look for dust, texture, wallpaper, fresh paint, peeling paint, or previous patch marks.
- Frame weight: weigh each frame if you are not sure, then stay comfortably below the product's rated limit.
- Frame backs: picture hanging strips need flat contact areas; hooks need a real loop, ring, wire, or hanger.
- Removal access: plan where tabs will sit so you can remove them slowly in the required direction later.
For general renter questions, USA.gov's housing help page is a useful starting point for finding housing and tenant resources, but it does not replace your specific lease or local rules. Use it as a reminder to verify your own situation through a property manager, tenant resource, or written lease terms when needed.
You can find that broader housing resource at USA.gov housing help.
How to Make a Gallery Wall Without Damaging Your Apartment Walls Step by Step
The safest gallery wall process is slow, measured, and reversible. Do not start by sticking frames to the wall. Start by building the layout on the floor and proving the surface can handle one small test.
Step 1: Choose a simple frame set
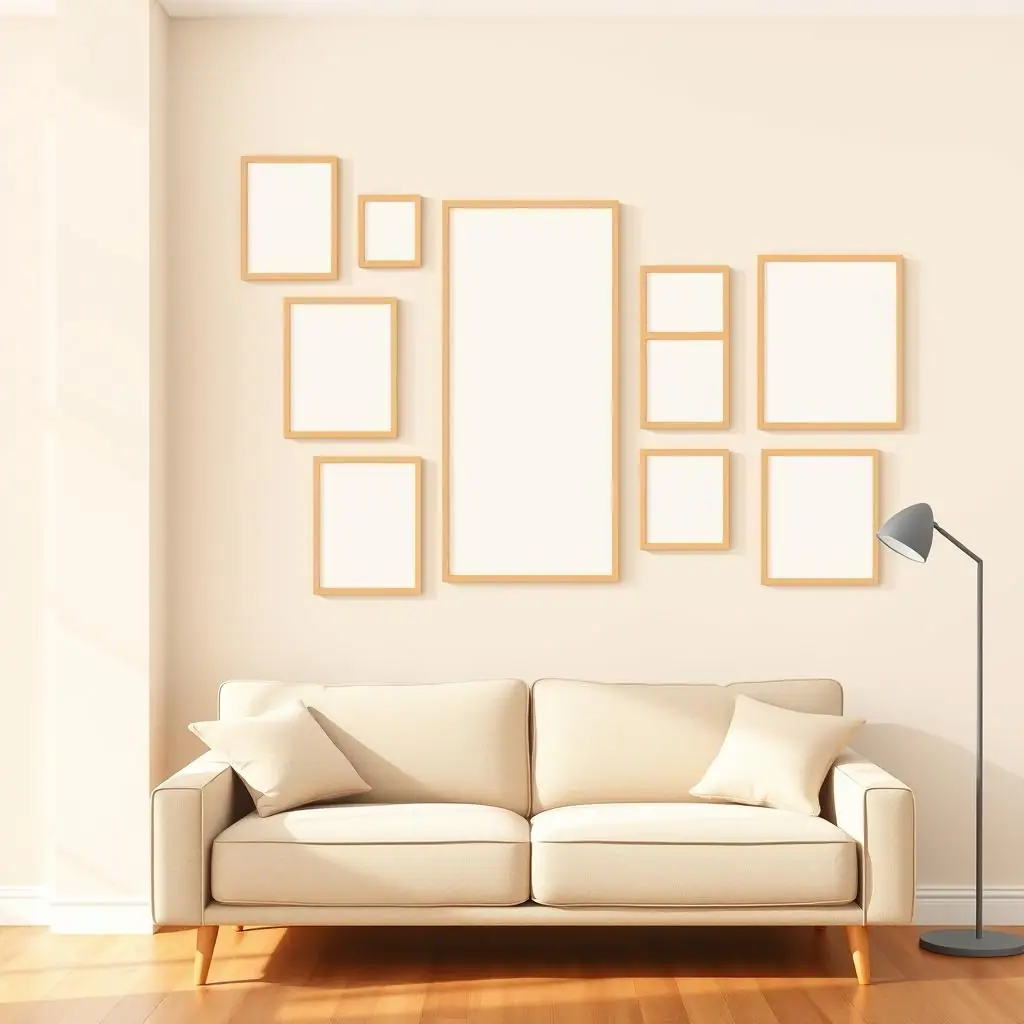
Use a small number of lightweight pieces for the first version. Five to seven frames are easier to install, level, and remove than a dense wall of mixed sizes. Keep glass-heavy frames out of the first attempt unless you have checked the product instructions carefully and the wall is low risk.
Step 2: Make a paper layout
Trace each frame on scrap paper, cut out the shapes, and mark the frame name or photo position on each piece. Arrange the paper shapes on the floor first. Once the spacing looks right, tape the paper templates to the wall with low-tack painter's tape. This lets you adjust the layout without committing adhesive to the paint.
Step 3: Mark level lines lightly
Use a small level to keep the main row straight. You do not need every frame to match perfectly, but you do need a consistent visual anchor. Mark tiny reference points on the paper template, not directly across the wall. If you must mark the wall, use the lightest possible pencil mark in a hidden spot and test that it erases cleanly.
Step 4: Clean and test one spot
Follow the exact cleaning instructions for your product. Many adhesive products require a specific cleaning method, pressure, and waiting time. Do not substitute household cleaner if the instructions say not to. Start with one small, low-value frame in a less visible area and check it after a day before expanding the wall.
Step 5: Install from the center out
Begin with the central frame or the strongest visual anchor. Press according to the product instructions, then wait the required time before loading the strip or hanger. Continue outward only after the first piece is level and secure. This keeps spacing easier and prevents you from correcting a whole wall after one early mistake.
Step 6: Photograph the finished wall and the removal tabs
Take photos of the finished layout and close-up photos showing where removal tabs are located. Move-out is easier when you remember which product went where and how the tabs were positioned. Store the product packaging or instructions with your moving notes.
Common No-Drill Wall Decor Mistakes to Avoid
Most gallery wall damage comes from treating removable products like permanent hardware. Adhesive strips and hooks are useful, but they are not magic anchors. They still depend on clean contact, product limits, and patient removal.
- Skipping the wait time: loading frames too soon can weaken the bond before it has built properly.
- Covering removal tabs: a beautiful layout is not renter-friendly if you cannot remove it correctly later.
- Using heavy frames for a dense wall: the total risk rises when many pieces depend on adhesive at once.
- Mixing products casually: different brands and product lines can have different cleaning, pressure, wait, and removal instructions.
- Ignoring wall texture: texture can reduce adhesive contact even when the wall looks clean from across the room.
Pros and Cons
Strong visual impact without drilling
A planned gallery wall can make a rental feel finished without permanent holes.
Easy to revise slowly
Paper templates let you adjust spacing, frame order, and height before adhesive touches the wall.
Works well with lightweight art
Prints, postcards, small canvases, and simple frames are usually better candidates than heavy pieces.
Surface condition still controls the result
Weak paint, wallpaper, dust, texture, or humidity can make no-drill products unreliable.
Removal takes patience
Pulling too fast, in the wrong direction, or without access to tabs can increase the chance of paint damage.
A Simple Checklist
Use this checklist before installing the first frame. If you cannot answer yes, pause before continuing.
- Is the lease okay with removable wall products? If not sure, ask before installing.
- Is the wall smooth, clean, dry, and stable? Avoid questionable paint, wallpaper, or heavy texture.
- Is every frame comfortably under the product limit? Do not use the maximum rating as a design goal.
- Do the frame backs match the product? Flat-backed frames suit strips; hanging hardware may need a proper hanger.
- Can each tab be reached later? Plan removal before installation.
- Did one small test work first? Expand only after the test piece holds and removes cleanly if tested.
When to Get Extra Help
Ask your landlord or property manager before installing on delicate plaster, fresh paint, wallpaper, specialty finishes, or any wall where repair costs would be high. Written permission is more useful than a casual hallway conversation, especially if your lease has strict language about wall changes.
Get extra help if the gallery wall involves heavy frames, glass over a bed or seating area, expensive art, or a wall with visible old repairs. A freestanding picture ledge, leaning frame arrangement, or tabletop display may be the more lease-friendly choice.
For broader beginner planning, this guide on how to hang pictures without nails covers simpler single-frame decisions before you scale up to a full arrangement.
Frequently Asked Questions
What should I check first before making a gallery wall?
Check the lease, wall surface, frame weight, product instructions, and removal access. The layout comes after those basics.
How often should I review the wall after installing it?
Check it after the first day, after the first week, and during normal cleaning. Look for tilted frames, lifting edges, or any paint changes.
What should I do if I am not sure about the surface?
Do not guess. Test one small area, read the product instructions, and ask your property manager if the surface looks fragile or restricted.
Can I undo a no-drill gallery wall later?
Often, yes, when the product is used on an approved surface and removed patiently. Exact results depend on paint condition, surface type, and following the removal steps.
Final Thoughts
You can make a gallery wall without damaging your apartment walls, but the best results come from restraint. Choose lightweight art, test the surface, follow the product instructions, and design the layout so every piece can be removed later.
A smaller gallery wall that comes down cleanly is better than a dramatic arrangement that creates move-out stress. Start with one wall, one test frame, and one careful plan.