Learning how to decorate textured walls without drilling starts with one honest check: texture changes what removable products can safely do. A smooth painted wall gives adhesive strips more contact. A bumpy, sandy, orange-peel, knockdown, brick, or rough plaster surface gives them less grip and more places to fail.
That does not mean a textured wall has to stay bare. It means the safest renter-friendly plan is usually lighter, more flexible, and less dependent on strong wall adhesive. Before you hang anything, think in terms of surface, weight, removal, and lease rules.
Why Textured Walls Need a Different No-Drill Plan
Textured walls make decorating harder because the product may touch only the high points of the surface. Even a strong adhesive strip can struggle if it cannot sit flat. On some surfaces, removal can also lift paint or leave marks, especially if the wall was poorly painted, dusty, damp, or already flaking.
Product instructions matter here. Command's own guidance for some adhesive products says not to use them on wallpaper, fabric, textured walls, brick, or rough surfaces, and it also reminds users to follow package weight limits and surface prep directions. You can review the manufacturer's current instructions on the Command bathroom solutions instructions page before choosing a product.
Start With the Surface, Not the Decor
The best no-drill wall decor starts with the wall you actually have, not the photo you want to copy. Run your fingertips lightly over the area. If the bumps are shallow and the paint feels firm, small lightweight decor may be possible with careful testing. If the wall feels gritty, raised, crumbly, damp, or deeply textured, adhesive wall mounting should move down your list.
Common textured surfaces to treat carefully
- Orange-peel drywall: Often shallow, but still not as reliable as smooth paint.
- Knockdown texture: Uneven flattened patches can reduce adhesive contact.
- Popcorn or sandy texture: Too fragile for most wall-mounted adhesive decor.
- Brick, stone, and rough plaster: Usually better handled with freestanding or tension-based decor.
Quick test before planning a wall display
Choose an inconspicuous low area, clean it gently according to the product instructions, and test only a tiny removable item first. Leave it for a few days, then remove it slowly. If paint lifts, grit comes away, or the item loosens, do not scale up.
Safer Ways to Decorate Textured Walls Without Drilling
When the surface is questionable, shift the support away from the wall. You can still get a finished look by using pieces that lean, clamp, rest on furniture, hang from tension hardware, or stand on the floor.
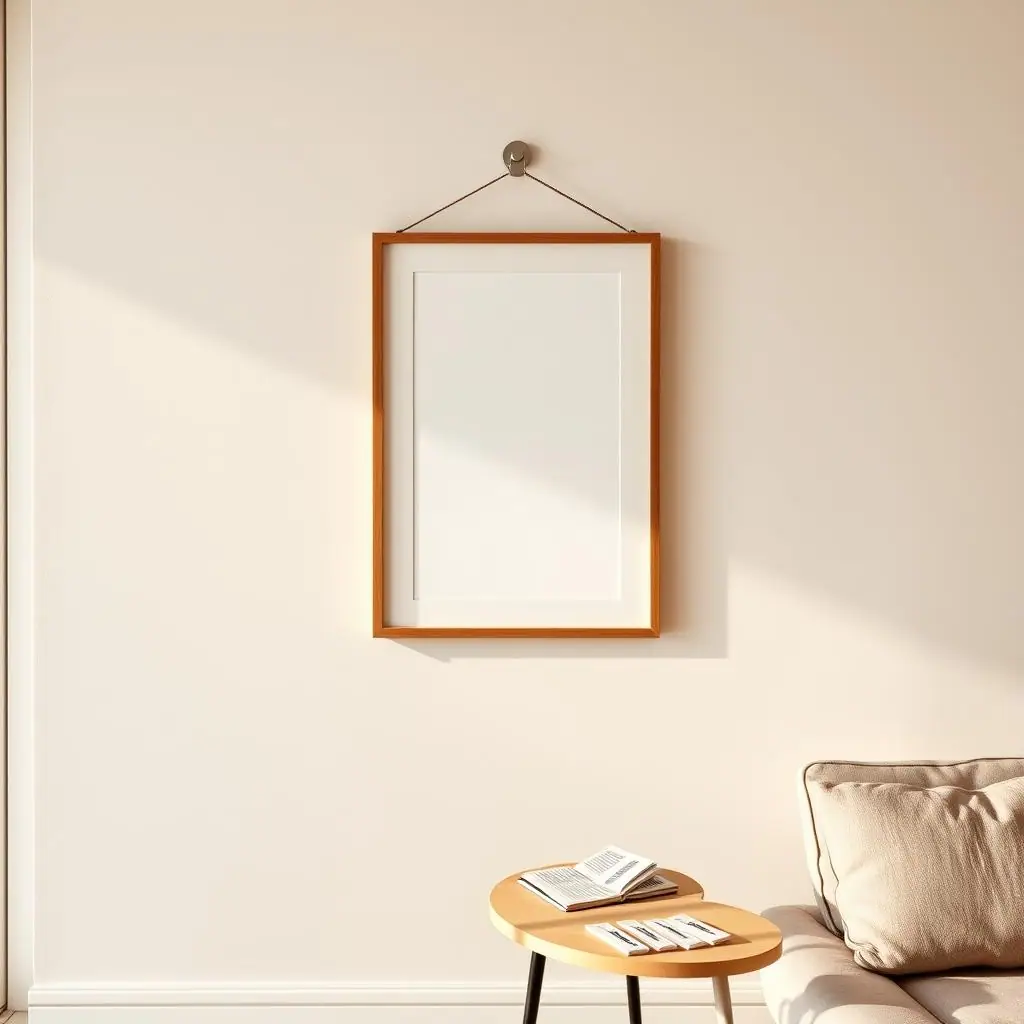
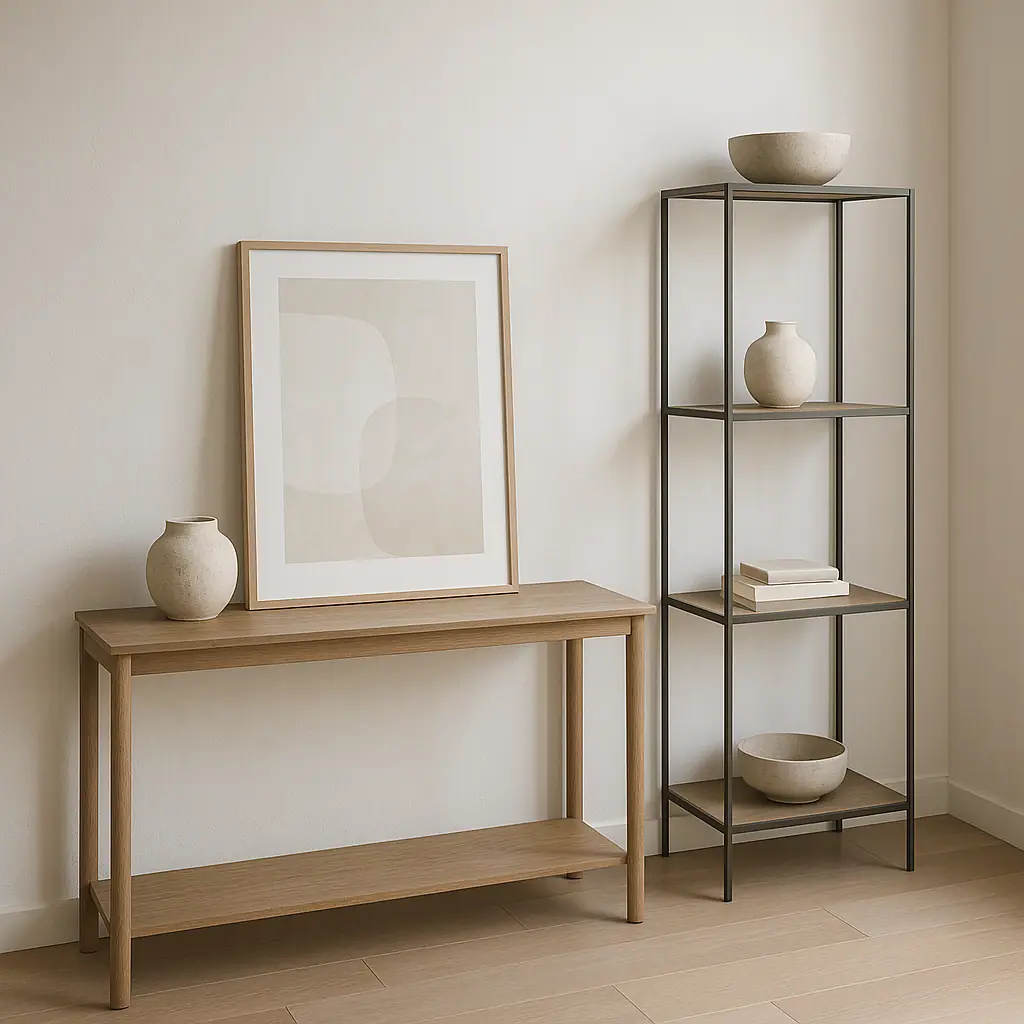
- Use leaning frames: Place art on a console, dresser, bookshelf, mantel, or picture ledge instead of mounting it directly to the textured wall.
- Try freestanding shelves: A narrow bookcase or ladder-style shelf can create a decorated vertical moment without wall holes.
- Decorate furniture backs: Style a desk, headboard, cabinet top, or open shelf so the wall becomes a backdrop, not the support.
- Use tension rods where appropriate: In a window recess, closet opening, or alcove, a tension rod can support lightweight fabric or hanging decor without adhesive.
- Keep adhesive for very light items only: If testing works, reserve adhesive for small, non-valuable, lightweight pieces and keep the load below the product rating.
What to Avoid on Rough or Bumpy Walls
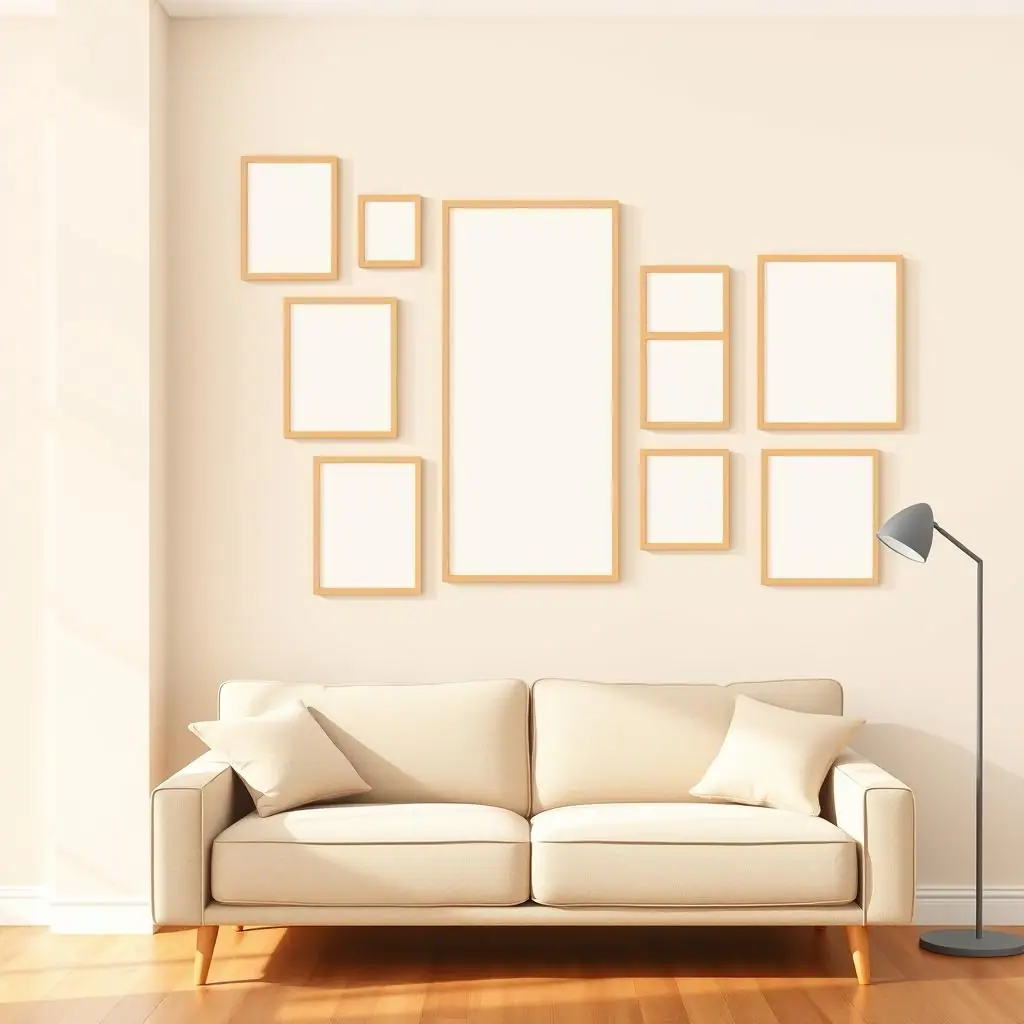
The biggest mistake is treating textured walls like smooth painted drywall. Heavy frames, glass-front art, mirrors, shelves, curtain hardware, and items above beds or seating need more caution. Even if a strip holds for a day, vibration, humidity, temperature, dust, and uneven pressure can weaken the bond over time.
A second mistake is adding more adhesive to solve a surface problem. More strips do not always fix poor contact. They can also create more removal points and more chances to damage paint later.
Pros and Cons of No-Drill Options on Textured Walls
Lower move-out risk when chosen carefully
Freestanding, leaning, and tension-based decor can reduce the need for wall repairs.
Easy to change later
You can restyle shelves, frames, and fabric without patching holes.
Better for fragile surfaces
Moving support to furniture or the floor avoids relying on a weak adhesive bond.
Adhesive is less predictable
Bumpy or rough surfaces reduce contact and can make weight ratings less dependable.
Some looks need compromise
A large gallery wall or heavy mirror may need landlord-approved hardware instead.
A Simple Checklist Before You Hang Anything
- Check the lease: Look for rules about walls, adhesive products, paint, and move-out repairs.
- Read the package: Confirm approved surfaces, weight limits, wait times, and removal steps.
- Feel the wall: Avoid adhesive on gritty, damp, crumbling, deeply raised, or porous surfaces.
- Test small: Try one lightweight item in a discreet area before decorating a visible wall.
- Choose a backup: Keep freestanding shelves, leaning frames, or furniture styling ready if the test fails.
Frequently Asked Questions
Can adhesive strips work on lightly textured walls?
Sometimes they may hold small, light items, but it depends on the product, paint, wall condition, and amount of texture. Test first and follow the product instructions.
What is the safest decor choice for very rough walls?
Use freestanding, leaning, or furniture-supported decor. Those options do not depend on adhesive bonding to an uneven surface.
Should I hang mirrors on textured walls without drilling?
In most rentals, no. Mirrors are usually too heavy and too risky for uncertain adhesive contact unless the manufacturer specifically supports your surface and weight.
Can I undo no-drill decor later?
Many no-drill choices are removable, but removal is not always damage-free on textured or weak paint. Remove slowly, follow instructions, and document the wall before move-out.
Final Thoughts
The safest way to decorate textured walls without drilling is to respect the surface first. If the wall is rough, fragile, or uncertain, use decor that leans, stands, clamps, or rests on furniture. If you test adhesive, keep it small, light, and easy to replace.
A good no-drill room should feel finished without making move-out harder. Start with one small area, check the rules, and let the wall tell you how much it can reasonably handle.