Learning how to make a rental living room feel custom without drilling starts with a simple shift: make the room look intentional, not permanent. You do not need wall anchors, built-ins, or a full renovation to make a rental living room feel more finished. You need better zones, smarter furniture placement, removable decor, lighting that feels chosen, and a removal plan before anything touches the wall.
The safest renter-friendly living room upgrades are easy to explain at move-out. They respect the lease, match the surface, stay within product instructions, and avoid heavy items above seating. A custom-feeling room should still be calm to undo later.
Why This Matters
A rental living room is often the first room guests see and the room renters use the most. It may also be the hardest room to personalize because large blank walls, basic blinds, awkward outlets, and standard paint can make everything feel temporary. The risk is that a quick fix, like a heavy mirror on weak adhesive or a curtain shortcut on the wrong trim, can create more damage than style.
For adhesive picture strips and hooks, follow the maker's instructions rather than guessing. Command's official picture hanging strip instructions describe surface prep, approved surfaces, waiting time, pressure, and removal steps. Those details matter because a product can be removable in general but still wrong for a specific wall, frame, weight, or finish.
That does not mean adhesive is bad. It means adhesive should be one tool in a bigger renter-friendly plan, not the whole plan.
Start With Renter-Friendly Room Refreshes
Before buying decor, decide what would make the living room feel custom to you. For most rentals, the answer is not one dramatic object. It is a set of small choices that repeat across the room: similar finishes, balanced height, warm lighting, hidden clutter, and a few personal pieces displayed carefully.
Choose one main style direction
Pick three words for the room before shopping. Examples might be warm, calm, and tailored; bright, flexible, and playful; or simple, natural, and organized. This keeps removable upgrades from looking like random temporary fixes.
Work from the furniture outward
A living room usually feels more custom when the sofa, rug, side tables, lamps, and art relate to each other. Start with the biggest pieces you already own. Move the sofa away from the wall if space allows, align a rug with the front legs, and use side tables or floor lamps to create a finished seating zone.
What to Check First for a No-Drill Living Room
Check the lease, wall condition, product instructions, and move-out timeline before attaching anything. If the lease limits adhesive, wall contact, curtains, fixtures, or furniture changes, treat that as the rule even if a product package says removable.
Then inspect the surfaces. Painted drywall, textured walls, brick, tile, laminate, wood trim, and older paint do not behave the same way. A smooth, clean, sound wall is different from a dusty, humid, chipped, recently painted, or heavily textured one. If the surface already looks weak, take photos and avoid adhesive in that spot.
Check what will be touched every day
Daily-use items need extra caution. Hooks for keys, bags, remotes, headphones, or pet leashes get pulled and bumped. If an item will be handled constantly, a tray, bowl, basket, cabinet, or freestanding rack is usually safer than a small wall hook.
Check sightlines before attaching decor
Use painter's tape, paper templates, or temporary floor placement to preview art, mirrors, shelves, and cord paths. Live with the layout for a day before installing anything. A custom look comes from proportion, not from rushing the first open wall.
How to Make a Rental Living Room Feel Custom Without Drilling Step by Step
Use this sequence to upgrade the room without making permanent changes.
Step 1: Create a strong seating zone
Place the sofa, chairs, rug, and main table so they feel like one conversation area. A rug that is too small can make the room feel unfinished, while a correctly placed rug can make ordinary furniture feel more built-in. If you cannot change the rug, add a throw blanket and pillows that repeat two colors from the room.
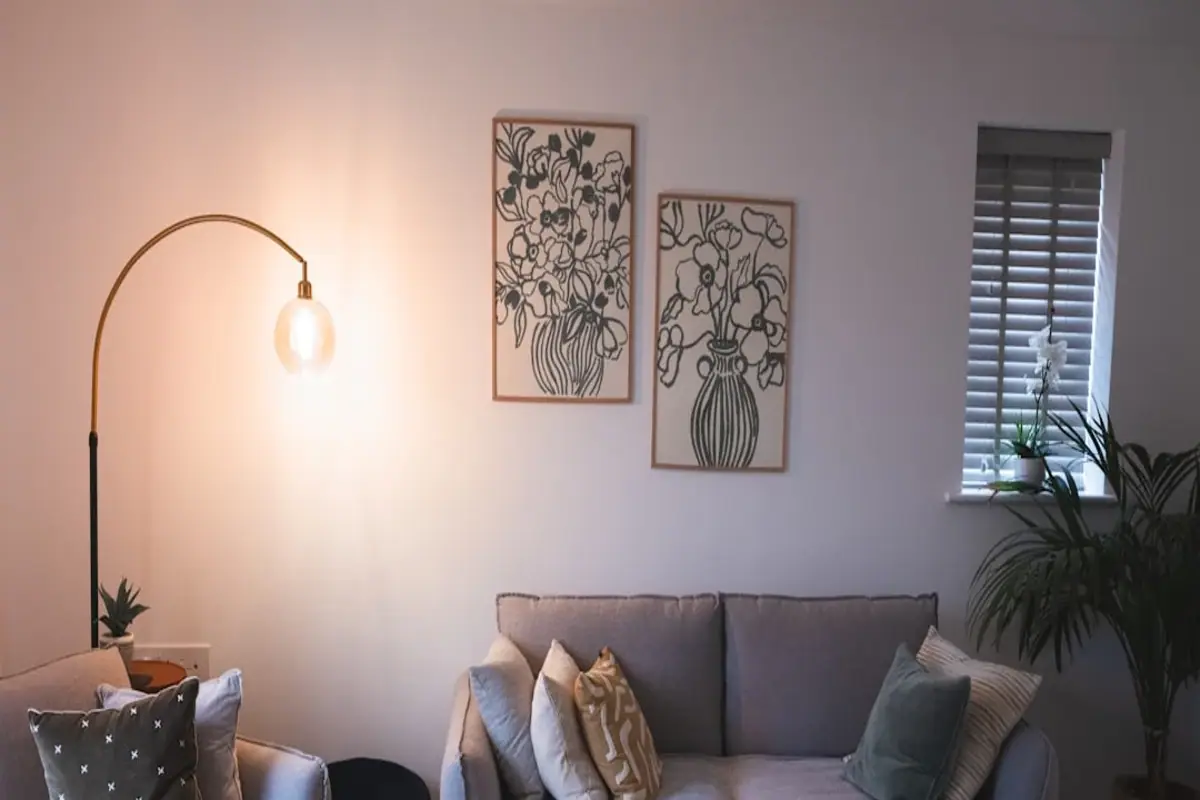
Step 2: Add height without wall shelves
Use a tall floor lamp, bookcase, leaning ladder shelf, plant stand, or framed art sitting on a console to bring the eye upward. Height makes a room feel designed, but it does not have to hang from the wall. Anchor tall pieces so they are stable and appropriate for the household, especially around children or pets.
Step 3: Use art in lighter, safer ways
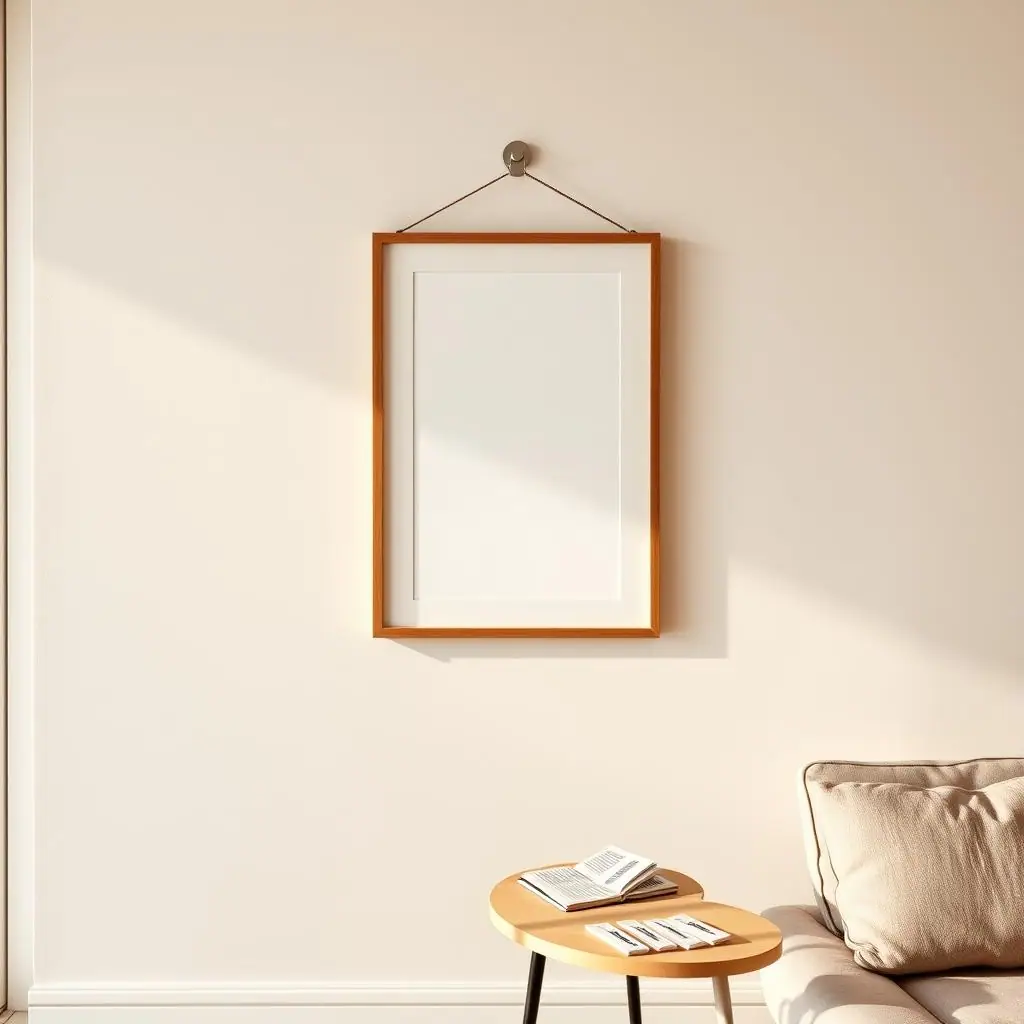
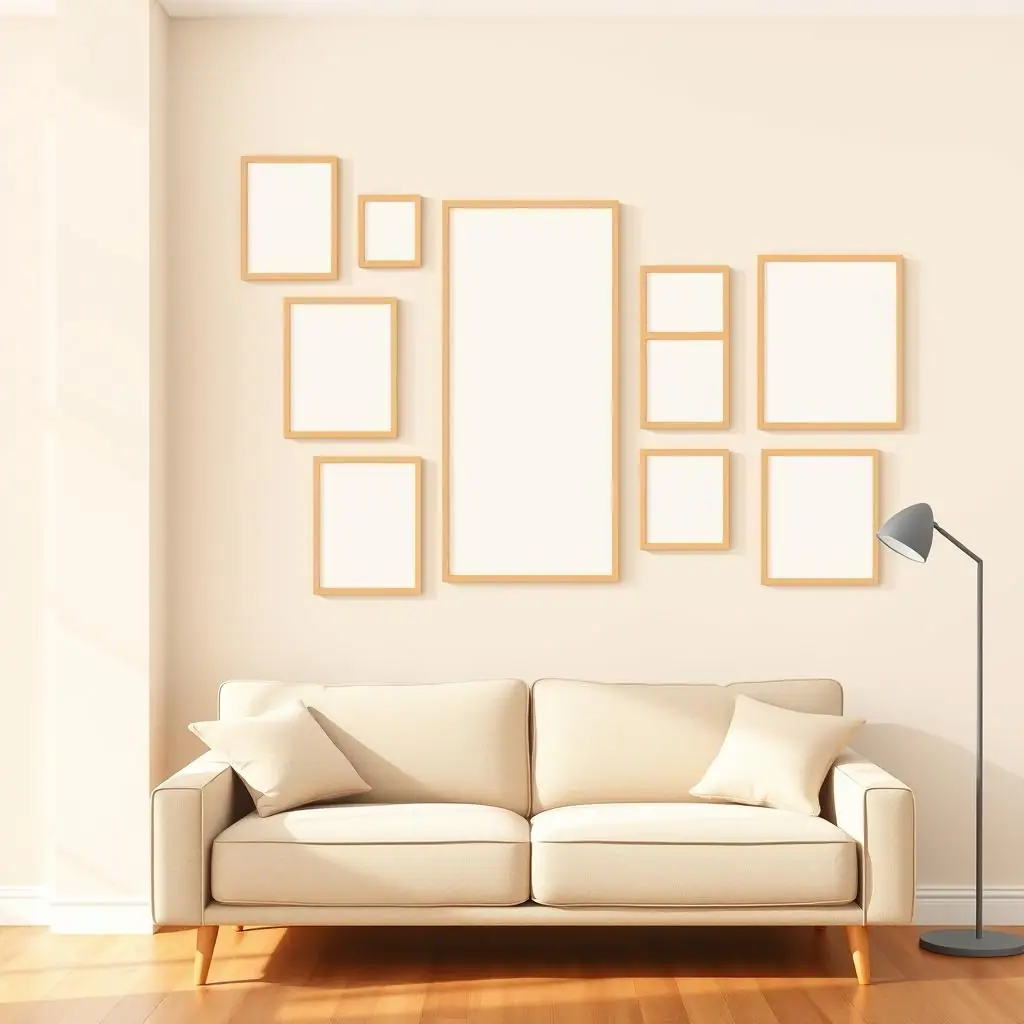
For small, lightweight frames, use approved hanging strips only after checking the package rating, wall type, frame surface, and removal instructions. For heavier art, try a picture ledge that sits on furniture, a leaning frame on a mantel or console, or a floor-standing easel. Never use adhesive for heavy, glass-fronted, valuable, or irreplaceable pieces above seating.
Step 4: Upgrade the lighting layers
Rental overhead lighting often feels flat. Add a floor lamp near the sofa, a table lamp on a side table, and plug-in accent lighting where cords can run safely. Use cord covers only if they are removable and allowed on the surface. Do not run cords under rugs or across walkways.
Step 5: Make windows look finished without drilling
If you cannot install curtain rods, consider tension rods only where the window frame can support them, no-drill brackets made for the trim type, or fabric panels used for softness rather than heavy blackout performance. Keep window hardware lightweight and easy to remove.
Step 6: Hide temporary clutter
A room feels custom when everyday items have a place. Use lidded baskets, a storage ottoman, a rolling side cart, tray tables, or a slim console behind the sofa. These changes do more for the room than adding another wall decoration.
Common Renter-Friendly Room Refreshes Mistakes to Avoid
The most common mistake is trying to make a rental look custom by copying permanent design ideas too closely. Built-ins, heavy floating shelves, large mirrors, wall-mounted cabinets, hardwired lighting, and curtain hardware may look polished online, but they are not automatically lease-safe.
- Skipping the surface check: adhesive needs a clean, dry, stable, approved surface to work as intended.
- Using too many small decor pieces: a few larger, lighter, well-placed pieces often look more custom than many tiny items scattered across the room.
- Hanging above the sofa without a backup plan: anything above seating should be lightweight, secure, and appropriate for the product instructions.
- Forgetting removal day: save packaging, spare strips, and instructions so you are not guessing when it is time to move.
- Ignoring the lease: renter-friendly is not the same as lease-approved. When rules are unclear, ask before installing.
Pros and Cons
Creates a more finished room
Better lighting, zones, textiles, and lightweight decor can make a basic living room feel intentional without changing the walls permanently.
Keeps move-out simpler
Freestanding and removable choices are easier to document, clean, pack, and reset than drilled hardware or heavy wall-mounted pieces.
Works in many rental layouts
The same approach can adapt to apartments, shared homes, studios, and temporary spaces because it starts with furniture and surface checks.
Some ideas still need permission
Curtain solutions, adhesive products, lighting changes, and large decor may still be limited by the lease or property rules.
Weight limits can be misunderstood
A removable product is only as reliable as its approved surface, real loaded weight, pressure, wait time, and removal method.
A Simple Checklist
Run through this checklist before changing the room:
- Lease: does the lease or property guide allow this type of removable upgrade?
- Surface: is the wall, trim, tile, glass, or furniture clean, dry, smooth, stable, and approved for the product?
- Weight: is the full loaded item below the product limit with a margin for bumps and daily use?
- Placement: is anything above seating light, secure, and non-valuable?
- Lighting: are cords visible, cool, unpinched, and away from walking paths?
- Removal: do you have the original instructions and enough time to remove items slowly?
When to Get Extra Help
Get extra help before installing anything that feels borderline: large mirrors, heavy frames, wall shelves, plug-in lighting with complicated cord paths, window treatments, or anything close to heaters, outlets, vents, doors, or windows. A landlord, property manager, manufacturer support page, or trusted handy friend can help you avoid a mistake before it becomes wall damage.
Also ask before working around surfaces that already show damage. Bubbling paint, old adhesive residue, peeling drywall paper, cracked plaster, and loose trim should be documented, not covered quickly.
Frequently Asked Questions
What should I check first in a renter-friendly living room refresh?
Check the lease, then the surface and product instructions. After that, decide whether a freestanding option can solve the same problem with less risk.
How often should I review removable living room upgrades?
Check adhesive, tension, clip-on, and cord-based items after the first week, then about once a month. Look for lifting edges, sagging, loose cords, or items getting heavier over time.
What should I do if I am not sure an upgrade is allowed?
Do not install it yet. Read the lease or resident guide, ask the property manager, and keep written guidance when possible. A lower-risk freestanding piece is usually the safer next step.
Can I undo these changes later?
Many renter-friendly changes can be undone, but clean removal depends on the surface, product, room conditions, time installed, and whether you follow the removal instructions slowly.
Final Thoughts
How to make a rental living room feel custom without drilling is mostly about planning. Start with furniture placement, lighting, textiles, storage, and lightweight decor before you reach for adhesive. Then use product instructions and lease rules as guardrails, not afterthoughts.
A custom-feeling rental living room should still be reversible. If every change has a reason, a safe surface, and a clear removal plan, the room can feel more like yours without becoming a move-out problem.