Learning how to measure walls and furniture before buying renter-friendly upgrades can save you from crooked layouts, blocked drawers, awkward shelves, and removable products that never quite fit the room. A no-drill project may feel low-risk, but the wrong size or placement can still waste money and create move-out headaches.
The good news is that measuring does not need to be complicated. You need a tape measure, painter's tape, a small level, a few photos, and a short list of the clearances that matter. Once those numbers are written down, you can shop with limits instead of guessing from memory.
Why This Matters Before You Buy
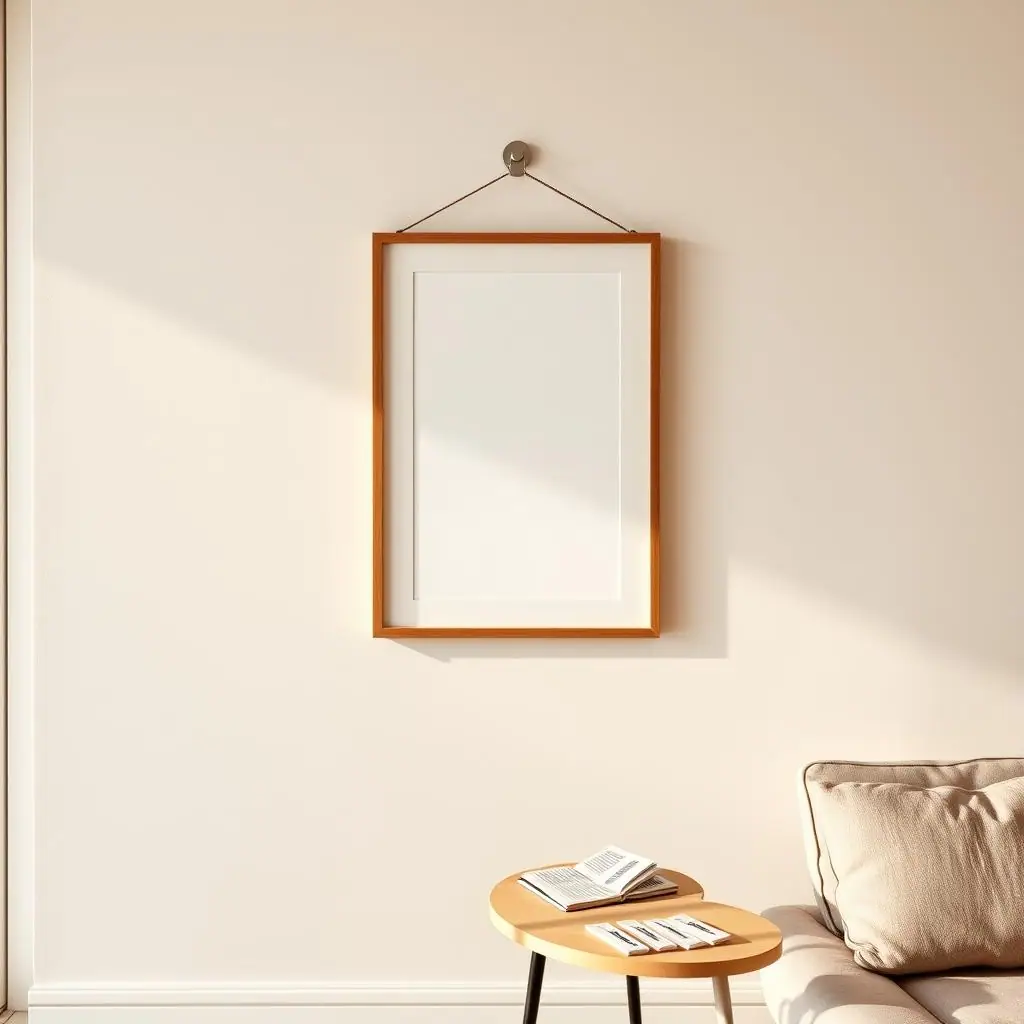
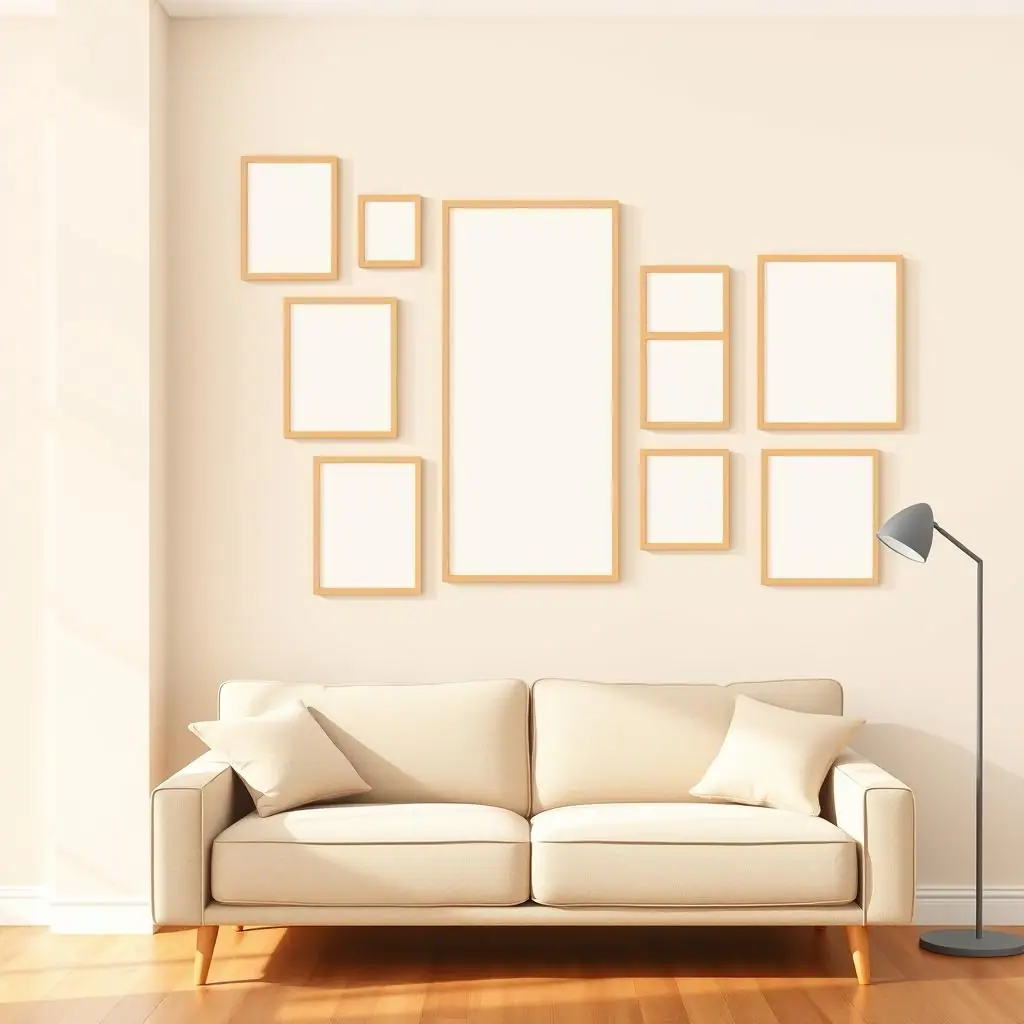
Renter-friendly upgrades often fail before installation because the product was chosen for the idea, not the actual space. A floating-looking adhesive shelf may be too deep for a hallway. A peel-and-stick panel may stop short behind a counter. A picture layout may look balanced online but feel crowded above your sofa.
Measurements also protect your lease. When you know the size, weight, surface type, and clearance before buying, you are less likely to overload adhesive strips, cover damaged paint, block ventilation, or choose a product that your property rules do not allow.
Start With the Measuring Tools
You do not need a contractor's toolbox for this. A simple beginner kit is enough for most no-drill planning.
Use a small, repeatable kit
- Tape measure: choose one long enough for the largest wall or furniture piece you expect to measure.
- Painter's tape: mark outlines on the wall, floor, or furniture without committing to an adhesive product.
- Small level: check whether frames, rails, ledges, and cabinet decals will look straight.
- Pencil and notes app: write dimensions immediately so you do not shop from memory.
- Phone camera: capture the surface, nearby furniture, outlets, switches, trim, and any existing paint issues.
Measure in inches, then keep one backup unit
Most product pages in the United States list dimensions in inches, but some packaging includes centimeters. Write the main measurement in inches and add a quick metric note if the product you are comparing uses both. The important part is consistency: width, height, depth, clearance, and weight should not be mixed up.
What to Check First for Walls and Furniture
Start with the object that cannot move easily. In a living room, that may be the sofa. In an entryway, it may be the door swing. In a kitchen, it may be cabinet hardware, tile edges, or appliance clearance. The upgrade should fit around daily use, not just fit on the wall.
Measure the surface area
Measure the full usable width and height of the wall, cabinet face, door, backsplash, or furniture side. Then subtract anything that interrupts the space: outlets, light switches, thermostats, vents, trim, door casing, curtain brackets, mirror edges, or uneven corners.
For adhesive products, product instructions matter as much as room dimensions. Command's official product and instruction hub groups hooks, picture hanging products, bathroom solutions, cord organizers, how-to pages, FAQs, and weight-limit guidance, which is a useful reminder to check the specific product before assuming one strip or hook works everywhere.
Measure the furniture around it
Next, measure furniture width, depth, height, and the gap between the furniture and wall. A renter-friendly upgrade may look fine when the room is empty but fail when a sofa sits too close, a drawer opens into it, or a chair back rubs the wall.
Lease and housing rules can vary by property and location. USA.gov's housing help resources point renters toward tenant-rights and housing assistance information, so treat your lease, house rules, and written property guidance as the final check before applying anything to a rented surface.
How to Measure Walls and Furniture Step by Step
Use this sequence before buying picture strips, adhesive hooks, removable shelves, peel-and-stick panels, no-drill curtain solutions, cord channels, or lightweight organizers.
Step 1: Photograph the area first
Take a straight-on photo and an angled photo. Include nearby furniture, doors, windows, outlets, trim, baseboards, and any surface flaws. Photos help when you are comparing products later, and they can document the before condition for move-out planning.
Step 2: Measure the maximum available area
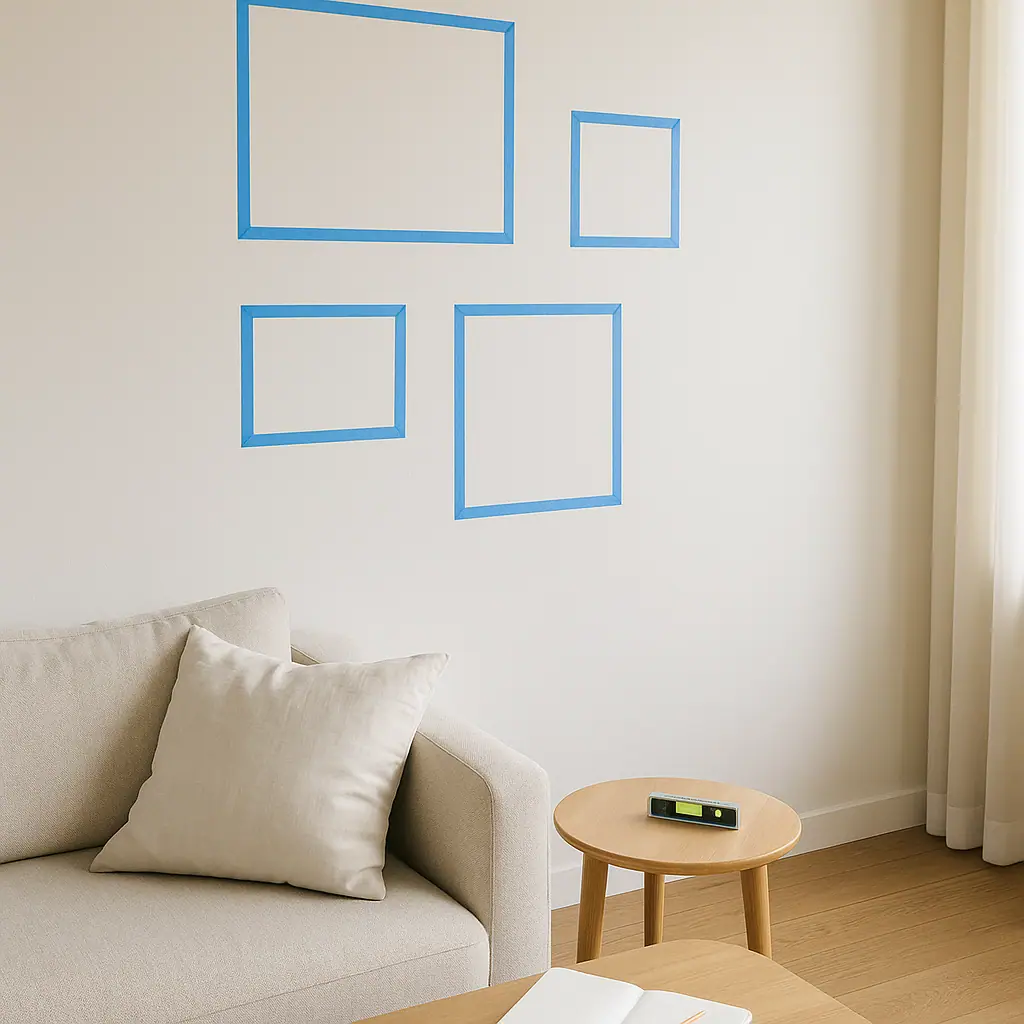
Measure the full width and height of the wall or surface. Then mark the usable zone with painter's tape. If the wall is 72 inches wide but a light switch takes up 5 inches on one side, write down the usable area, not just the full wall size.
Step 3: Measure eye level and reach level
For decor, measure where the center of a frame or mirror will sit. For storage, measure the height you can reach comfortably. A hook that looks tidy online can become annoying if it sits too high for daily use or too low behind a chair.
Step 4: Measure depth and movement
Depth is the number renters forget most often. Measure how far shelves, bins, hooks, baskets, lamps, or curtain hardware project into the room. Then check doors, drawers, cabinet fronts, closet doors, and chairs. Open and close everything before deciding the product will fit.
Step 5: Measure the item you want to hang or store
Write down the item's width, height, depth, and actual weight. If you do not know the weight, use a scale or choose a safer freestanding option. Do not rely on a product's maximum printed limit as your everyday target, especially on older paint, textured surfaces, humid rooms, or valuable items.
Step 6: Make a tape template
Use painter's tape to outline the product footprint on the wall, door, cabinet, or floor. Live with the outline for a day if the upgrade affects a busy area. You may notice that a hook catches bags, a shelf crowds the walkway, or a mirror feels too high once the room is in normal use.
Step 7: Write a shopping note
Before buying, create a short note with maximum width, maximum height, maximum depth, estimated item weight, surface type, lease concern, and removal plan. This turns shopping into a filter. If a product does not fit the note, it is not the right product for that space.
Common Measuring Mistakes to Avoid
The most common mistake is measuring only the pretty wall space and ignoring the room around it. Renter-friendly upgrades need to work with furniture, doors, cleaning routines, pets, guests, and move-out requirements.
- Forgetting depth: shelves, baskets, lamps, and cord channels may project farther than expected.
- Measuring furniture once: drawers, recliners, table leaves, and cabinet doors need open-clearance measurements too.
- Ignoring trim and texture: baseboards, molding, tile edges, and textured walls can change how a product sits.
- Shopping from memory: a guessed measurement usually becomes a return, a crooked layout, or an awkward compromise.
- Skipping weight checks: dimensions tell you whether it fits; weight and surface limits tell you whether it should hang there.
Pros and Cons
Reduces wasted purchases
Clear measurements help you reject products that are too wide, deep, heavy, or awkward before they arrive.
Protects daily function
Checking doors, drawers, walkway space, and reach height keeps a renter-friendly upgrade useful after installation.
Supports cleaner removal
Planning around surface type, product instructions, and lease rules makes the project easier to undo later.
Takes time upfront
A proper measuring pass can feel slow when you are excited to start the room refresh.
Does not remove product limits
Even perfect measurements cannot make an adhesive product safe for the wrong surface, weight, or room condition.
A Simple Checklist Before Checkout
Use this checklist while the product is still in your cart, not after it is stuck to the wall.
- Surface: is the wall, tile, glass, door, cabinet, or furniture finish allowed by the product instructions?
- Size: does the product fit inside your usable width and height after subtracting switches, trim, and outlets?
- Depth: will it avoid doors, drawers, chairs, walkways, and cabinet fronts?
- Weight: is the item comfortably below the product's stated limit for that surface?
- Lease: does your lease or property guidance allow this type of temporary upgrade?
- Removal: do you understand how it comes off and what could be affected at move-out?
When to Get Extra Help
Pause and get extra help when the product will hold something heavy, valuable, breakable, or placed above a bed, sofa, desk, crib, pet area, or busy walkway. Ask for permission or choose a freestanding option when failure would create damage or safety concerns.
You should also pause if the surface is already compromised. Peeling paint, bubbling wallpaper, cracked tile, soft trim, damp drywall, and loose cabinet veneer are warnings. Measuring helps you plan the space, but it cannot repair a fragile surface.
Frequently Asked Questions
What should I check first before buying a renter-friendly upgrade?
Check the usable surface size first, then the nearby furniture and movement around it. A product needs to fit the room in use, not just the empty wall.
How often should I review my measurements?
Review them before every purchase and again before installation. Furniture shifts, rugs move, and a small layout change can affect clearance.
What should I do if I am not sure a product is allowed?
Do not guess. Read the product instructions, check your lease or house rules, and ask your property manager for written guidance if the surface or product is questionable.
Can I undo a no-drill upgrade later?
Many no-drill products are designed to be removable, but clean removal depends on the surface, installation, time, humidity, product type, and following the removal directions.
Final Thoughts
Measuring is the quiet step that makes renter-friendly upgrades feel intentional instead of temporary. It helps you choose products that fit the wall, respect the furniture, leave room for daily movement, and come with a realistic removal plan.
Before you buy, take photos, measure the usable space, tape the footprint, check weight and surface instructions, and compare the product to your lease rules. That small routine can prevent most no-drill project regrets before they start.