No-drill bedroom upgrades that make a rental feel finished should solve the small gaps that make a room feel temporary: bare walls, exposed cords, weak lighting, scattered bedside items, and furniture that looks placed rather than planned. The goal is not to disguise that you rent. The goal is to make the bedroom feel calm, useful, and intentional without drilling into walls or creating move-out damage.
A finished bedroom usually comes from layers, not one dramatic project. A framed print, better bedside lighting, a proper landing spot for daily items, and a cleaner cord plan can change the room more than a risky wall shelf. Before using any adhesive product, check the surface, weight, removal method, and lease rules. Those boring checks are what keep renter-friendly upgrades renter-friendly.
Why This Matters
Bedrooms often get the least thoughtful setup in a rental because they are private rooms. People focus on the living room first, then leave the bedroom with blank walls, mismatched storage, and one overhead light. That unfinished feeling can make the whole apartment feel less settled.
Adhesive products can help, but they are not universal. Command's official picture hanging strip instructions warn users to follow surface, timing, temperature, and removal directions carefully, including avoiding wallpaper and not hanging over beds. That is especially relevant in a bedroom, where placement can create both damage risk and safety risk.
Once you treat those instructions as part of the design process, the room becomes easier to plan. You can still make the space feel finished, but you are choosing lower-risk placements instead of copying a photo that may not fit your lease, surface, or furniture layout.
Start With Renter-Friendly Room Refreshes
Renter-friendly room refreshes work best when they begin with the feeling you want the room to have. A bedroom should usually feel quieter, softer, and easier to reset at the end of the day. That points you toward practical upgrades: visual balance, bedside order, better lighting, covered clutter, and soft texture.
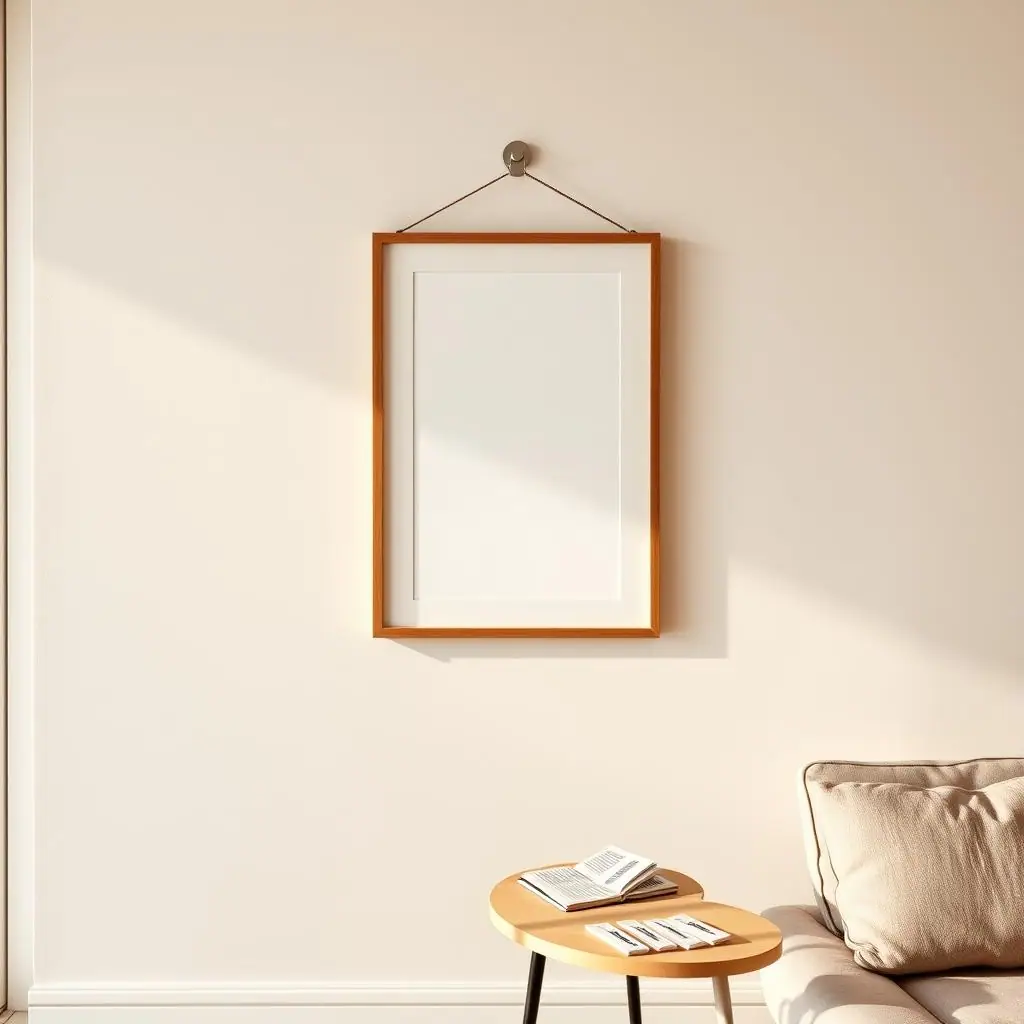
Pick one main wall
Most bedrooms need one visual anchor. In many rentals, that is the wall behind the bed, the dresser wall, or a small reading corner. Choose one area instead of scattering adhesive hooks and decor around every wall. A focused wall looks more finished and gives you fewer surfaces to test.
Separate decor from storage
Do not ask decorative adhesive products to do storage work. Lightweight art, small frames, and paper decor are different from shelves, heavy mirrors, hanging baskets, or everyday bags. If the item will be touched daily or loaded with weight, a freestanding nightstand, basket, dresser tray, or over-the-door option is usually safer.
What to Check First for No-Drill Bedroom Upgrades That Make a Rental Feel Finished
Before buying anything, check the bedroom like a maintenance-minded renter. Look at the wall surface, paint condition, humidity, sunlight, bed position, outlet locations, and furniture clearances. A product that works on smooth painted drywall may be a poor match for textured walls, old paint, wallpaper, damp corners, or surfaces near heat.
Weight limits also need real attention. Command's official weight limits guide lists different capacities by product type, including picture hanging strips and hooks. Use the package and manufacturer page for the exact product in your hand; do not assume every strip or hook holds the same load.
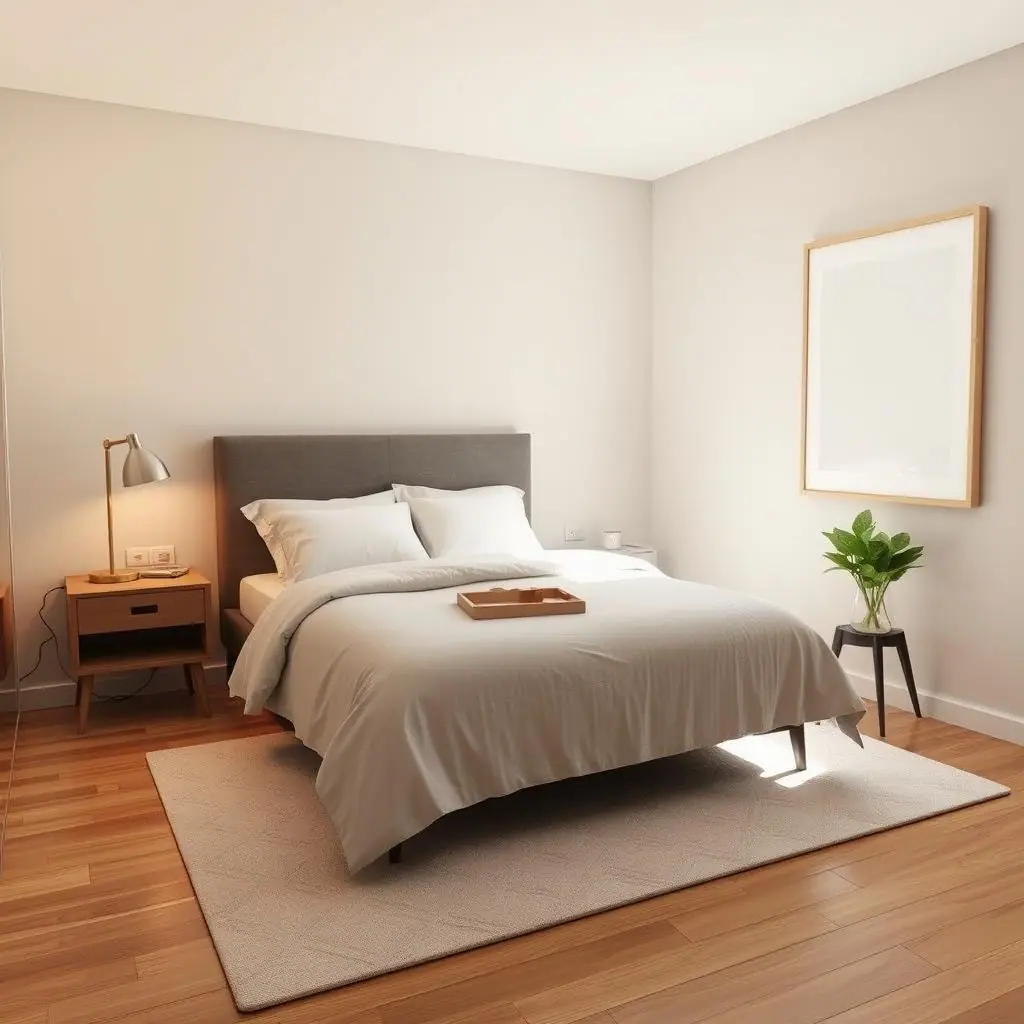
Check the bed zone carefully
Avoid placing adhesive-mounted frames, hooks, mirrors, shelves, or anything breakable directly above a bed. Even a lightweight item can become stressful if it falls while someone is sleeping. If the headboard wall needs interest, use safer alternatives: a fabric headboard look, peel-and-stick panels only if allowed and surface-tested, lightweight art beside the bed rather than above it, or a freestanding lamp and nightstand arrangement.
Check your lease before the surface
A removable product can still be against building rules. Leases, house rules, and move-out standards may mention adhesive products, wall coverings, paint, residue, or damage charges. If you cannot find the rule, ask the property manager in writing before doing a larger peel-and-stick project.
General tenant resources such as USA.gov housing help can point readers toward broader housing assistance, but your actual lease and local property rules are the documents that control what is allowed in your unit.
How to Handle No-Drill Bedroom Upgrades Step by Step
Use this sequence before you install anything. It keeps the project small enough to finish and careful enough to undo later.
Step 1: Make the bed wall look intentional
Start with symmetry or clear asymmetry. If you have two nightstands, match lamp height, tray size, or wall art placement on both sides. If the room is small and only one side has space, make that side feel deliberate with one lamp, one small tray, and one piece of light decor.
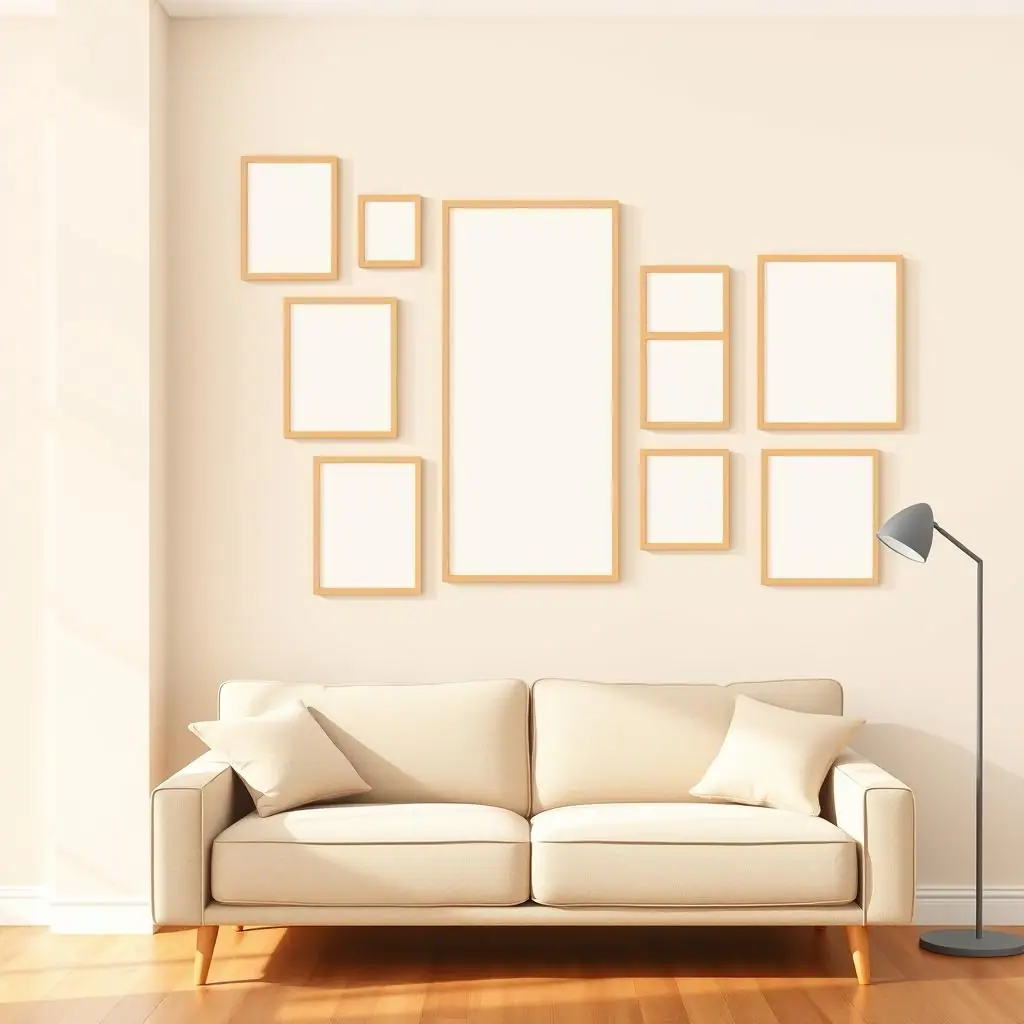
Step 2: Add lightweight wall decor away from sleep zones
Use adhesive picture strips only on approved surfaces and only for items within the listed weight range. Clean as directed, press firmly, wait the required time, and remove slowly when the time comes. For a bedroom, the safest visual areas are often beside the bed, above a dresser, or near a desk rather than directly over pillows.
Step 3: Upgrade lighting without hardwiring
Lighting makes a bedroom feel finished quickly. Try plug-in lamps, clamp lamps on sturdy furniture, battery puck lights inside closets, or freestanding floor lamps. Route cords along furniture edges with removable cord clips if the surface and product instructions allow it. Avoid running cords under rugs where they can be walked on or hidden from view.
Step 4: Give daily items a landing place
A bedroom feels temporary when keys, watches, chargers, glasses, and skincare products float around. Add a tray on the nightstand, a small basket on a dresser, or a drawer divider. These upgrades need no wall attachment and can make the room feel more finished than another piece of wall decor.
Step 5: Add soft texture before adding more products
Textiles are rental-safe when chosen well. A washable rug, better curtains on a tension rod if the window allows it, a structured bed skirt, or matching pillow covers can make mismatched furniture look more intentional. Check window type and tension rod fit before assuming the rod will hold securely.
Step 6: Photograph the room before and after
Take clear photos before installation, after installation, and during removal. This helps you remember what changed and gives you a practical record if you need to discuss move-out condition later.
Common Renter-Friendly Room Refreshes Mistakes to Avoid
The biggest mistake is treating no-drill as the same thing as no-risk. Adhesive products still depend on surface condition, product age, room temperature, weight, and careful removal. Bedroom upgrades also create placement issues because people sleep, dress, and move around in the space every day.
- Hanging decor above the bed: choose side walls, dresser walls, or freestanding decor instead of mounting items over pillows.
- Using one product for everything: picture strips, hooks, cord clips, and removable tape have different purposes and limits.
- Skipping surface prep: dust, cleaner residue, texture, and weak paint can make adhesive unreliable.
- Ignoring daily movement: hooks used every morning may fail faster than decor that is rarely touched.
- Forgetting removal: plan how each product comes down before you install it, especially near move-out.
Pros and Cons
Makes the room feel settled
Small layers like lighting, trays, textiles, and light wall decor can make a rental bedroom feel planned without permanent work.
Easy to phase in slowly
You can refresh one wall, one nightstand, or one storage problem at a time instead of buying a full room of new furniture.
Move-out planning stays visible
Because the upgrades are removable, you can document them, test them, and remove them in a controlled way before inspection.
Not every surface cooperates
Old paint, texture, wallpaper, dust, humidity, and sun exposure can make adhesive products less reliable.
Some ideas still need permission
Peel-and-stick panels, wall coverings, larger adhesive installs, and visible changes may require lease or property-manager approval.
A Simple Checklist
Use this checklist before installing bedroom upgrades:
- Surface: is it smooth, clean, dry, stable, and approved by the product instructions?
- Placement: is the item away from the bed, walkways, doors, and places where it will be bumped daily?
- Weight: does the product rating match the actual item, including frame, contents, and anything added later?
- Lease: does your lease allow adhesive products, removable wallpaper, decals, or temporary coverings?
- Removal: do you know the exact removal step before you attach the product?
- Backup plan: if the wall is not suitable, can a freestanding lamp, tray, basket, or floor piece solve the same problem?
When to Get Extra Help
Ask for extra help before changing anything involving electrical work, heavy mirrors, overhead placement, damaged drywall, questionable paint, ceiling attachments, or large peel-and-stick wall coverage. These are not good places to guess.
For everyday changes, a second set of eyes can still help. Ask someone to hold a frame template, check lamp height from the doorway, or confirm that the room does not feel crowded. Finished often means edited, not filled.
Frequently Asked Questions
What should I check first for a renter-friendly bedroom refresh?
Check the lease, wall surface, product instructions, and placement. If the upgrade goes above a bed, holds weight, or covers a large surface, slow down and look for a lower-risk option.
How often should I review no-drill bedroom upgrades?
Review them after the first week, then every month or two. Look for peeling edges, loose hooks, cord problems, dust buildup, or items that are being bumped during normal use.
What should I do if I am not sure a wall is safe for adhesive strips?
Do not install first and hope. Read the product instructions, test only where appropriate, check for weak paint or texture, and choose a freestanding solution if the surface seems risky.
Can I undo these bedroom upgrades later?
Many no-drill upgrades are designed to be removable, but removal depends on the product, surface, paint condition, temperature, age, and whether you followed the directions. Plan removal before installation.
Final Thoughts
No-drill bedroom upgrades that make a rental feel finished are usually quiet, practical, and reversible. Start with the bed wall, improve the lighting, give daily items a home, add soft texture, and avoid risky placements above the bed.
The best bedroom refresh is the one you can enjoy now and remove calmly later. Choose the smallest change that solves the visible problem, document it, and let the room become finished one careful layer at a time.