Painter's tape tricks for cleaner no-drill DIY projects can make a renter-friendly upgrade feel calmer before anything goes on the wall. Tape is useful for marking layouts, protecting edges, testing alignment, labeling parts, and creating temporary guides while you measure. It is not a magic surface protector, though. The cleaner result comes from using tape lightly, removing it carefully, and never asking it to hold weight it was not made to hold.
For renters, the goal is simple: use painter's tape as a planning tool, not as a permanent mounting method. A few strips can help you see where a frame, peel-and-stick panel, shelf alternative, or template will land before you commit to adhesive strips or removable products.
Why Painter's Tape Tricks Matter for No-Drill Projects
No-drill projects often go wrong before installation starts. A frame is slightly crooked. A peel-and-stick panel is cut too short. A hook line drifts upward across a wall. Painter's tape helps because it gives you a temporary visual guide that can be adjusted without immediately pressing a stronger adhesive onto the surface.
ScotchBlue's official painter's tape removal guidance recommends scoring the edge when needed and pulling tape back on itself at about a 45-degree angle. That matters in rentals because rushed removal can lift paint, especially on older, poorly bonded, or recently painted surfaces.
After you understand removal, the rest of the job becomes easier. Tape can help you plan, but the wall condition, paint age, product instructions, and lease rules still decide whether the final project is a good idea.
Start With a Cleaner Beginner Tool Setup
You do not need a large toolbox to use painter's tape well. A small setup works better than a cluttered one: painter's tape, a pencil, a level, a soft cloth, a tape measure, scissors, and the actual product instructions for the item you plan to install.
Pick tape for marking, not mounting
Painter's tape is best for temporary alignment marks, mockups, and cut guides. It should not replace picture hanging strips, adhesive hooks, tension rods, clamps, freestanding storage, or other products designed for the final load.
Clean the planning area gently
Dust can make tape peel too soon, while aggressive cleaners can make a wall more vulnerable. Use a soft dry cloth for layout work unless the product instructions call for something else. If you are moving from painter's tape to removable adhesive strips, follow the adhesive product's own prep steps.
What to Check First Before You Tape
Before using painter's tape on a rental wall, check the surface. Fresh paint, matte paint, old paint, peeling paint, wallpaper, textured walls, plaster repairs, and damp rooms can all behave differently. If the surface already looks fragile, do not use tape as a test of bravery.
For projects that later use adhesive strips or hooks, Command's official picture hanging strip instructions are a useful reminder that surface prep, waiting time, product limits, and removal method are product-specific. Use painter's tape to plan the layout, then switch to the correct installation instructions for the actual hanging product.
Check your lease before the final step
A clean taped layout does not make every upgrade lease-friendly. If your lease limits adhesives, painted surfaces, cabinet fronts, doors, or bathroom walls, follow that rule first. USA.gov's housing help resources can point renters toward tenant guidance, but your own lease and property manager are the practical sources for your home.
Painter's Tape Tricks for Cleaner No-Drill DIY Projects Step by Step
Use this routine when planning frame layouts, peel-and-stick panels, removable decals, temporary templates, lightweight decor, or cut lines. The tape helps you make fewer guesses before stronger adhesive touches the wall.
Step 1: Test a hidden spot
Place a short piece of tape in a low-visibility area for a brief test. Remove it slowly at a low angle. If paint lifts, residue appears, or the surface feels soft, avoid taping the visible area and choose another planning method, such as paper templates held by hand.
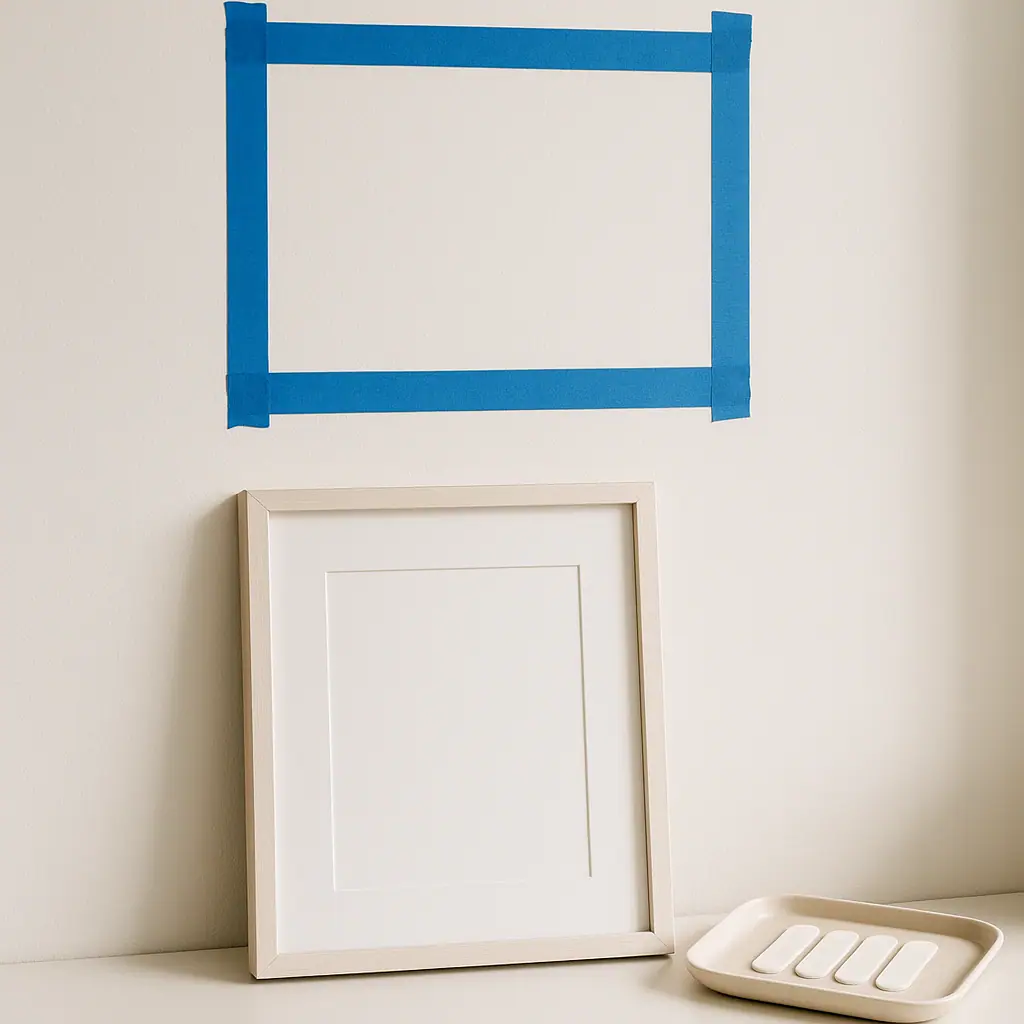
Step 2: Make a tape outline before measuring again
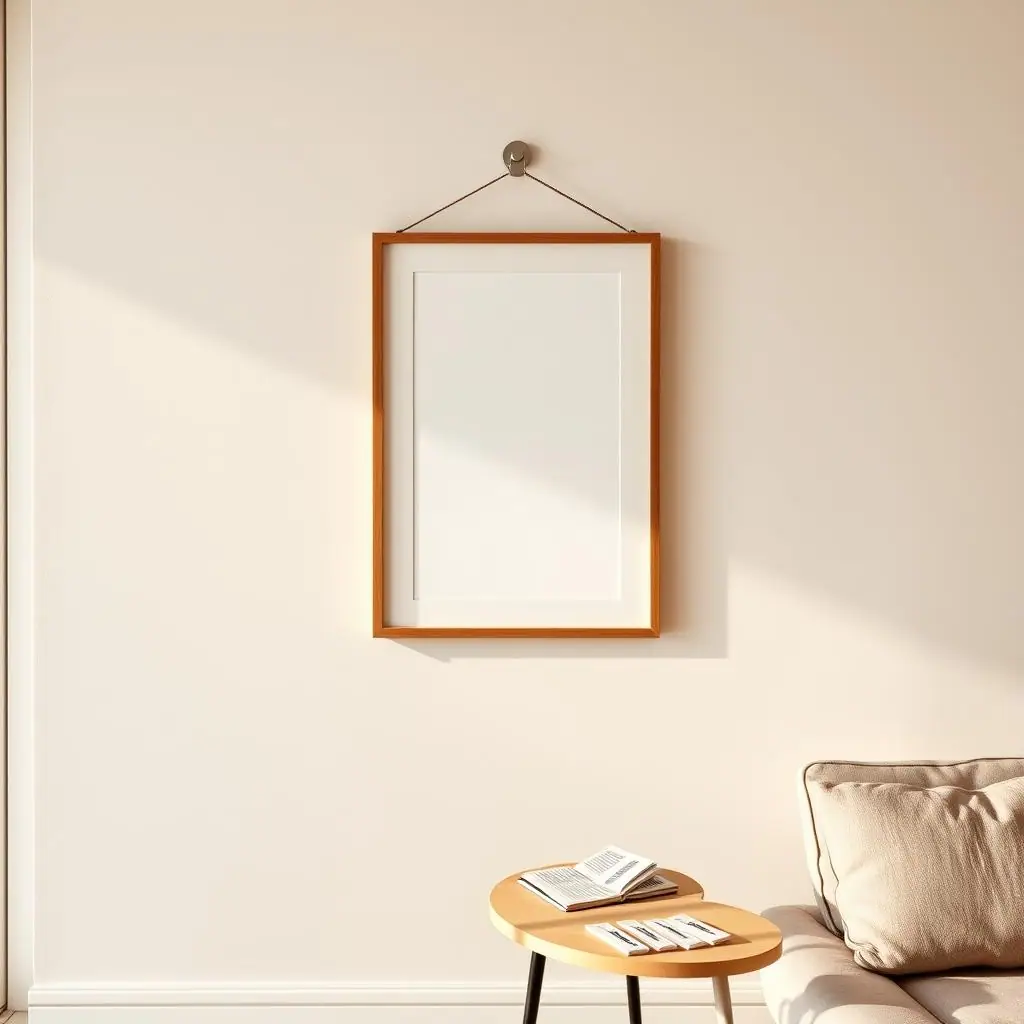
For frames or decor, tape the outer shape on the wall first. Step back, check height, then measure. This catches layout problems that a tape measure alone may miss, especially above sofas, beds, desks, and entry tables.
Step 3: Use small tabs for center lines
Instead of running long strips everywhere, use short tape tabs to mark center points, top edges, and side limits. Small tabs reduce surface contact and make cleanup easier.
Step 4: Create a hinge for peel-and-stick sheets
For contact paper, removable decals, or backsplash panels, a strip of painter's tape along one edge can act like a temporary hinge while you check alignment. Remove backing gradually and smooth slowly, following the product instructions.
Step 5: Label pieces before they look identical
Use tape flags on the backer paper or scrap edge, not on the finished face when possible. Label top, left, right, or sequence numbers so pieces do not get rotated during installation.
Step 6: Remove tape before the job feels finished
Do not leave tape as a reminder for tomorrow unless the product instructions say the surface and timing are safe. Remove it slowly, pulling back on itself, and score an edge first if dried paint or caulk has bridged over the tape.
Common Beginner Mistakes to Avoid
The biggest mistake is using painter's tape as if it were harmless on every wall. It is gentle compared with many tapes, but it can still lift weak paint, leave residue, or make a fragile surface worse.
- Skipping the test spot: a hidden test can reveal weak paint before the visible wall is involved.
- Pressing too hard: firm edge pressure helps paint lines, but layout marks usually need only light contact.
- Leaving tape up too long: remove planning tape as soon as the layout has done its job.
- Using tape as a load holder: painter's tape is for marking and masking, not for hanging frames, shelves, or lights.
- Ignoring product instructions: painter's tape, adhesive strips, decals, and contact paper all have different surface and removal rules.
Pros and Cons
Better layout decisions
Tape outlines make it easier to see height, spacing, and balance before stronger adhesive touches the wall.
Cleaner cuts and alignment
Temporary guides can help peel-and-stick sheets, decals, and templates land straighter with fewer rushed adjustments.
Low-cost planning tool
A roll of painter's tape can support many renter-friendly projects without adding bulky gear to a small toolkit.
Not safe for every surface
Fresh paint, old paint, wallpaper, texture, moisture, and weak finishes can still react badly to tape.
Can create false confidence
A clean tape mockup does not prove that the final adhesive, weight rating, or lease rule will work.
A Simple Checklist
Before you start a no-drill project with painter's tape, run through this quick check:
- Surface: is the paint fully cured, clean, dry, and not peeling?
- Test: did a hidden tape test remove cleanly?
- Purpose: are you using tape only for marking, masking, labeling, or temporary alignment?
- Timing: will the tape come down as soon as the layout is confirmed?
- Final product: have you read the instructions for the adhesive strip, hook, decal, or panel you will actually rely on?
- Lease: is the planned final upgrade allowed on that surface?
When to Get Extra Help
Get extra help if the surface is newly painted, already damaged, textured, wallpapered, damp, or part of a deposit-sensitive area. Also pause if the project involves anything heavy, valuable, over a bed, over a crib, near heat, or near electrical fixtures.
If the risk feels high, use a freestanding option, a removable product with clear instructions, or written permission before installing. The best no-drill project is the one you can remove calmly later.
Frequently Asked Questions
What should I check first before using painter's tape?
Check the surface. If the paint is fresh, peeling, chalky, damp, textured, or on wallpaper, test in a hidden spot or avoid tape on the visible area.
How often should I review the tape layout?
Review it before every permanent step. Step back, check the level, confirm spacing, and remove or adjust the tape before applying stronger adhesive.
What should I do if I am not sure the tape is safe?
Do not keep testing on the visible wall. Check the tape manufacturer's guidance, use a hidden area, or switch to a paper template that you hold in place by hand.
Can I undo painter's tape marks later?
Often, yes, if the tape was used briefly and removed carefully. But weak paint, residue, or lifted edges can be harder to fix, so short use and slow removal matter.
Final Thoughts
Painter's tape tricks for cleaner no-drill DIY projects are mostly about slowing down the planning stage. Use tape to outline, label, hinge, mark, and double-check. Then remove it carefully and let the final product instructions guide the actual installation.
That small pause can prevent crooked frames, messy peel-and-stick seams, and avoidable wall stress. Start with one hidden tape test, one clean layout, and one project you can remove without panic.