The small tool kit for renters who do not want a toolbox should solve everyday apartment problems without taking over a closet. You need enough supplies to measure, tighten, mark, clean, trim, and install lightweight renter-friendly products. You do not need a heavy box full of power tools, duplicate gadgets, or hardware you are not allowed to use.
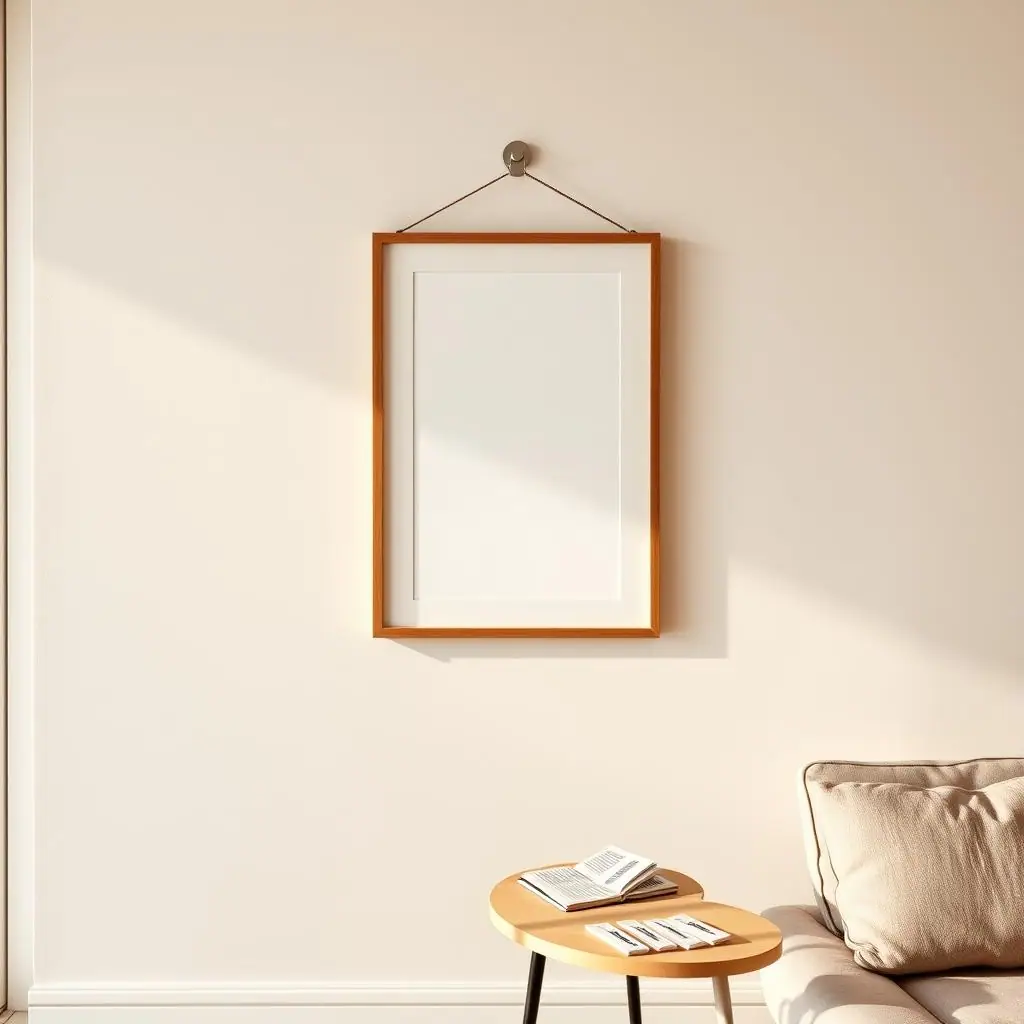
A compact kit is especially useful for no-drill projects because most mistakes happen before installation. A frame is hung without checking weight. A peel-and-stick panel is cut before the wall is cleaned. A hook is pressed onto a surface that the product instructions do not recommend. A small, intentional kit helps you slow down and check those details first.
Why This Matters
Renters often live with two limits at the same time: limited storage and limited permission to change the space. That makes a giant toolbox feel unnecessary, but having no tools at all can lead to rushed shortcuts. The right middle ground is a small pouch, drawer bin, or lidded box with supplies you actually use.
For adhesive hooks and strips, the product instructions matter more than general advice. Command's official hook and caddy instructions remind users to check surface limits, prep steps, waiting time, temperature range, and removal method before relying on the product. That is the kind of source a renter should read before a wall is involved.
Once you understand that, the tool kit becomes less about owning things and more about making better decisions. Each item should help you measure, verify, test, or remove something with less stress.
Start With Beginner Tool Kits
Beginner tool kits work best when they are narrow. If you are not repairing furniture every weekend, skip the big molded case with dozens of pieces you cannot name. Start with the few tools that support common renter tasks: hanging light decor, assembling small furniture, trimming peel-and-stick material, checking level lines, and removing adhesive cleanly.
Choose a container first
Pick the smallest container that keeps sharp edges covered and small pieces visible. A zip pouch, pencil case, clear storage box, or shallow drawer tray is enough for most renters. If the kit cannot be put away in ten seconds, it will probably become clutter.
Keep the kit project-neutral
Do not build the kit around one specific product. Build it around repeatable checks: measure the space, clean the surface, mark the layout, test a small area, install carefully, and remove without panic. That structure works for frames, hooks, decals, contact paper, over-the-door pieces, small organizers, and freestanding upgrades.
What to Check First for the Small Tool Kit for Renters Who Do Not Want a Toolbox
Before buying anything, walk through your apartment and list the tasks you actually do. Tighten cabinet knobs. Measure a wall. cut shelf liner. Hang a lightweight frame. Clean a surface before using adhesive. Open a package safely. Remove a strip slowly. Those are kit-worthy tasks.
Lease rules still come first. A tool kit can make a project cleaner, but it does not make every project allowed. USA.gov's housing help resources include tenant and housing guidance, but your actual lease, building rules, and property manager are the practical sources for what is allowed in your unit.
Check storage before shopping
Measure the drawer, shelf, or closet spot where the kit will live. If the container is too large, it becomes another thing to manage. If it is too small, sharp items may float loose or the kit may split into several piles.
Check what you already own
Many renters already have a tape measure, scissors, a screwdriver, a pencil, or painter's tape. Gather those first. The best small tool kit for renters who do not want a toolbox is not the most complete kit; it is the one that prevents duplicate buying.
How to Handle the Small Tool Kit for Renters Who Do Not Want a Toolbox Step by Step
Use this setup routine before you buy a pre-made kit or assemble your own. The goal is a compact group of supplies that supports no-drill upgrades without creating a storage problem.
Step 1: Start with measuring tools
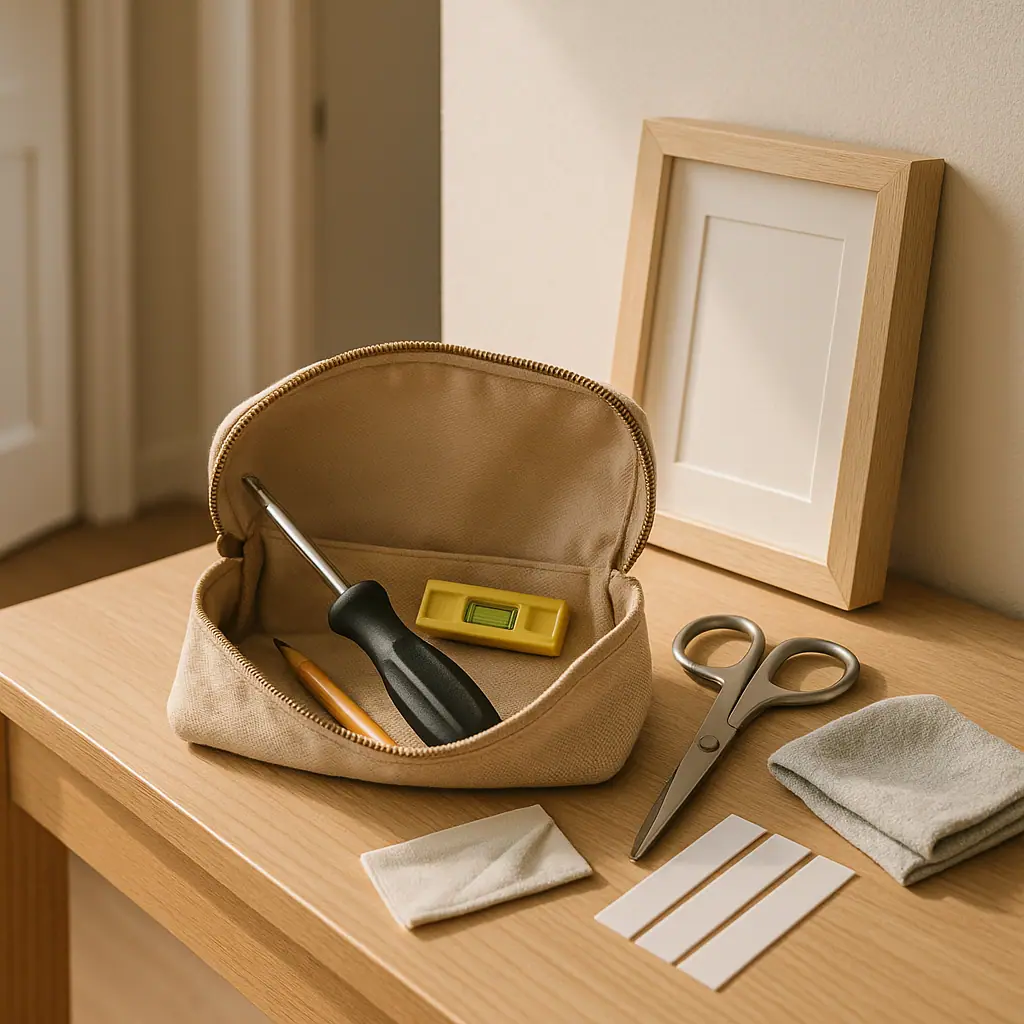
Include a tape measure, a small level, and a pencil. These three items prevent many crooked, crowded, or badly spaced renter projects. A level is useful even without power tools because adhesive hooks, picture hanging strips, decals, and freestanding shelves still need straight reference lines.
Step 2: Add surface prep supplies
Add a soft cloth, rubbing alcohol wipes if your adhesive product requires them, and a small roll of painter's tape for temporary layout marks. Do not use household cleaners as a substitute when a product gives a specific prep method. Follow the product label.
Step 3: Add light assembly tools
A compact screwdriver with interchangeable bits, a small adjustable wrench, and a hex key set can handle many flat-pack furniture and small organizer tasks. Keep these together so you are not searching through kitchen drawers during assembly.
Step 4: Add safe cutting supplies
For peel-and-stick projects, include scissors and a utility knife with a covered or retractable blade. Store blades separately from soft items, and use a cutting mat or scrap cardboard so you are not cutting directly on floors, counters, or rental surfaces.
Step 5: Add removable project helpers
Keep a few adhesive strips or hooks only if you use them often, but do not treat them as universal. Check the package each time for weight rating, surface type, indoor or outdoor use, wait time, and removal method.
Step 6: Add cleanup and removal items
A plastic scraper, microfiber cloth, and small bag for used strips or backing paper can make cleanup easier. Avoid metal scrapers on painted, finished, or delicate surfaces unless the product instructions clearly allow them.
Common Beginner Tool Kit Mistakes to Avoid
The most common mistake is buying a kit that looks useful but does not match rental life. Heavy-duty tools, big boxes, and drill-centered kits may be fine for homeowners, but they can be unnecessary in an apartment where most upgrades need to be reversible.
- Buying too much at once: start with the tasks you repeat, then add only what you actually miss.
- Ignoring product limits: weight ratings, wait times, surfaces, and removal steps are part of the project, not fine print.
- Skipping the lease check: a reversible product may still violate a lease or building rule.
- Leaving sharp tools loose: blades, awls, and screwdrivers need covered storage, especially in shared homes.
- Mixing repair supplies with daily clutter: keep the kit in one home so it stays useful instead of becoming a junk drawer.
Pros and Cons
Small enough to store
A pouch or clear bin can fit in a drawer, closet shelf, or entry cabinet without needing a dedicated toolbox.
Supports safer no-drill projects
Measuring, leveling, cleaning, and testing tools help you avoid rushed adhesive mistakes before installation starts.
Reduces duplicate buying
A defined kit makes it easier to see what you already own before buying another tape measure, screwdriver, or roll of tape.
Not enough for major repairs
A small renter kit is for everyday setup and reversible projects, not plumbing, electrical work, structural fixes, or heavy installations.
Can create false confidence
Owning the right tool does not replace checking the lease, wall condition, product instructions, or weight limits.
A Simple Checklist
Use this checklist before you call the kit complete:
- Container: does everything fit in one small pouch, tray, or box?
- Measure: do you have a tape measure, level, and pencil?
- Prep: do you have a soft cloth and the cleaning item your adhesive products require?
- Assemble: do you have a compact screwdriver, common bits, and small wrench or hex keys?
- Cut: are scissors and any blade stored safely with a cover?
- Remove: do you have a nonmetal scraper or removal helper that will not gouge the surface?
- Rules: have you checked the lease before using adhesives, hooks, decals, or anything mounted?
When to Get Extra Help
Get extra help when a project involves electricity, plumbing, heavy objects, glass-heavy mirrors, overhead placement, damaged surfaces, bathroom humidity, heat, or anything that would be expensive to repair. A small tool kit should not push you into work that belongs to a landlord, maintenance team, or qualified professional.
For everyday renter-friendly upgrades, the kit should make you slower in a good way. Measure twice, read the instructions, test a hidden area, and stop if the surface gives you a warning sign.
Frequently Asked Questions
What should I check first in a beginner tool kit?
Check whether it helps with tasks you actually repeat. Measuring, leveling, light assembly, surface prep, and safe cutting are usually more useful to renters than heavy-duty hardware.
How often should I review the kit?
Review it after each project or every few months. Remove duplicates, replace dull blades, throw away used adhesive backing, and return everything to one container.
What should I do if I am not sure a product is rental-safe?
Do not rely on the tool kit to decide. Read the product instructions, test a hidden area when appropriate, and check your lease or property rules before using adhesives or mounting products.
Can I undo these changes later?
Many renter-friendly projects are designed to be removable, but removal depends on the surface, product, age, weight, humidity, and how carefully you followed the instructions.
Final Thoughts
The small tool kit for renters who do not want a toolbox should feel calm, compact, and honest about limits. Keep the tools that help you measure, prep, assemble, trim, and remove. Skip the pieces that encourage permanent changes you cannot safely make.
Start with one small container and one real project. If the kit helps you slow down, check instructions, and leave the wall in better shape at move-out, it is doing its job.