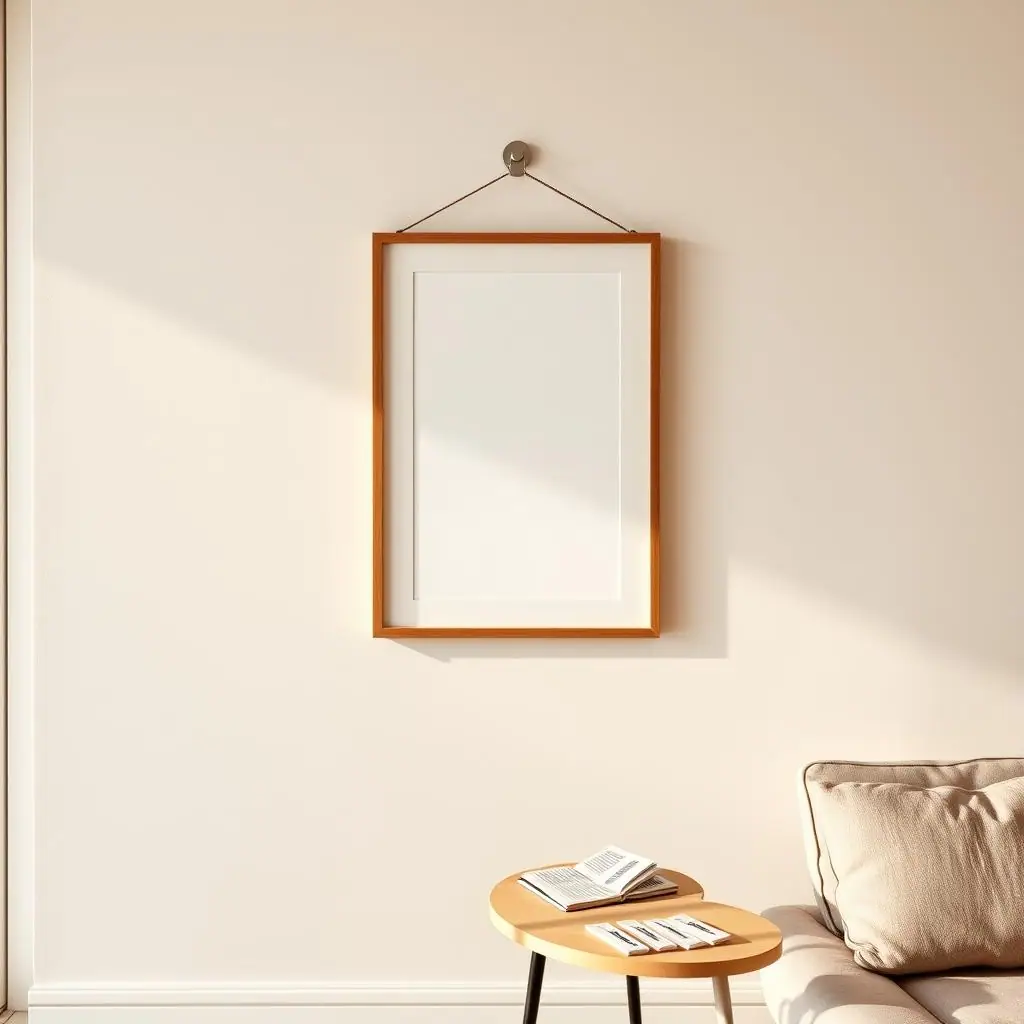
Using a level for decorating may sound like something only matters when you own power tools, install shelves, or drill into studs. For renters, it is actually one of the simplest ways to make no-drill projects look intentional instead of temporary.
A small level helps you hang lightweight frames, line up peel-and-stick pieces, place removable hooks, mark curtain alternatives, and check whether furniture is making a wall look crooked. It also slows the project down just enough to prevent the classic renter mistake: sticking something to the wall, stepping back, and realizing it is slightly off.
Why Using a Level for Decorating Matters
No-drill decorating often depends on adhesive products, painter's tape templates, and careful placement. Once a strip, hook, decal, or panel touches the wall, adjustment can be annoying. Pulling it off too soon can waste adhesive, weaken the bond, or disturb paint that was already fragile.
A level also gives you a neutral reference point. Floors, ceilings, door frames, and old trim are not always perfectly straight. If you only follow the nearest visual line, your frame may look right beside the door but wrong from across the room. A level helps you decide whether to follow true horizontal, the furniture line, or a careful compromise.
Start With the Right Level for a Rental
You do not need a contractor's kit. For most apartment decorating, a small torpedo level, a compact box level, or a phone level used carefully can handle the basics. The useful tool is the one you will actually reach for before sticking anything to the wall.
Small bubble levels are easy to trust
A physical bubble level is simple, inexpensive, and easy to keep with your painter's tape and measuring tape. It works without charging, does not require an app, and is usually easier to balance against a frame edge, tape line, or removable hook template.
Phone levels can help with quick checks
Many phones include a level feature or can run a measuring app. Use that as a quick helper, but remove bulky cases if they affect the reading and avoid relying on it for anything heavy, valuable, or hard to reposition.
What to Check Before Anything Sticks
Before using any adhesive product, confirm the surface and product instructions. Command's official product and instruction hub organizes hooks, picture hanging products, how-to guidance, FAQs, and weight-limit information, which is a good reminder that each product can have its own surface rules and waiting steps.
After checking instructions, look at the wall itself. Old paint, texture, dust, grease, humidity, or previous patching can make no-drill projects less reliable. A level can make the layout straight, but it cannot make a weak surface safe for weight.
Check the lease side too
Some rentals allow small adhesive products; others restrict anything applied to painted walls, cabinets, doors, or tile. USA.gov's housing help resources point renters toward tenant-rights and housing information, so treat your lease and written property guidance as the final rule for what you can attach.
Keep the practical standard simple: if the surface is questionable, the item is valuable, or the lease language is unclear, use a freestanding option or ask before installing.
How to Use a Level for Decorating Step by Step
This routine works for picture hanging strips, adhesive hooks, lightweight mirrors, peel-and-stick panels, temporary backsplash sheets, cord clips, decals, and small wall organizers.
Step 1: Mark the visual center
Measure the wall area or the furniture below it, then mark the planned center with a tiny pencil dot or painter's tape. Do not assume the center of the wall is the best center for the room. A sofa, desk, entry table, or bed may be the better reference.
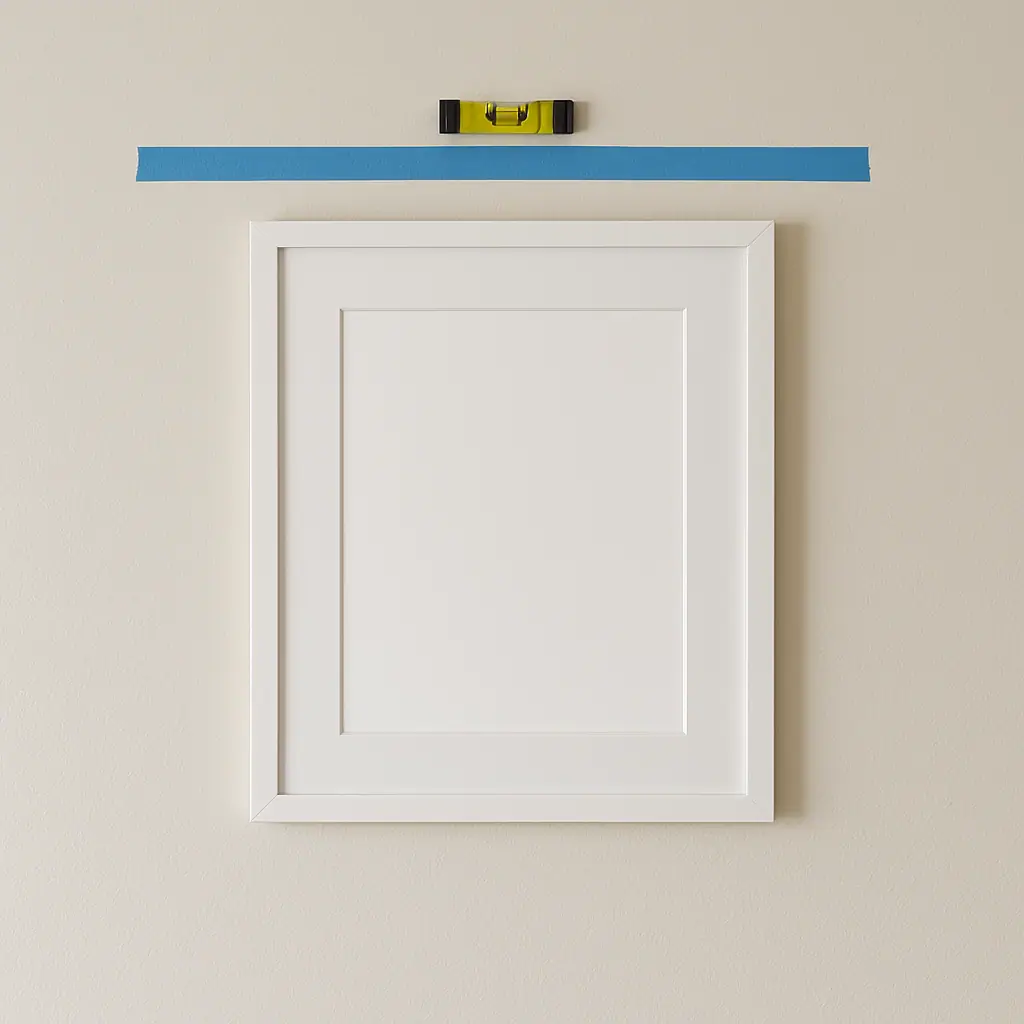
Step 2: Make a tape line
Place painter's tape where the top edge, bottom edge, or hook row should go. Put the level on the tape, adjust until the bubble is centered, then press the tape flat. This gives you a removable guide before the adhesive is exposed.
Step 3: Step back before sticking
Walk across the room and look from normal viewing spots. A perfectly level frame can still feel too high, too low, or too close to a door trim. Fix the tape now.
Step 4: Install one piece at a time
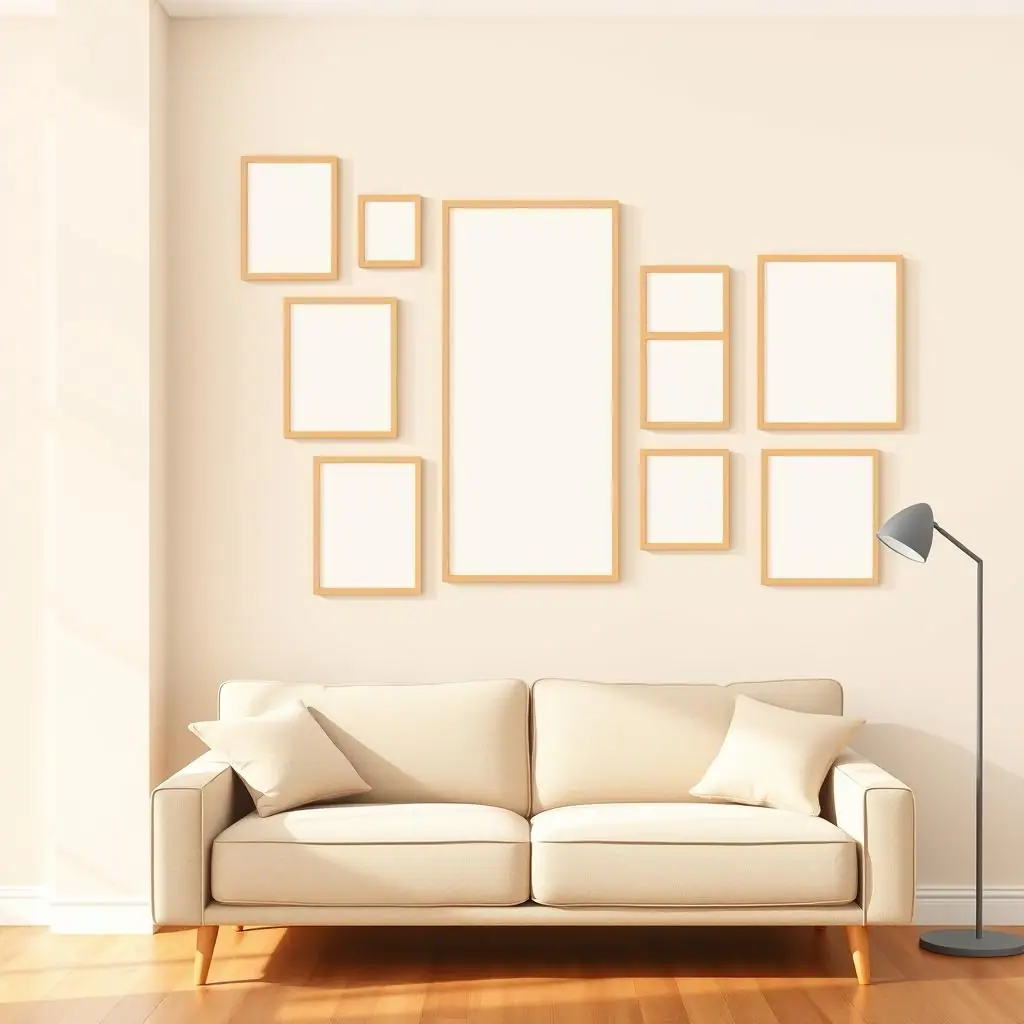
If you are placing multiple hooks or strips, install the first one, recheck the tape line, then continue. Small errors grow when you rush across a row. For gallery walls, check each frame and the whole grouping.
Step 5: Recheck after loading
Once the product has set according to its instructions and the item is hanging, check the level again. If the object shifts, remove weight and troubleshoot rather than forcing the adhesive to compensate.
Common Beginner Mistakes to Avoid
The most common mistake is using a level only at the very end. By then, the adhesive may already be attached, the decal may be partly smoothed down, or the hook may be loaded. The level belongs at the planning stage.
- Following crooked trim: baseboards, door frames, and ceilings can be slightly uneven in older rentals.
- Skipping painter's tape: a tape line lets you test the layout without committing adhesive to paint.
- Ignoring furniture: a frame should relate to the sofa, bed, desk, or table below it, not just the empty wall.
- Loading too soon: many adhesive products need setup time before they hold their intended weight.
- Trusting one reading: check from the edge of the item and from the overall grouping when the project has several pieces.
Pros and Cons
Makes no-drill decor look finished
Straight frames, hook rows, decals, and peel-and-stick lines feel more intentional, even when the project is temporary.
Reduces adhesive waste
Checking alignment before installation means fewer rushed removals, replacement strips, and second attempts.
Helps with many small projects
The same level can support picture layouts, cord clips, renter-friendly lighting, wall decals, and cabinet refreshes.
Does not solve weak surfaces
A straight layout still needs a clean, stable, allowed surface and a product rated for the item.
Can conflict with visual lines
In older rooms, true level may look slightly different from nearby trim, furniture, or sloped floors.
A Simple Checklist
Before installing a no-drill decorating project, run this quick level check:
- Surface: is the wall clean, dry, stable, and allowed by the product instructions?
- Lease: are adhesive products, decals, or removable hooks allowed on this surface?
- Reference: are you centering on the wall, furniture, or the overall room layout?
- Tape line: did you mark the top edge, hook row, or panel line before exposing adhesive?
- Level reading: did you check the line from more than one spot?
- Viewing distance: does the placement still look right from across the room?
When to Get Extra Help
Get help when the item is heavy, breakable, valuable, above a bed or sofa, near a door swing, or attached to a questionable surface. A level can guide placement, but weight, product limits, and surface condition decide whether the project belongs there at all.
Frequently Asked Questions
What should I check first when using a level for decorating?
Check the reference point first. Decide whether the project should align with the wall, the furniture below it, or a grouped layout, then mark that line with painter's tape.
How often should I recheck the level?
Check during layout, after the first adhesive piece is placed, and again after the item is loaded. Multi-piece layouts need more than one check.
What should I do if the room looks crooked even when the level is right?
Step back and compare the project with nearby furniture. Sometimes a slight visual compromise looks better than following crooked trim exactly.
Can I use a phone level instead of buying one?
For quick, light decorating checks, yes. For repeated projects, a small physical bubble level is easier to keep in a renter toolkit and usually simpler to position.
Final Thoughts
A level is not only for power tools. For renters, it is a low-cost planning tool that makes removable decorating cleaner, calmer, and easier to undo later. It helps you slow down before adhesive touches paint and gives every small project a better chance of looking deliberate.
Keep one beside your tape measure, painter's tape, and removable strips. Use it before sticking, after placing, and after loading. That small habit can make no-drill decorating feel finished without making the wall carry more risk than it should.