Peel-and-stick tile can work in a bathroom, but only when the product, wall surface, humidity level, and splash exposure all make sense. The risky part is not the word bathroom. The risky part is assuming every bathroom surface behaves like a dry kitchen backsplash.
A powder room wall, a vanity backsplash, and the inside of a shower are very different environments. Before you buy tile sheets, treat the project as a surface test rather than a quick decoration fix.
Why Bathroom Humidity Matters for Peel-and-Stick Tile
Bathrooms put adhesive products under extra stress. Steam softens some adhesives, water can work behind edges, and daily temperature changes can make weak corners lift. Even products marketed for bathrooms still have limits around direct water contact, heat, texture, and surface preparation.
That is why the safest renter-friendly answer is conditional: peel-and-stick tile may be reasonable on smooth, clean, dry bathroom walls away from constant water, but it is a poor bet on damp walls, flaky paint, textured surfaces, or shower interiors unless the manufacturer clearly approves that exact use.
Start With the Bathroom Zone
Do not decide based only on the tile pattern. First, decide where the tile would go. A wall behind a towel shelf has different risk than a strip beside a sink, and both are different from a tub surround.
Lower-risk bathroom locations
Lower-risk areas are usually dry walls with occasional humidity but little direct splashing. Examples include a small vanity accent wall, a section above a freestanding cabinet, or a decorative panel on a smooth wall away from the shower door.
Higher-risk bathroom locations
Higher-risk areas include shower walls, tub surrounds, floors that get wet, walls with condensation, and spots where caulk lines or tile edges would be constantly exposed to water. Those locations need more than a pretty adhesive face.
For a broader surface-upgrade mindset, NoDrillHome's guide to peel-and-stick backsplash for renters explains why product limits and removal planning matter before any adhesive project starts.
What to Check Before Using Peel-and-Stick Tile in a Bathroom
Peel-and-stick tile succeeds when the surface gives the adhesive a clean, stable bond. In bathrooms, that means checking both the wall and the room habits.
- Surface smoothness: Most stick-on tiles prefer smooth, non-textured surfaces. Heavy texture reduces adhesive contact.
- Paint condition: Avoid chalky, peeling, bubbling, or freshly painted walls. If paint is weak, the tile can pull it during removal.
- Moisture patterns: Look for condensation, damp drywall, mildew, or areas that stay wet after showers.
- Ventilation: A bathroom with a working exhaust fan and shorter steam periods is easier on adhesive than a constantly humid room.
- Product rating: Confirm whether the product is meant for bathroom humidity, splashes, floors, walls, or backsplash-only use.
Smart Tiles, for example, describes some peel-and-stick backsplash products as heat and humidity resistant, while also advising against direct water contact on product pages such as Smart Tiles Ravenna Inox. Use that kind of manufacturer wording as a boundary, not as decoration copy.
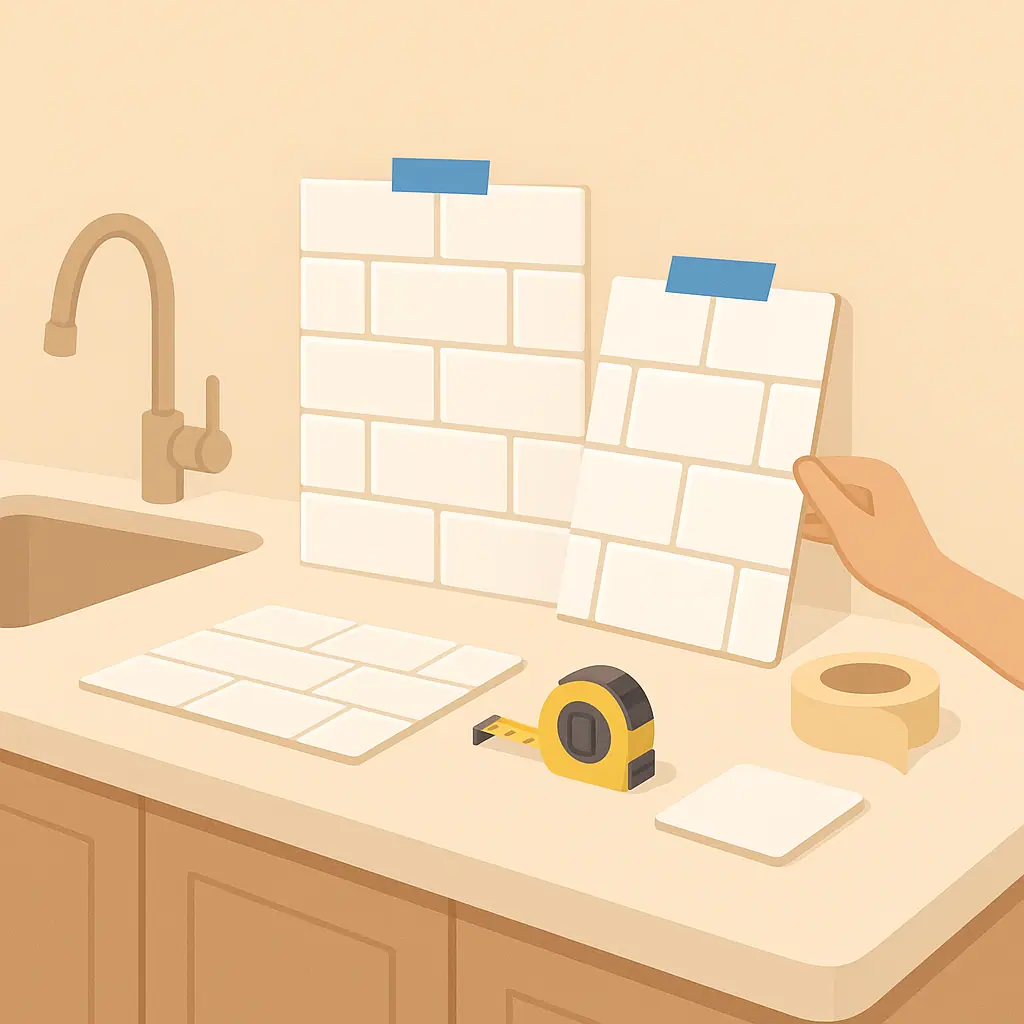
How to Handle Bathroom Peel-and-Stick Tile Step by Step
A careful bathroom tile project should feel slow at the beginning. The more you verify before sticking, the less you have to fix later.
- Pick the exact zone: Choose a dry bathroom area first. Avoid the shower, tub surround, floor, and any wall that gets regular direct water unless the manufacturer specifically approves it.
- Read the product instructions: Look for allowed surfaces, water guidance, temperature limits, curing time, and cleaning instructions.
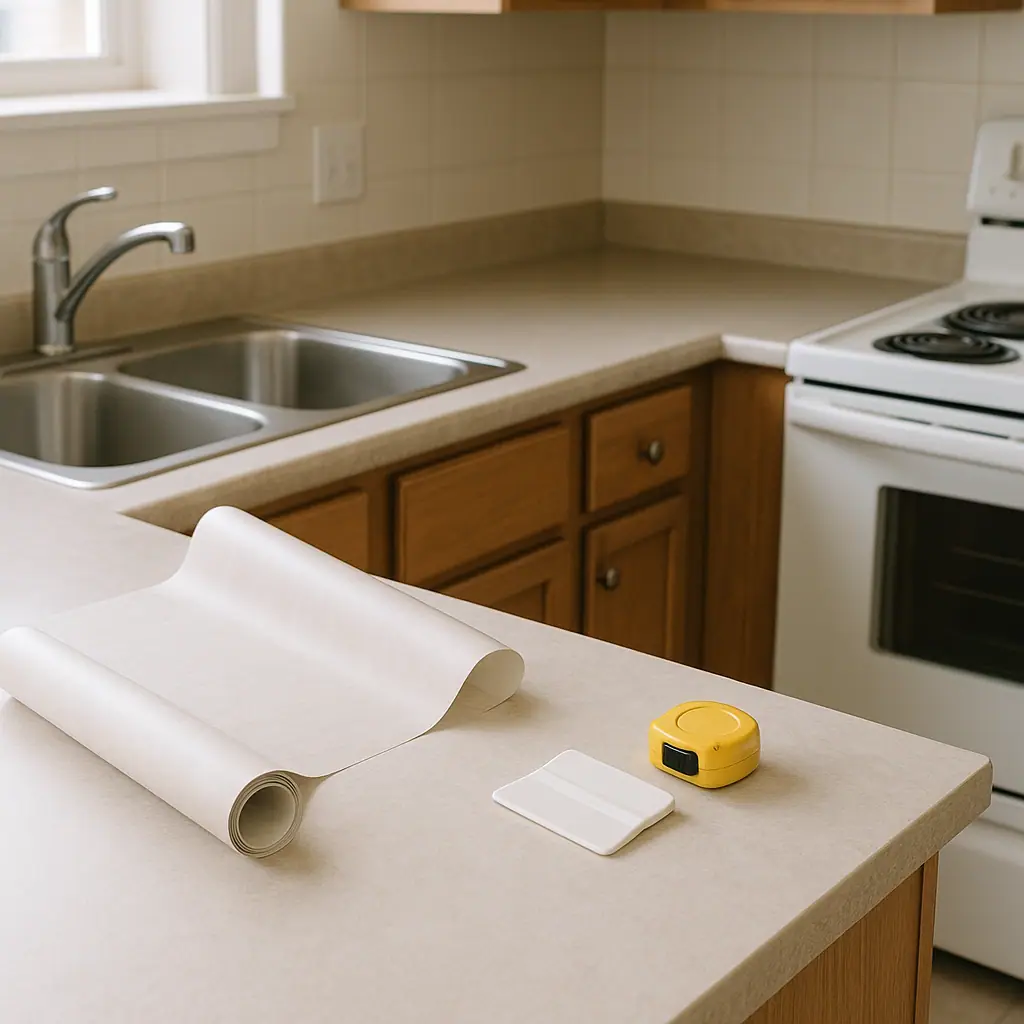
- Clean and dry the surface: Remove soap film, dust, and grease using a method allowed for that wall. Let the area dry fully.
- Run a hidden test: Apply a sample tile or small cut piece in a low-visibility spot. Watch for lifting, residue, or paint pull.
- Plan edges carefully: Water usually attacks edges first. Keep edges away from splash lines, seams, and corners that are hard to seal neatly.
- Apply firm pressure: Follow the product's pressure and waiting-time guidance. Some tiles need time to bond before cleaning or exposure.
- Inspect after showers: Check corners and seams after the first few steamy showers. Early lifting is a warning, not a minor cosmetic issue.
- Keep removal in mind: Save product details and photos so move-out removal is based on instructions instead of guesswork.
Where Peel-and-Stick Tile Makes the Most Sense
Peel-and-stick tile is best when it is decorative, lightweight, and easy to reverse. It is weakest when you ask it to act like permanent waterproof tile in a wet assembly.
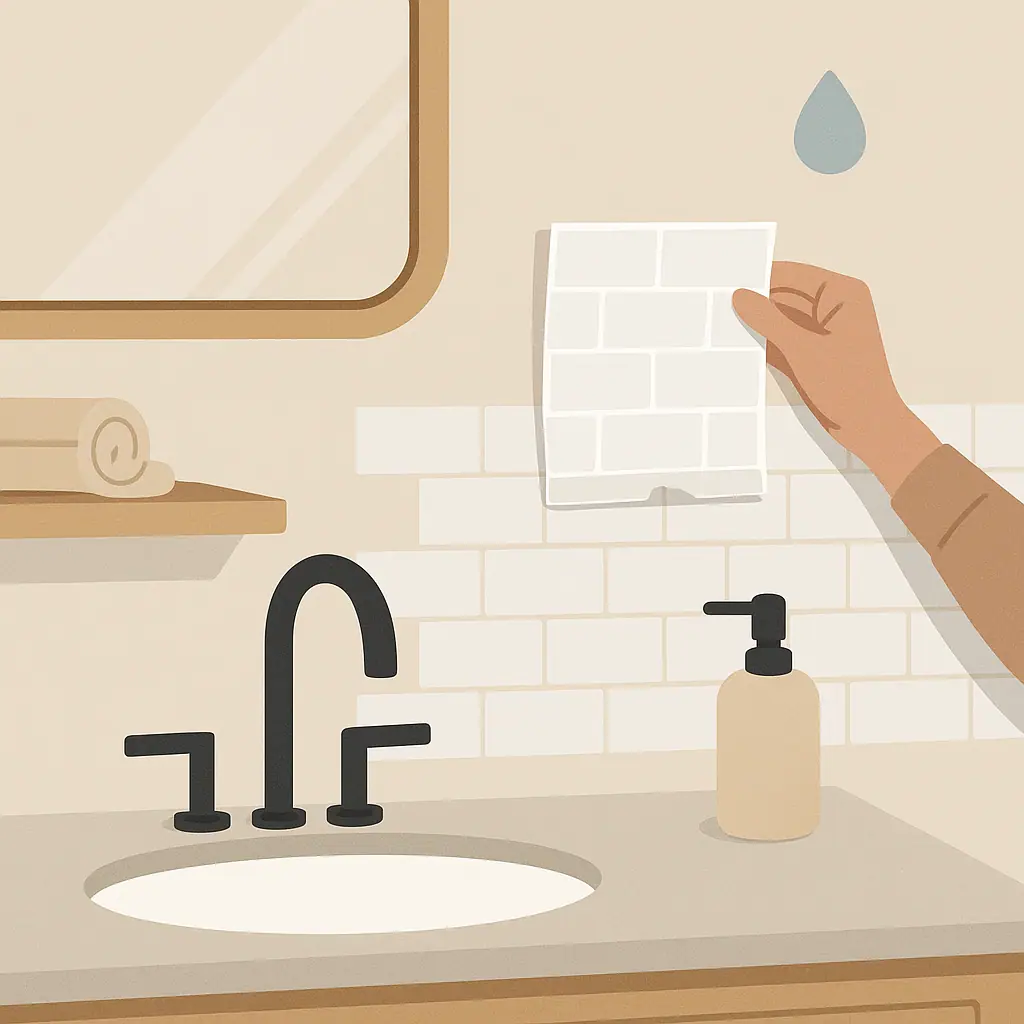
Vanity backsplash accents
A small vanity backsplash can be a good candidate if the wall is smooth, the sink does not splash heavily, and the product is approved for that use. Keep the tile above standing water and wipe splashes promptly.
Dry accent panels
A dry wall panel behind open storage or beside a mirror can add texture without challenging the adhesive every day. This is often a better first project than tiling a whole bathroom wall.
Temporary style tests
If you are unsure about a pattern, a small removable section can help you test the look before spending money on a larger upgrade. The same planning logic appears in NoDrillHome's guide to contact paper countertop mistakes: start with surfaces, edges, and daily use before judging by appearance.
Common Bathroom Peel-and-Stick Tile Mistakes to Avoid
- Using backsplash tile in a shower: Humidity resistance is not the same as direct-water approval.
- Skipping soap-film cleaning: Bathroom walls can look clean while still carrying residue that weakens adhesion.
- Covering damaged paint: Adhesive tile will not repair peeling, bubbling, or damp paint.
- Ignoring edges: Corners, seams, and cut edges are where lifting often starts.
- Forgetting lease rules: A removable product can still be a problem if the lease limits adhesive changes.
Pros and Cons for Renters
Fast visual change
A small backsplash or accent panel can make a plain bathroom feel more finished without drilling or grout.
Useful in controlled dry zones
Smooth, dry, lightly used wall areas are more forgiving than wet shower or floor zones.
Beginner-friendly layout
Small sheets are easier to cut and position than many permanent tile projects.
Moisture can expose weak spots
Steam, splashes, and trapped water can lift edges or weaken adhesive over time.
Removal depends on the wall
Weak paint, old repairs, or poor prep can make removal less predictable in a rental.
A Simple Bathroom Tile Checklist
- Lease checked: Adhesive surface changes are allowed or approved.
- Zone checked: The tile will not sit inside a shower, tub surround, or constantly wet area.
- Wall checked: The surface is smooth, dry, clean, stable, and free of mildew or bubbling paint.
- Product checked: The label or instructions allow bathroom humidity for the exact use you plan.
- Test checked: A hidden sample holds well and removes without pulling paint.
- Ventilation checked: The room can dry after showers instead of staying steamy for hours.
When to Get Extra Help
Ask your landlord or property manager before tiling a visible bathroom surface if your lease is strict, the wall is newly painted, or move-out charges are a concern. Written permission is better than a casual hallway conversation.
For surfaces with active moisture, loose paint, swollen trim, or mildew, do not cover the issue with peel-and-stick tile. That is a maintenance problem first and a decor project second.
Frequently Asked Questions
Can peel-and-stick tile work in a bathroom?
Yes, in some bathroom areas. It works best on smooth, dry, clean walls away from constant water and only when the product instructions allow bathroom use.
Can I use peel-and-stick tile inside a shower?
Do not assume so. Many bathroom-friendly adhesive tiles are humidity resistant but not intended for direct water contact. Use shower-rated materials only when the manufacturer clearly approves that use.
How often should I check bathroom peel-and-stick tile?
Check edges after the first few showers, then during normal cleaning. If corners lift or water gets behind the tile, remove or repair the problem before it spreads.
What should I do if I am not sure about the wall?
Test a hidden spot, read the product instructions, and skip the project if the surface is damp, textured, peeling, or not approved by your lease.
Final Thoughts
Peel-and-stick tile can be a smart bathroom upgrade when it stays in the right zone: smooth wall, low splash, clear product approval, and a realistic removal plan. It becomes risky when it is used as a shortcut for wet areas, damaged paint, or permanent waterproofing.
Start with one small, dry section and let the bathroom prove it can handle the adhesive before you cover more wall. That careful approach gives you a better-looking upgrade now and fewer surprises at move-out.