A peel-and-stick backsplash can make a rental kitchen feel cleaner and more finished, but it is not automatically lease-safe just because it does not need screws. The right choice depends on the surface, heat exposure, humidity, adhesive strength, and how carefully you plan removal.
Before you buy, treat this as a small surface project, not a sticker project. A renter-friendly backsplash should look better while it is up and still give you a realistic path back to the original wall at move-out.
Why a Peel-and-Stick Backsplash for Renters Needs Extra Caution
The main risk is not usually the first day of installation. Most problems show up later: lifting corners behind a sink, softened adhesive near heat, uneven seams on textured walls, or paint pulling away when the panel is removed.
Manufacturer instructions often matter more than product photos. For example, WallPops tells installers to review suitable surfaces, let newly painted surfaces cure, and test in an inconspicuous location before applying a peel-and-stick backsplash. Their installation guidance is a useful reminder to verify the exact product instructions before you commit to a whole wall: WallPops peel-and-stick backsplash installation instructions.
Start With the Surface, Not the Pattern
The easiest mistake is shopping by color first. Pretty tiles cannot fix a bad surface match. A peel-and-stick backsplash usually needs a clean, smooth, dry surface where the adhesive can make even contact. Grease, dust, bumpy paint, old caulk, and heavy texture all make failure more likely.
Good candidates
- Smooth painted drywall: Usually the most practical rental surface, as long as the paint is fully cured and not peeling.
- Existing smooth tile: Can work for some products if grout lines are shallow and the surface is thoroughly cleaned.
- Flat laminate panels: Often easier than textured walls, but still needs a test patch and clean edges.
Riskier candidates
- Textured walls: The adhesive touches only the high points, so corners and seams may lift.
- Fresh paint: Paint that has not cured can bond poorly or peel during removal.
- Damaged paint or paper-faced wallboard: Removal can pull weak layers away even if the product is labeled removable.
What to Check Before You Buy
Read the product listing and the manufacturer instructions before measuring your cart total. The best peel-and-stick backsplash for renters is usually the one with boring, specific information: approved surfaces, temperature range, cleaning steps, removal notes, and realistic photos of edges and corners.
- Check approved surfaces: Look for wording that matches your actual wall, not just a general promise that the tile is removable.
- Check heat guidance: Backsplash panels near a stove need more caution than panels behind a coffee station.
- Check moisture tolerance: Sink areas are more demanding because steam, splashes, and cleaning sprays can weaken edges.
- Check thickness: Thicker panels may hide small flaws better, but they can also make outlets, corners, and trim harder to finish cleanly.
- Check removal instructions: If the product does not explain how to remove it, do not assume move-out will be simple.
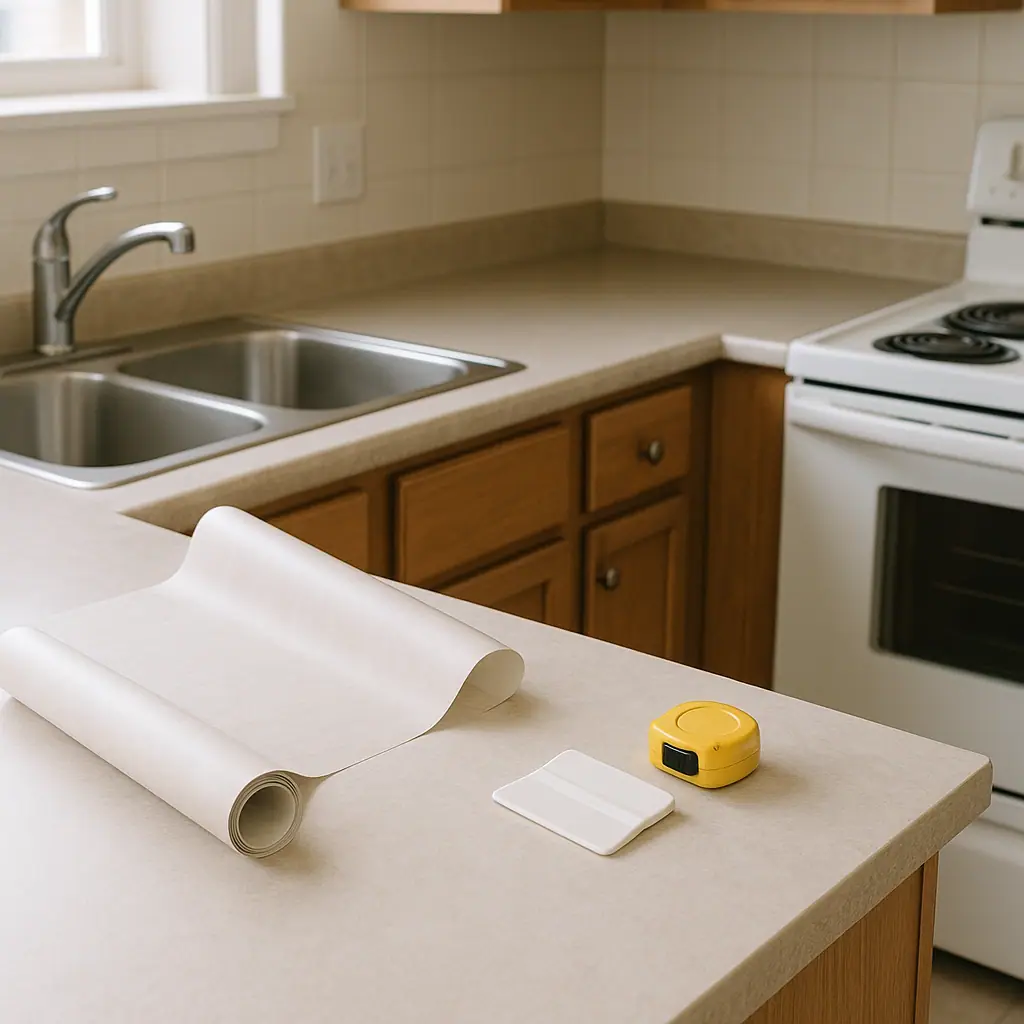
How to Plan a Peel-and-Stick Backsplash Step by Step
A calm installation starts before you peel the backing. Give yourself time to measure, clean, dry-fit, and decide where cuts will land.
1. Measure the full area
Measure width and height in several places, especially in older apartments where counters and cabinets may not be perfectly level. Add a small overage for mistakes, but avoid buying so much extra that you feel pressured to cover areas that should stay bare.
2. Clean for adhesive, not just appearance
Kitchen walls collect cooking film. Wash the wall, let it dry fully, and follow the cleaner recommended by the product maker. Do not apply panels over damp, dusty, or greasy surfaces.
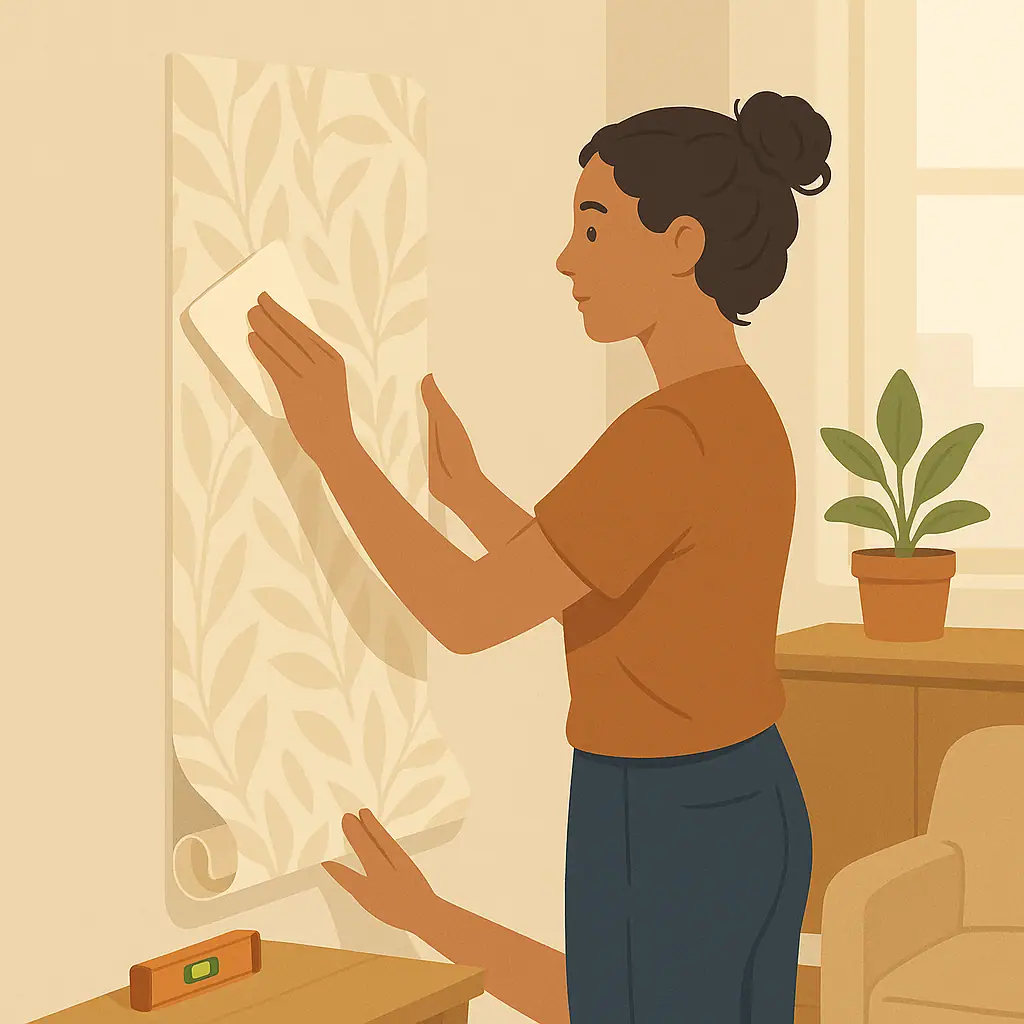
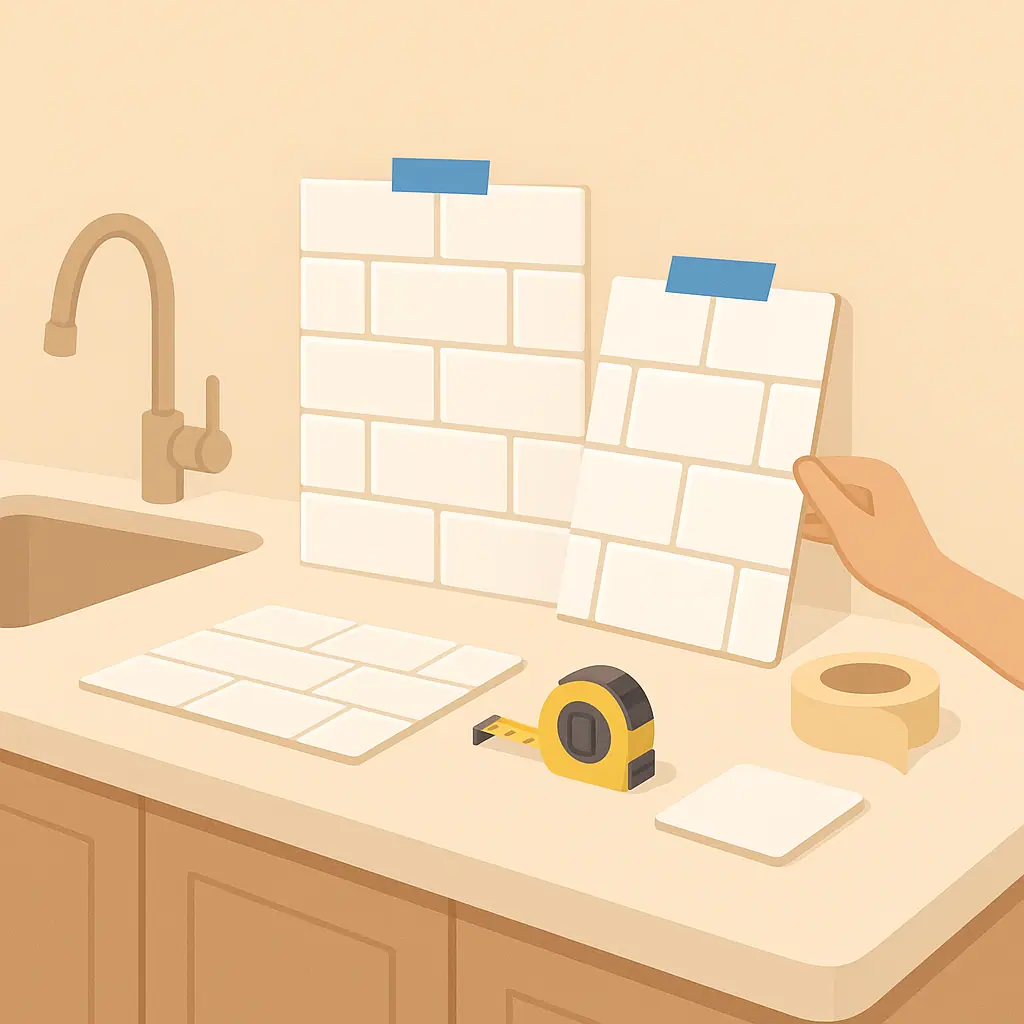
3. Dry-fit before sticking
Hold sheets in place with low-tack painter's tape and check seams, corners, outlet locations, and the visual line under cabinets. This helps you avoid a narrow awkward strip at one end.
4. Keep edges away from trouble spots
Edges fail first. If possible, avoid ending a sheet directly behind a faucet splash zone or right beside a hot burner. Use the product's recommended trim or edge method instead of improvising with heavy caulk.
Common Mistakes That Make Peel-and-Stick Surface Upgrades Fail
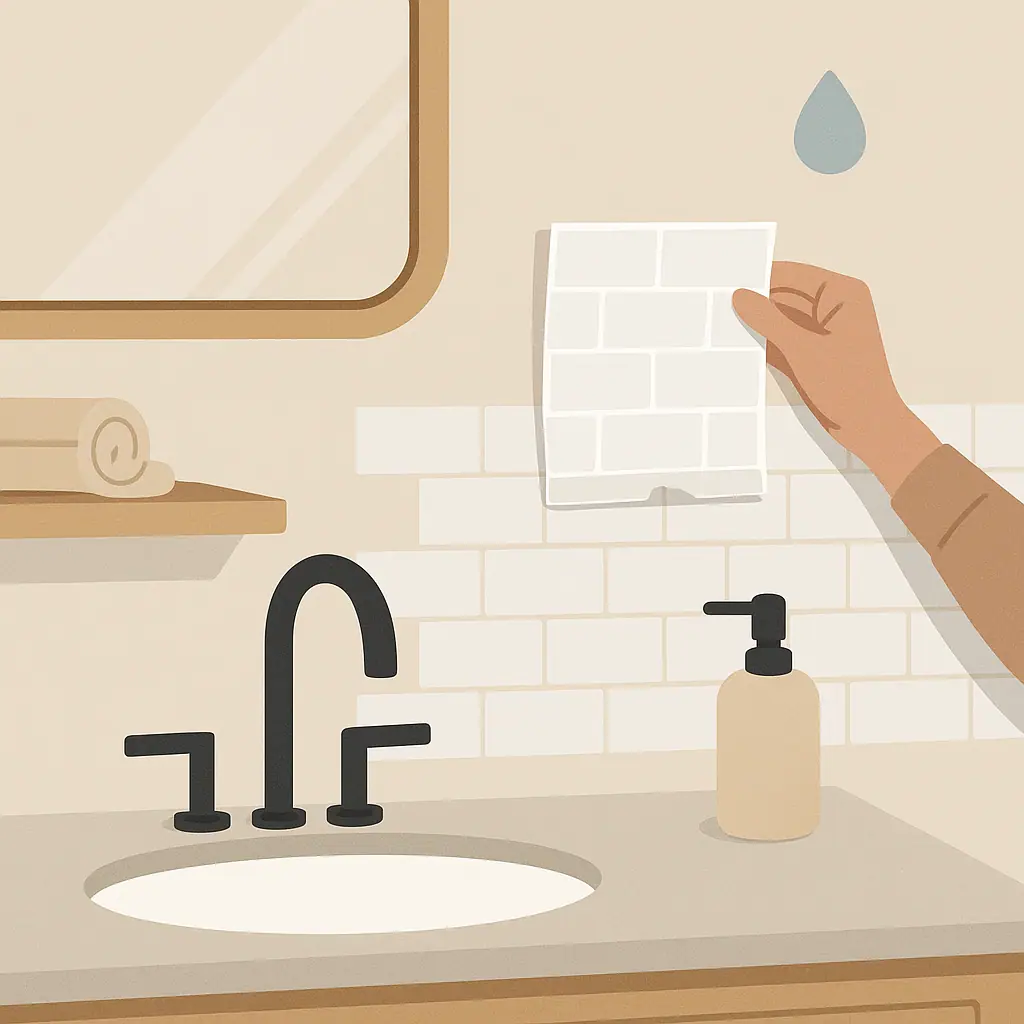
- Skipping the test patch: A test patch tells you more about your wall than any product photo.
- Ignoring outlets: Outlet covers may sit differently after thicker panels are installed. Turn off power before removing covers, and ask for help if you are not comfortable around electrical fixtures.
- Installing too close to heat: Adhesive products have limits. Keep them away from areas the manufacturer excludes.
- Covering damage: Loose paint, bubbling wallboard, or crumbling plaster should be repaired or avoided, not hidden.
- Assuming removable means damage-free: Removable is a product goal, not a guarantee for every wall condition.
Pros and Cons for Renters
Fast visual upgrade
A small backsplash area can change the feel of a kitchen without tools, grout, or permanent tile work.
Budget control
You can cover only the most visible section instead of renovating the whole kitchen.
Easy sample testing
You can usually test one small sheet before deciding whether the full wall is worth the risk.
Surface-dependent results
The same product may work well on smooth tile and fail quickly on textured paint.
Removal uncertainty
Old paint, weak primer, and heat exposure can make removal less predictable at move-out.
A Simple Buying Checklist
- Lease checked: Your rental rules allow removable adhesive wall coverings.
- Surface checked: The product instructions approve your wall type.
- Heat checked: The area is not excluded by stove or temperature guidance.
- Moisture checked: The sink zone can be cleaned and dried well before application.
- Removal checked: You understand how the product is supposed to come off.
- Sample checked: You tested a hidden area before covering the visible backsplash.
When to Choose a Different Renter-Friendly Option
Skip peel-and-stick backsplash if the wall is heavily textured, freshly painted, damp, greasy, damaged, or clearly prohibited by your lease. In those cases, a removable panel behind a coffee bar, a freestanding counter shelf, or better lighting may be safer than bonding adhesive to the wall.
The goal is not to avoid every project. The goal is to choose upgrades that match the apartment you actually have, not the apartment shown in a product photo.
Frequently Asked Questions
Can renters use peel-and-stick backsplash safely?
Sometimes. It depends on the lease, wall condition, product instructions, and removal plan. Test first and avoid damaged or textured surfaces.
Will peel-and-stick backsplash damage paint?
It can, especially on weak, old, fresh, or poorly prepped paint. Removable products still need compatible surfaces and careful removal.
Can I put peel-and-stick backsplash behind a stove?
Only if the manufacturer says the product is suitable for that heat exposure. If the instructions are unclear, choose a safer location.
How do I know how much to buy?
Measure the area, account for cuts and pattern matching, then buy a modest overage. Avoid expanding the project just because extra sheets are available.
Final Thoughts
A peel-and-stick backsplash can be a smart renter upgrade when the surface, product, and lease all line up. Start with a sample, read the instructions, and plan removal before installation day. That slower approach gives you a better-looking kitchen now and fewer surprises when it is time to move out.