Peel-and-stick wallpaper on apartment walls can make a rental feel warmer, cleaner, and more finished without paint or drilling. It can also become a frustrating move-out problem if the wall is dusty, the paint is weak, the pattern is rushed, or the removal plan is an afterthought.
The safer renter-friendly approach is simple: treat the wallpaper as a temporary surface upgrade with limits. Before you cover a wall, confirm the lease, inspect the paint, read the product instructions, and decide how you will remove it later.
Why Peel-and-Stick Wallpaper on Apartment Walls Matters
Apartment walls are not all the same. Some have fresh paint that still needs curing time. Some have old flat paint that marks easily. Others have texture, patched spots, moisture issues, or previous adhesive damage. Peel-and-stick wallpaper may look simple, but it depends on the surface underneath.
That is why prep matters more than the print. A beautiful pattern will not fix dust, peeling paint, uneven seams, or a wall that should not receive adhesive in the first place.
Start With Peel-and-Stick Surface Upgrades
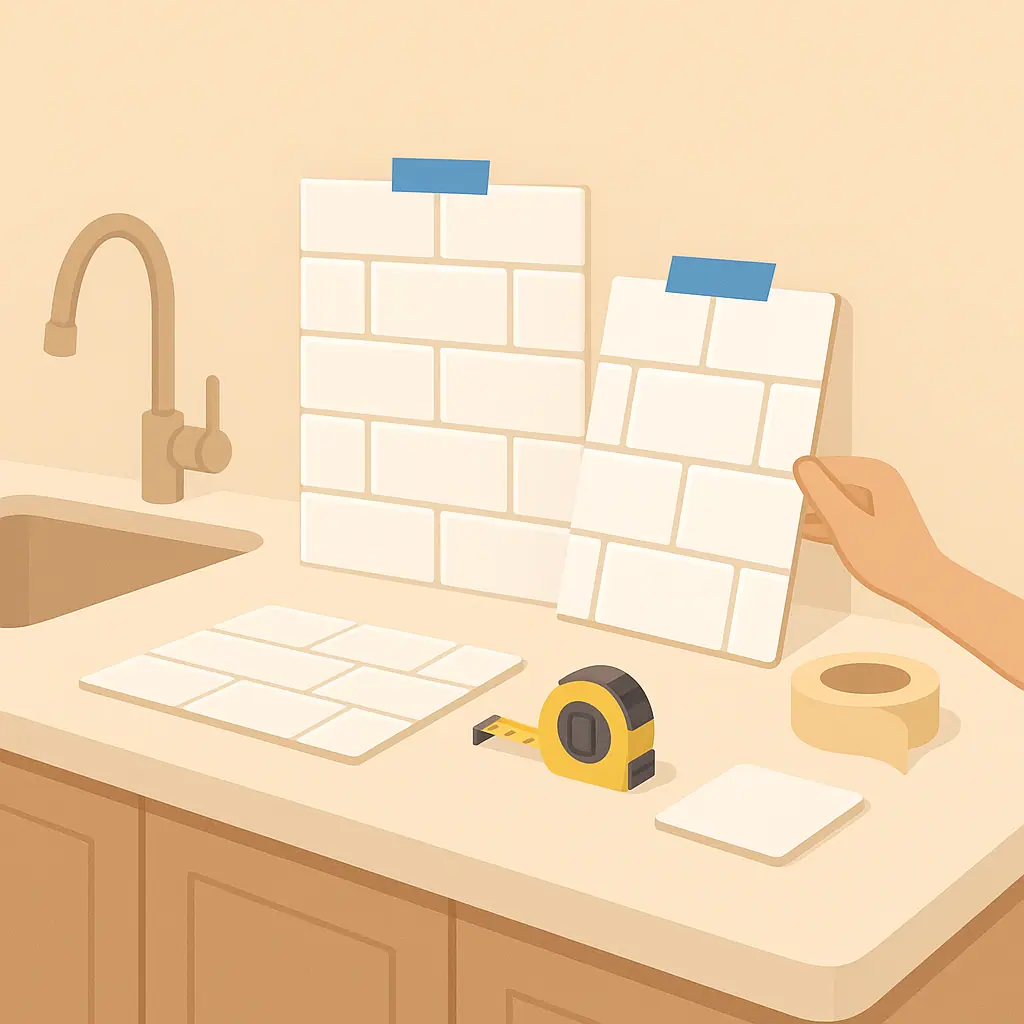
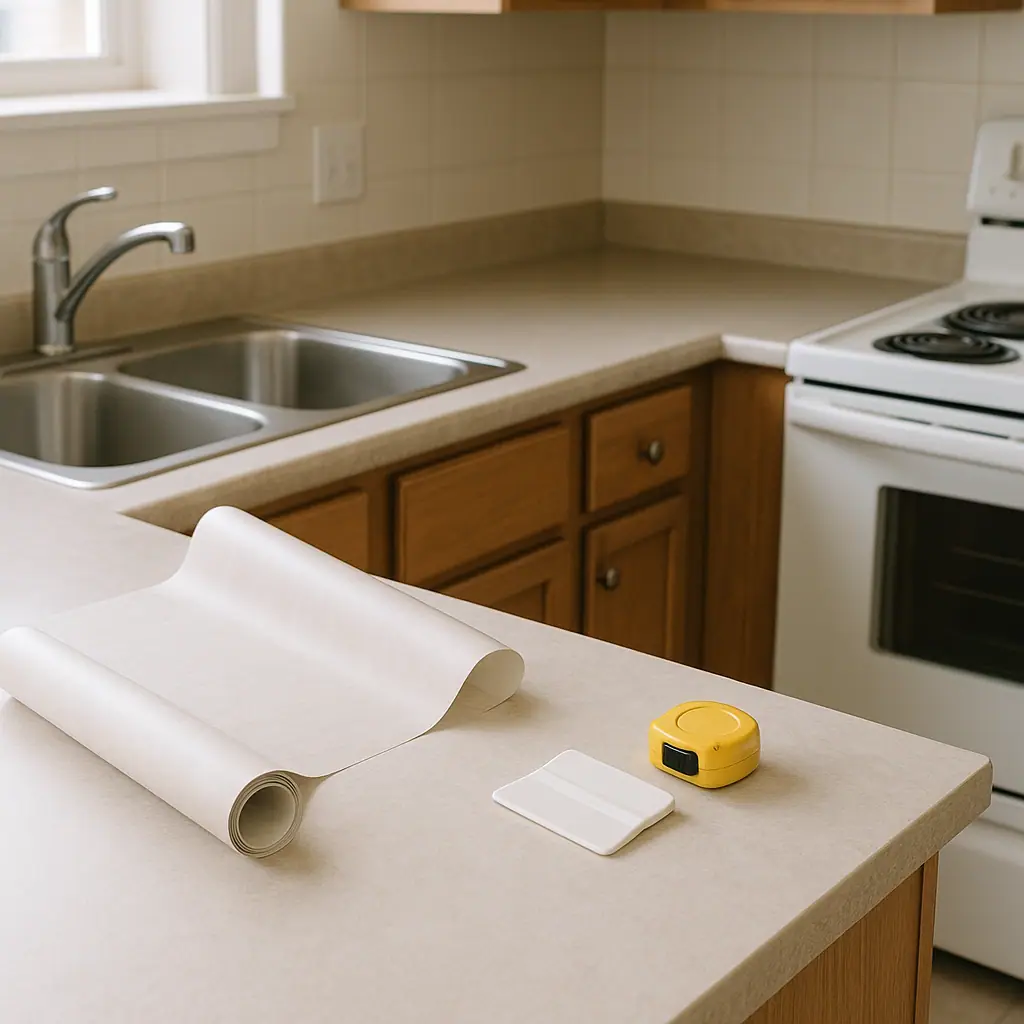
Peel-and-stick wallpaper belongs to the same family as contact paper, decals, backsplash panels, and removable films. These upgrades work best when the surface is smooth, clean, dry, and stable. They work worst when they are used to hide a wall problem that should be repaired or left alone.
If you are comparing wallpaper with other rental surface projects, NoDrillHome's guide to contact paper countertop mistakes is a useful reminder: edges, seams, product limits, and surface prep decide whether a temporary upgrade looks intentional.
Wallpaper has one extra challenge. It covers a large vertical area, so small alignment mistakes can become obvious from across the room. Plan the first panel carefully instead of hoping later panels will hide it.
What to Check First for Peel-and-Stick Wallpaper on Apartment Walls
Before you order rolls, look at the wall in daylight. Stand close, then step back. You are checking for texture, paint condition, moisture risk, and anything that could make adhesive removal unpredictable.
Wall surface and paint condition
Peel-and-stick wallpaper usually prefers smooth, clean, non-textured walls. Heavy orange-peel texture, loose paint, chalky matte paint, patched areas, and damp walls can all reduce adhesion or make removal riskier. If paint flakes when you touch it, do not cover the problem with wallpaper.
Product instructions
Use the product instructions as the final rule for surface prep, application, cleaning, and removal. For example, Con-Tact Brand's support page reminds customers to rely on product-specific directions and common questions before applying adhesive coverings: Con-Tact Brand common questions.
Lease and move-out expectations
A project can be physically removable and still violate a lease. If your lease limits adhesive wall coverings, painted surfaces, or decorative changes, ask your property manager before installing wallpaper. Keep written approval when possible.
How to Handle Peel-and-Stick Wallpaper on Apartment Walls Step by Step
A clean wallpaper project is mostly slow measuring and patient alignment. The actual sticking should feel like the final step, not the first decision.
- Choose the wall carefully: Start with a dry, smooth, low-humidity wall away from heat, splashing water, and constant furniture bumps.
- Clean gently: Remove dust and surface grime with a mild cleaning method allowed by the wall finish. Let the wall dry fully before testing adhesive.
- Test a hidden area: Apply a small sample in a closet, behind furniture, or near a low corner. Leave it long enough to check adhesion and removal behavior.
- Measure the wall height and width: Measure in more than one place. Apartment walls are not always perfectly square, especially near corners and ceilings.
- Plan the first panel: Use a level or plumb line. Do not assume the ceiling, baseboard, or corner is straight.
- Dry-fit the pattern: Unroll panels before sticking them. Match repeats and decide where seams will be least noticeable.
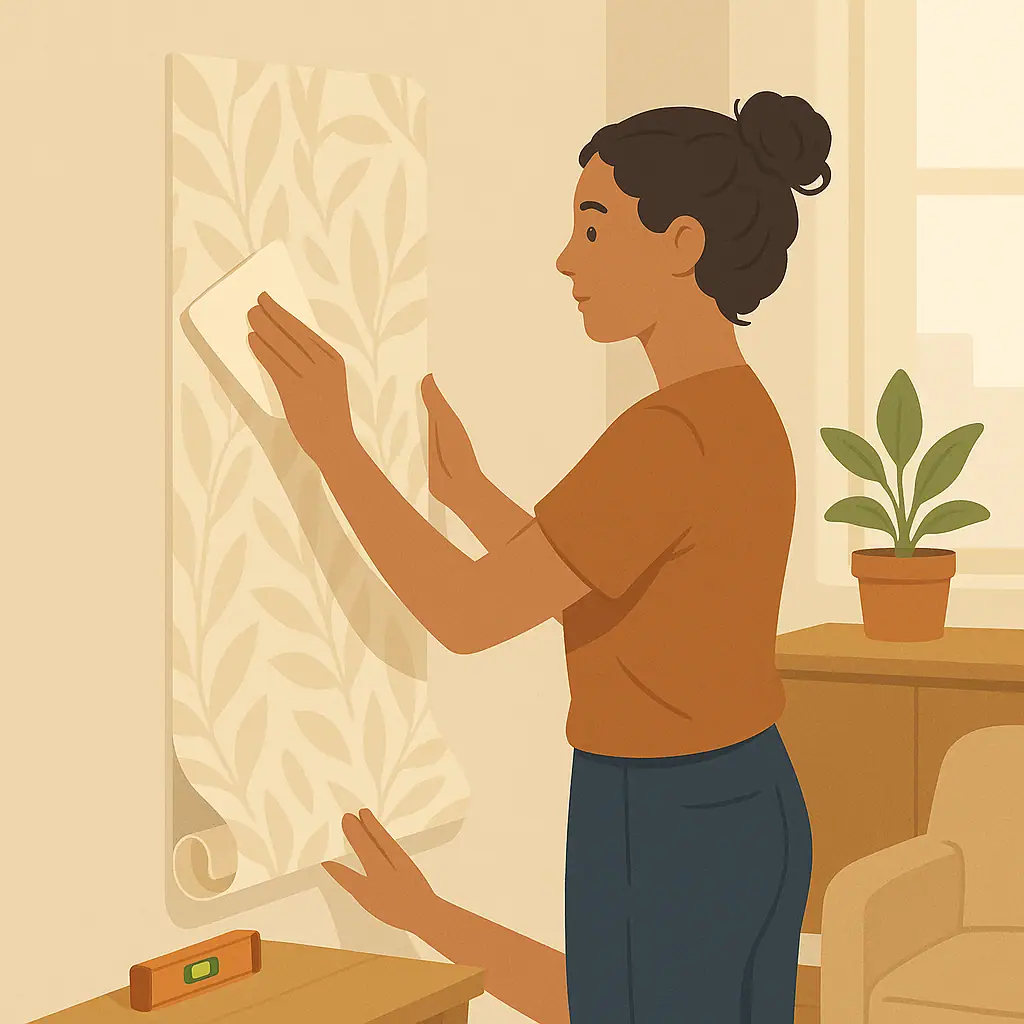
- Peel the backing gradually: Start at the top, expose a small section, and smooth from the center outward. Work slowly to avoid bubbles and wrinkles.
- Trim with a sharp blade: Use a fresh blade around outlets, trim, ceilings, and baseboards. Dull blades can tear the paper and leave rough edges.
- Save removal notes: Keep the product label, order page, and installation notes so you know what you used when move-out arrives.
Placement Tips That Make the Result Look Intentional
Placement is where a beginner project can start looking custom. You do not need to cover every wall. In many rentals, one controlled area looks better and removes more easily than a whole-room wrap.
Use an accent wall first
An accent wall behind a bed, desk, or small dining table gives the room a finished feel without covering every painted surface. It also limits removal work later.
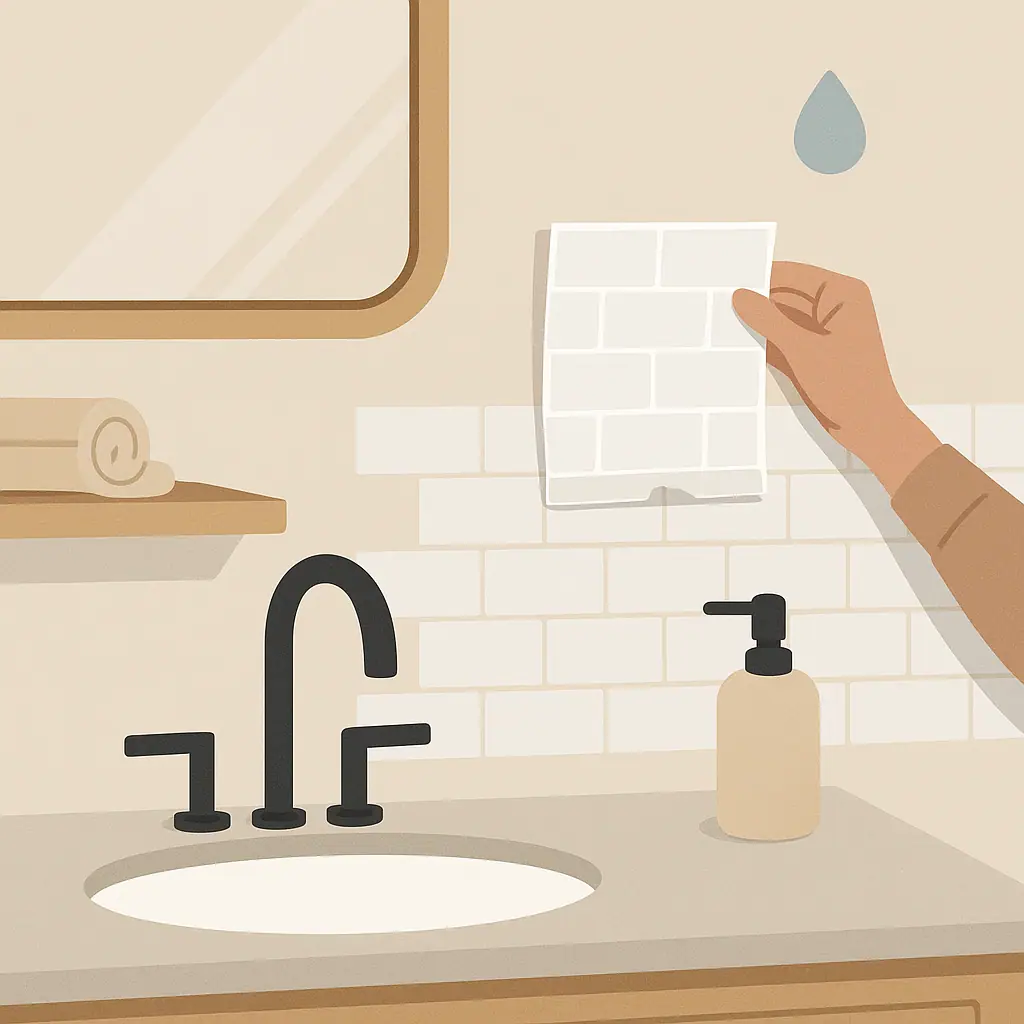
Avoid problem zones
Bathrooms, backsplashes, radiators, and exterior walls with condensation can be harder on adhesive. If the area regularly gets humid, warm, or splashed, choose a different upgrade unless the product instructions clearly allow that location.
Think about furniture and edges
Furniture can hide a bottom edge, but it can also rub the paper. Leave room behind desks, chairs, and shelves so corners do not peel from daily contact.
For another apartment-wall project, NoDrillHome's guide to making a gallery wall without damaging apartment walls shows the same principle: layout decisions should happen before anything touches the wall.
Removal Planning Before You Install
The best time to think about removal is before the first panel goes up. That way, you can avoid surfaces and locations that are more likely to create damage later.
- Photograph the wall first: Keep clear before photos of paint condition, corners, outlets, and any existing marks.
- Keep a product record: Save the brand, pattern, roll number if available, and instructions.
- Do not seal edges permanently: Caulk, glue, or extra tape can turn a removable project into a harder repair job.
- Remove slowly: When it is time to take the wallpaper down, follow the maker's removal guidance and pull carefully rather than ripping.
- Stop if paint lifts: If removal starts pulling paint, pause and reassess instead of forcing the panel off.
Common Peel-and-Stick Surface Upgrades Mistakes to Avoid
- Skipping verification: Do not rely only on a short video. Check the lease, wall condition, and product instructions.
- Starting in a crooked corner: Use a level. Corners and ceilings can be slightly off, and the pattern will reveal it.
- Buying barely enough material: Pattern matching, mistakes, and trimming require extra material.
- Covering active damage: Peeling paint, damp spots, and soft patches should not be hidden under adhesive paper.
- Working alone on long panels: A second set of hands can keep the backing controlled and reduce wrinkles.
Pros and Cons for Renters
Big visual change without drilling
One wall can change the feel of a room without holes, anchors, or paint.
Good for controlled accent areas
A small wall, alcove, or desk nook is easier to install and remove than a full room.
Beginner-friendly when planned slowly
The work is mostly measuring, cleaning, aligning, and smoothing, not power tools.
Surface risk is real
Weak paint, texture, moisture, and old repairs can make adhesion or removal less predictable.
Pattern alignment takes patience
Large repeats and vertical lines can make small mistakes easy to see.
A Simple Checklist
- Lease checked: Adhesive wall coverings are allowed or approved.
- Wall checked: The surface is smooth, clean, dry, and stable.
- Product checked: The wallpaper is suitable for painted interior walls.
- Test patch checked: Adhesion and removal both look acceptable.
- Layout checked: The first panel line is level and pattern repeats are planned.
- Removal checked: You know how you will take it down at move-out.
When to Get Extra Help
Ask for help if the wall is textured, freshly painted, damp, or already damaged. It is also smart to ask before covering a large wall in a strict apartment building, dorm, or short-term rental.
For installation, get a second person for tall or wide panels. One person can hold the backing while the other smooths the wallpaper. That simple help can prevent a crooked first panel and trapped wrinkles.
Frequently Asked Questions
What should I check first before using peel-and-stick wallpaper on apartment walls?
Check the lease, the wall surface, and the product instructions. Then test a hidden area before installing wallpaper on a visible wall.
How often should I review the wallpaper after installation?
Check edges after the first few days, then during normal cleaning. Early lifting is easier to fix before dust or moisture reaches the adhesive.
What should I do if I am not sure the paint is strong enough?
Do not guess. Try a small hidden test patch, read the product instructions, and avoid that wall if paint lifts or the surface feels chalky.
Can I undo peel-and-stick wallpaper later?
Often, yes, but removal depends on the product, paint, wall condition, installation time, and care during removal. Plan that step before installing.
Final Thoughts
Peel-and-stick wallpaper on apartment walls works best when it is treated as a careful, temporary upgrade. Choose a stable wall, test first, align the first panel slowly, and keep removal in mind from the start.
That slower method gives you a room that feels more personal now and a cleaner path back to the original wall when it is time to move.