Contact paper countertops can make an old rental kitchen feel cleaner, brighter, and more intentional without replacing a single surface. But the same project can also look wrinkled, plasticky, and temporary when beginners rush the prep, choose the wrong film, or treat a hardworking counter like a low-traffic shelf.
The goal is not to make contact paper pretend to be stone forever. The goal is to create a reversible surface upgrade that photographs well, handles normal light use, and can come off with less drama when your lease or taste changes.
Why This Matters
Countertops sit in the most visible part of many kitchens. If the edges lift, seams wander, bubbles catch the light, or corners look roughly cut, the whole room can feel cheaper even if the pattern itself is pretty.
Beginners often focus on the marble print first. A better starting point is the surface underneath, the product instructions, and the parts of the counter that get water, heat, crumbs, and daily wiping.
Start With Peel-and-Stick Surface Upgrades
Contact paper is part of the larger peel-and-stick surface upgrade family. It works best when the surface is smooth, clean, dry, and stable. It works worst when people ask it to cover damage, bridge deep seams, or survive conditions the product was never designed for.
If you are comparing this project with other rental kitchen changes, it helps to think in layers. A backsplash usually deals with vertical splash and heat zones; a counter deals with direct contact, cleaning, crumbs, appliances, and elbows. That is why a peel-and-stick counter needs more careful planning than many wall projects.
For a related surface project, NoDrillHome's guide to peel-and-stick backsplash for renters covers wall-specific checks. Countertops need the same caution, plus extra attention to edges, seams, and daily wear.
What to Check First
Before you buy a roll, look at the counter like an installer instead of a decorator. Run your hand across the surface. Check the front lip, corners, sink edge, seams, and any areas where old laminate is swollen or peeling.
Surface condition
Contact paper will not make a bumpy or damaged counter flat. It may hide color, but it can highlight texture. Chips, deep scratches, raised seams, and peeling laminate often show through the film or create weak spots where moisture can sneak under the edge.
Product instructions
Use the maker's instructions as the final rule for cleaning, surfaces, and removal. Con-Tact Brand's own FAQ page notes that rolls include instructions and product-specific guidance, which is a good reminder not to rely only on social media tutorials: Con-Tact Brand common questions.
Lease and removal risk
If your lease limits adhesive coverings or changes to counters, ask before applying film. A project can be physically removable and still create a lease problem if the property rules prohibit it.
How to Handle Contact Paper Countertops Step by Step
A neat result comes from slowing down before the backing comes off. The best-looking contact paper countertops usually have boring prep behind them.
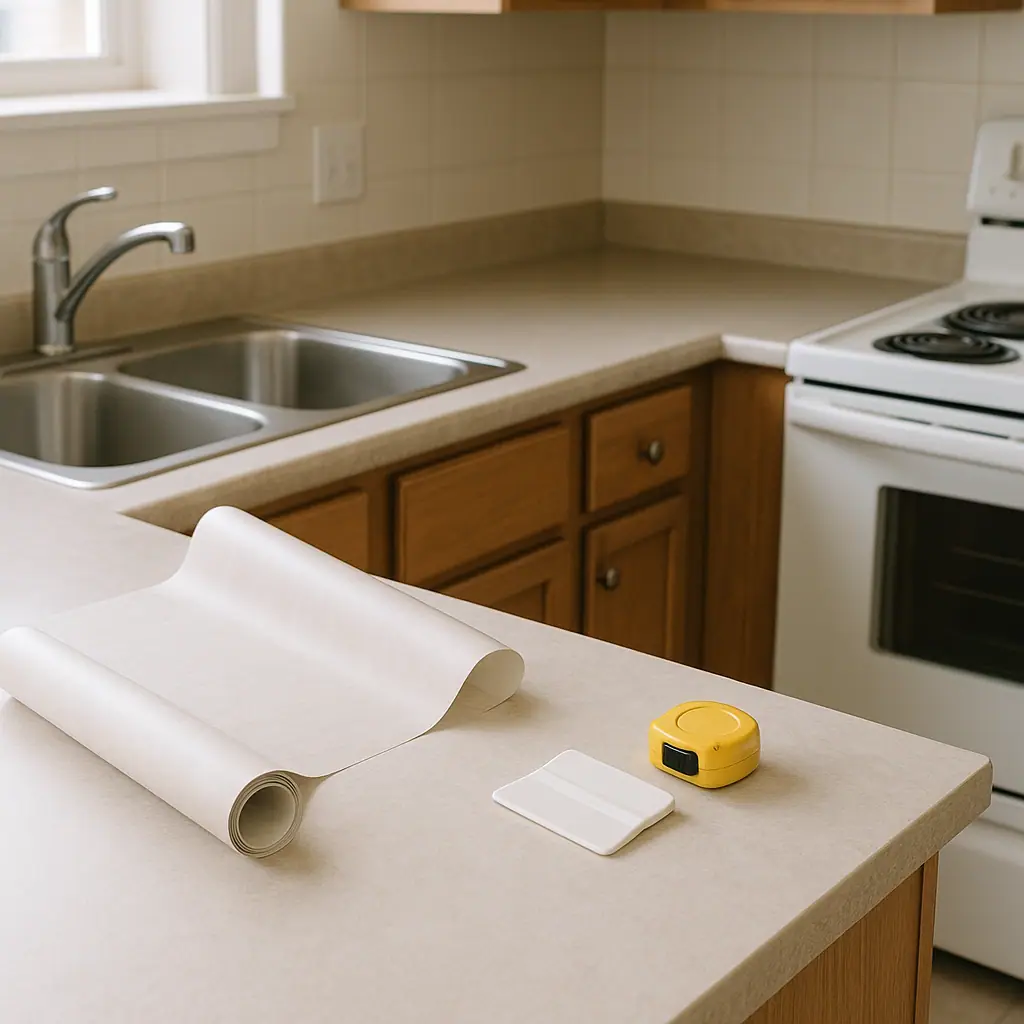
- Clear and clean the counter: Remove appliances, crumbs, grease, soap film, and dust. Let the surface dry fully before measuring.
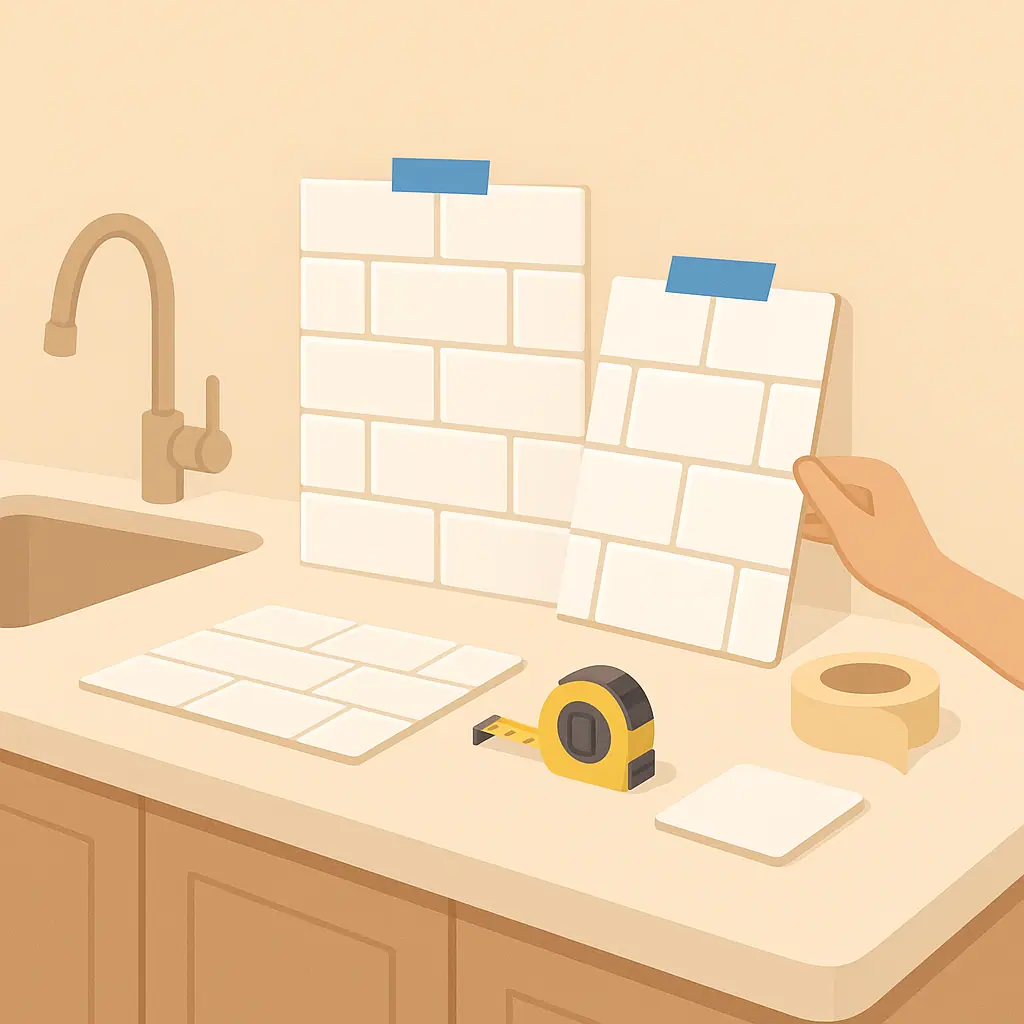
- Measure more than once: Measure the depth, width, front edge, and backsplash return if you plan to wrap any vertical surfaces. Add modest extra for mistakes and pattern matching.
- Dry-fit the layout: Unroll the paper over the counter with the backing still on. Decide where seams will land before adhesive touches the surface.
- Start with a straight anchor line: Use the counter edge or a lightly marked guide to keep the first section square. A small angle at the start becomes obvious across a long counter.
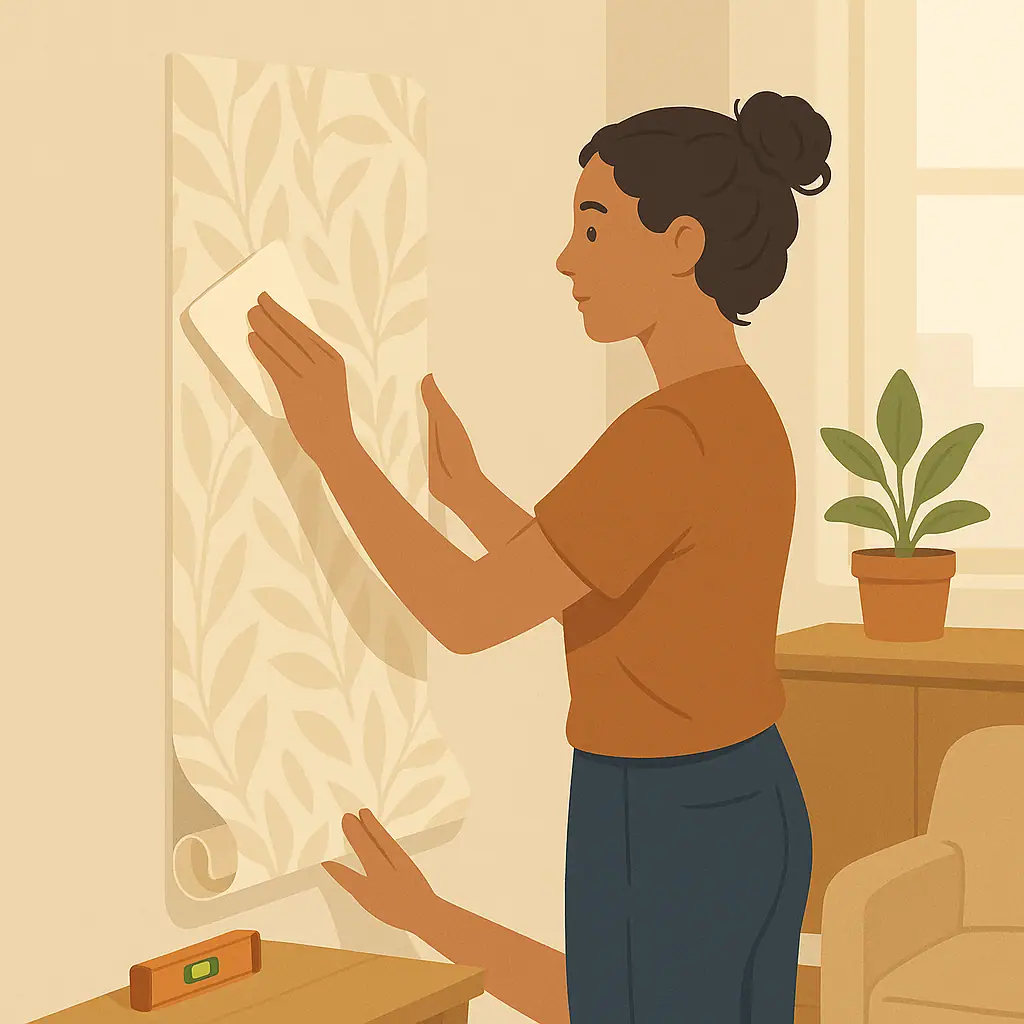
- Peel slowly and smooth as you go: Pull the backing a few inches at a time while smoothing outward with a plastic card or squeegee wrapped in a soft cloth.
- Trim with a sharp blade: Dull blades drag, tear, and leave fuzzy edges. Replace the blade before cutting around sinks, corners, or seams.
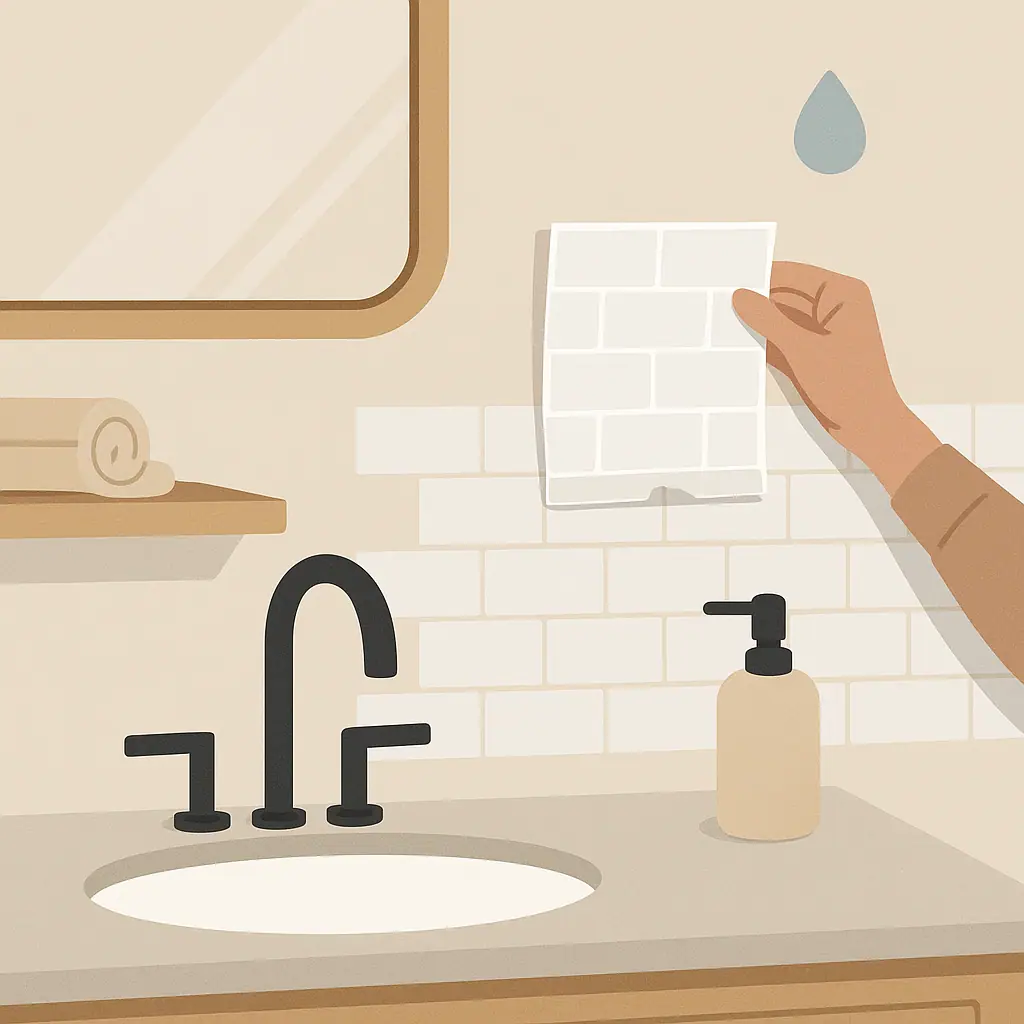
- Protect the edges: Pay special attention to the sink rim, front lip, and corners. These areas decide whether the project looks finished or temporary.
Beginner Mistakes That Make Contact Paper Countertops Look Cheap
Most cheap-looking results come from a few repeatable mistakes. Fixing these before installation makes a bigger difference than buying a more dramatic pattern.
Choosing a pattern that is too glossy or too fake
High-gloss marble prints can look harsh under kitchen lights, especially when the repeat pattern is obvious. A softer stone, terrazzo, concrete, butcher-block, or muted solid pattern often reads more believable in a rental.
Ignoring seams
A seam through the middle of the most visible counter section draws the eye. Place seams near corners, appliance zones, or natural breaks when possible. If the pattern has veining, dry-fit both pieces so the repeat does not clash.
Wrapping damaged edges without a plan
The front edge is where contact paper countertops often look sloppy. If the lip is chipped or curved, practice on a scrap first. A clean, deliberate edge looks better than stretching the film around a shape it cannot hold.
Working too fast around the sink
Water exposure makes sink edges unforgiving. Take your time, cut cleanly, and avoid leaving small lifted flaps that can catch moisture during daily cleaning.
Common Peel-and-Stick Surface Upgrades Mistakes to Avoid
- Skipping surface prep: Adhesive needs a clean, dry surface. Wiping only the visible crumbs is not enough.
- Covering active damage: Loose laminate, swelling, or crumbling edges should not be hidden under film without understanding the removal risk.
- Using shelf liner in the wrong place: Some liners are meant for drawers or shelves, not busy counters. Check the product's intended use.
- Forgetting heat zones: Keep hot pans, toaster ovens, kettles, and coffee makers from stressing the film unless the product specifically allows that use.
- Cleaning too aggressively: Scrubby pads and harsh cleaners can dull, scratch, or lift the surface. Use gentle cleaning unless instructions say otherwise.
Pros and Cons for Renters
Low-commitment visual change
You can refresh a dated counter without demolition, drilling, or permanent replacement.
Budget control
A small kitchen counter can often be tested with one roll before you commit to a larger project.
Good practice for careful DIY
The project teaches measuring, trimming, and surface prep without power tools.
Not a true countertop replacement
Contact paper is still a film, so it has limits around heat, scratches, water, and heavy daily use.
Removal depends on the original surface
Weak laminate, old adhesive, and painted surfaces can make removal less predictable.
A Simple Checklist
- Lease checked: Adhesive counter coverings are allowed or approved.
- Surface checked: The counter is smooth, dry, stable, and not actively peeling.
- Instructions checked: The product is suitable for your intended use and cleaning habits.
- Pattern checked: The finish looks believable in your kitchen light.
- Seams checked: You know where each seam will land before peeling the backing.
- Removal checked: You understand the likely process before move-out.
If the counter has texture, swelling, or a finish you are nervous about, review NoDrillHome's advice on decorating textured surfaces without drilling. The surface-first mindset applies here too: if the base is unreliable, the upgrade will be unreliable.
When to Get Extra Help
Ask for help if the counter has damage, if you need to work around a sink cutout, or if the lease language is unclear. Do not guess about permission, heat limits, or removal just because a short video made the project look easy.
It is also worth getting a second set of hands for long runs. One person can guide the backing while the other smooths the film. That simple teamwork can prevent crooked seams and trapped bubbles.
Frequently Asked Questions
What should I check first before using contact paper on countertops?
Check the lease, the counter condition, and the product instructions. If any of those raise concerns, test a hidden spot before covering the visible surface.
How often should I review the edges after installation?
Check the edges after the first few days, then during normal weekly cleaning. Early lifting is easier to address before water or crumbs get underneath.
What should I do if I am not sure the surface is safe?
Do not guess. Read the product instructions, test a small hidden area, and ask your landlord or property manager if lease approval is unclear.
Can I undo contact paper countertops later?
Often, yes, but removal depends on the film, adhesive, surface condition, and how long it has been installed. Plan removal before you install it.
Final Thoughts
Contact paper countertops look best when the project is treated like a careful surface upgrade, not a quick sticker fix. Choose a believable pattern, respect the product limits, place seams thoughtfully, and test before you cover the whole counter.
That slower approach gives you a kitchen that feels more finished now and a cleaner path back to the original surface later.