How to create an entryway drop zone without drilling starts with a simple question: what keeps landing in the wrong place when you walk in the door? Shoes, keys, mail, bags, dog-walk supplies, umbrellas, and headphones all need a home that is easy to reach in real life, not just pretty in a photo.
For renters, the goal is not to copy a built-in mudroom. The goal is a small, reversible system that handles daily clutter without wall holes, permanent hardware, or a move-out surprise. A good drop zone should be light, easy to reset, and honest about what adhesive hooks, baskets, carts, and freestanding pieces can safely handle.
Why This Matters
An entryway is usually where clutter begins. If the first surface inside your home is too small, too far away, or missing completely, daily items spread to chairs, counters, floors, and kitchen tables. That makes the whole apartment feel messier than it really is.
The other reason this matters is lease risk. A mounted rail, shelf, or permanent hook may be useful, but it can also create paint damage or require permission. A no-drill setup gives you more room to test the routine before making anything harder to undo.
Start With Lightweight Storage and Organization
Lightweight storage and organization works best when every piece has one clear job. Instead of buying a large organizer first, map the daily items that enter and leave your home. Keep the list short: keys, wallet, mail, sunglasses, reusable bags, leash, umbrella, or the one bag you carry most days.
Sort items by weight and frequency
- Daily and light: keys, sunglasses, mail, ID badge, headphones, and a small wallet can live in a tray, shallow basket, or lightweight hook.
- Daily and bulky: backpacks, tote bags, umbrellas, and dog-walk supplies usually need a stronger freestanding piece or over-the-door option.
- Occasional: guest items, seasonal accessories, and extra bags should not take the easiest landing spot.
- Heavy or risky: tools, large bags, loaded backpacks, glass containers, and wet gear should stay off adhesive wall hooks unless the exact product and surface clearly support them.
Choose one landing surface
A drop zone fails when every item has a different home. Start with one landing surface: a narrow console, small shoe bench, rolling cart, cube organizer, or wall-safe tray on top of a cabinet. Then add only the no-drill pieces that solve a specific problem.
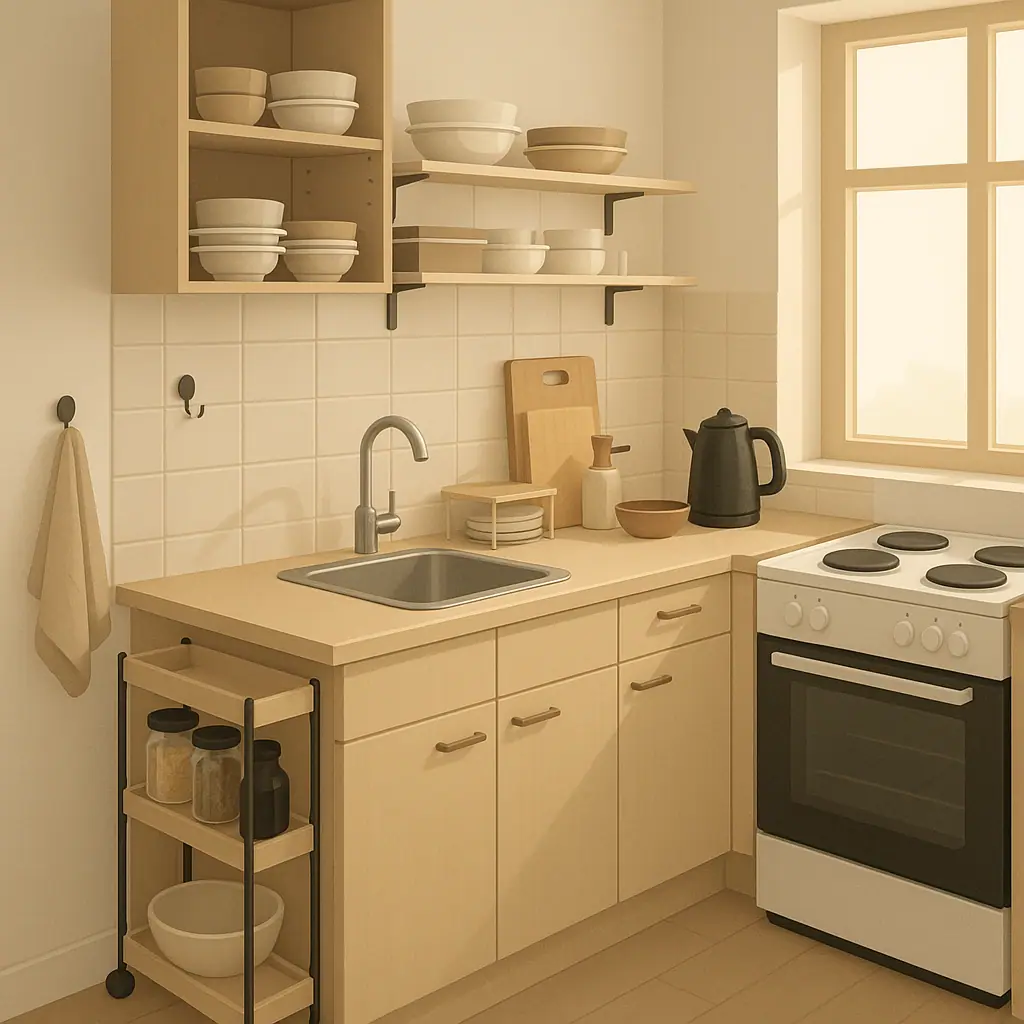
If your entryway overlaps with kitchen clutter, compare the setup with no-drill kitchen storage ideas for small apartments. Some homes need one shared station near the door rather than separate organizers in every room.
What to Check First for an Entryway Drop Zone Without Drilling
Before buying anything, check the wall, floor, door, and lease. These checks keep the project practical and prevent the common mistake of asking a small adhesive product to do a furniture job.
Check wall surface and product instructions
If you plan to use adhesive hooks or strips, read the directions for the exact product. Command’s official hook guidance says to wipe the wall with rubbing alcohol rather than household cleaner or water, wait after painting before use, check approved surfaces, and follow the removal steps carefully on the Command indoor and outdoor hooks instruction page.
That source is a useful reminder, not a blanket approval for every wall. Old paint, textured surfaces, wallpaper, humidity, temperature, and overloaded items can all change the result. When in doubt, move weight to a freestanding piece instead.
Check door swing and walkway clearance
Open the door fully, walk in with groceries, and notice where your shoulder, bag, or shoes naturally go. A beautiful basket becomes annoying if it blocks the door. A hook becomes risky if a bag bumps it every time someone enters.
Check what your lease allows
No-drill does not automatically mean lease-safe. Some leases limit adhesives, over-door hardware, or anything that marks trim and paint. Read the lease and ask the property manager before adding products to surfaces you are unsure about.
How to Create an Entryway Drop Zone Without Drilling Step by Step
Use this step-by-step process before you shop. It creates a drop zone that fits your real routine instead of forcing your routine to fit a product.
Step 1: Empty the entryway for ten minutes
Clear the area near the door and put every current item in one pile. Separate what belongs there from what only landed there because there was no better place. This is the fastest way to avoid building storage for clutter you do not need.
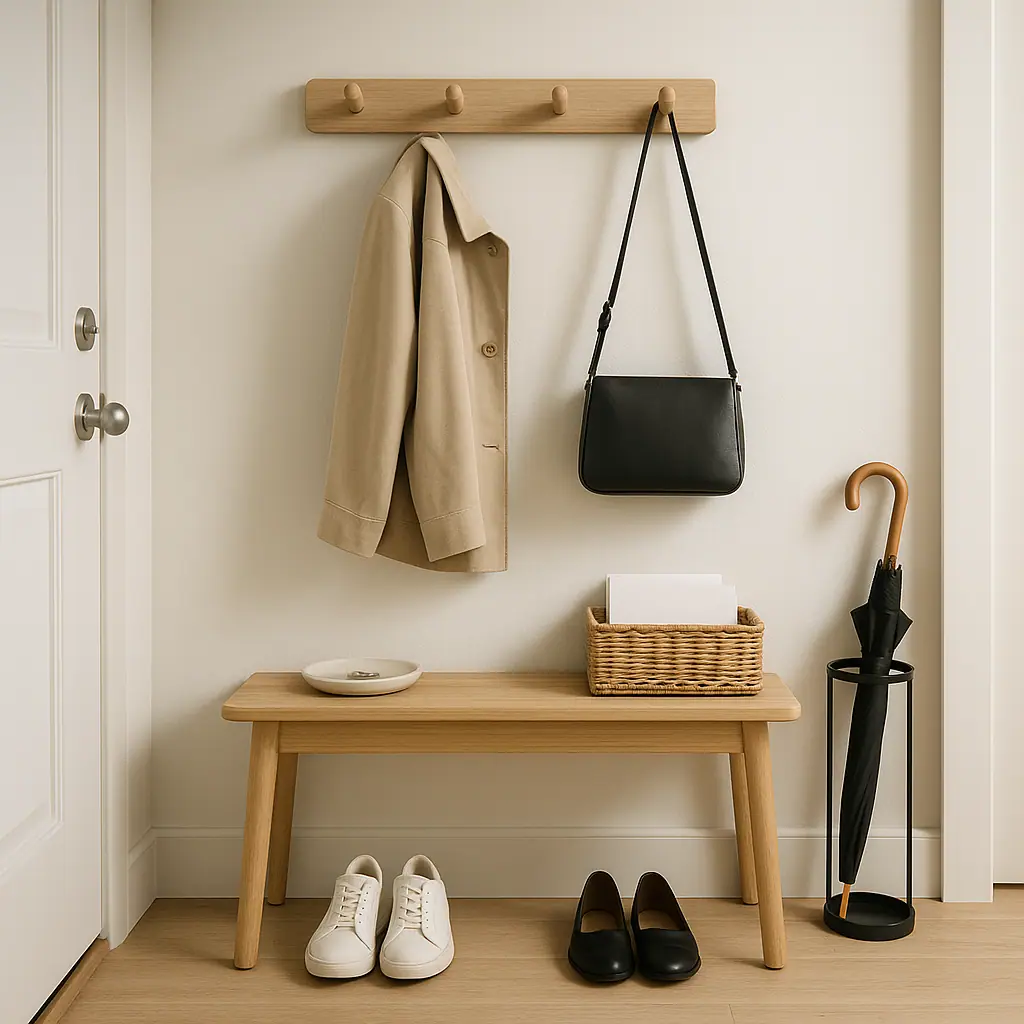
Step 2: Pick the anchor piece
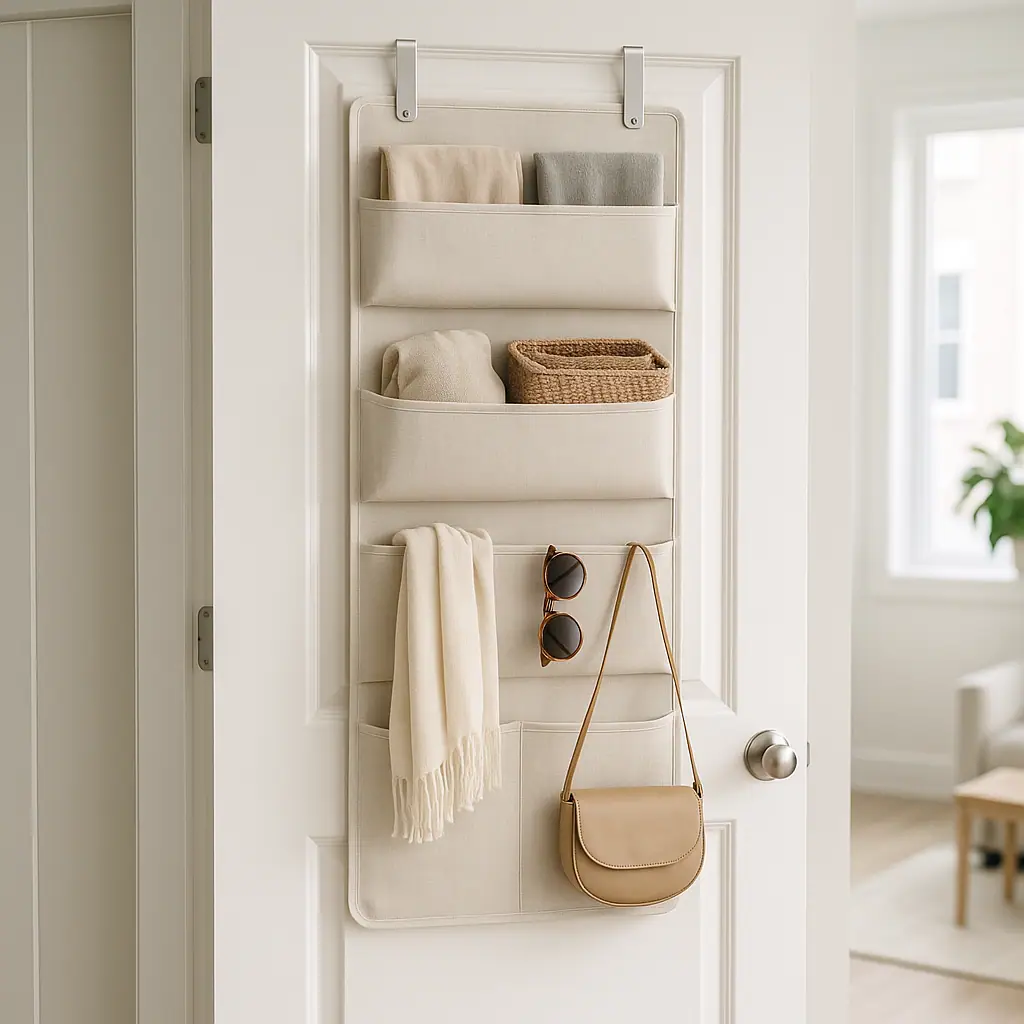
Choose one no-drill anchor: a narrow console, small bench, shoe cabinet, rolling cart, over-door organizer, or sturdy freestanding shelf. The anchor should hold the heaviest and most frequent items so adhesive hooks only support light tasks.
Step 3: Add a small tray for pocket items
Keys, wallet, earbuds, and mail need a drop spot that takes no effort. A shallow tray or small bowl on the anchor piece often works better than a wall pocket because it is visible, movable, and easy to clean.
Step 4: Use hooks only for light, predictable items
Adhesive hooks can be helpful for a leash, lanyard, cap, or lightweight tote. They are less ideal for loaded backpacks, heavy coats, wet umbrellas, or anything valuable. Match the hook to the surface and rating, then keep a safety margin instead of using the maximum as a daily target.
Step 5: Create a mail decision spot
Mail becomes clutter when it has only one category: later. Use a small upright sorter or two shallow trays. One can hold items to handle this week, while the other can hold outgoing mail, returns, or paperwork that needs to leave the house.
Step 6: Test the routine for one week
Do not judge the setup on day one. Use it for a week, then remove what did not earn its spot. A good drop zone should make leaving easier, entering calmer, and cleaning faster.
Common Lightweight Storage and Organization Mistakes to Avoid
The biggest mistake is overloading the wall because floor space feels limited. A wall hook can be useful, but it should not become the main storage method for heavy bags or daily impact. Use the wall for light cues and the floor or furniture for real weight.
- Buying before measuring: entryways often have tight door swings, baseboards, outlets, vents, and closet doors that change what fits.
- Making one bin hold everything: mixed bins become clutter fast. Use small zones for keys, mail, shoes, bags, and returns.
- Trusting adhesive on the wrong surface: textured paint, wallpaper, dusty walls, and fresh paint can make removable products less reliable.
- Ignoring removal: every no-drill product should have a clear undo plan before it goes on the wall, door, or trim.
- Skipping the reset habit: even a good drop zone needs a weekly two-minute clear-out so it does not become a storage shelf for random items.
A Simple Checklist
Use this quick checklist when planning a no-drill entryway organizer:
- List the daily items: include only what enters or leaves the home most days.
- Choose a freestanding anchor: let furniture, a cart, or a bench carry the weight.
- Keep wall storage light: reserve adhesive hooks for small predictable items.
- Measure clearances: test door swing, walking path, closet access, and shoe space.
- Read product directions: surface prep, weight limits, wait times, and removal steps matter.
- Check lease rules: confirm whether adhesives, over-door hooks, or trim contact are allowed.
- Review after one week: remove anything that does not make the routine easier.
Pros and Cons
Easy to test before committing
A no-drill drop zone can be moved, reduced, or rebuilt after you see how your entryway actually behaves.
Better for move-out planning
Freestanding anchors, trays, carts, and light hooks are easier to undo than permanent rails, shelves, or drilled hardware.
Works in small rentals
You can create a useful station with a narrow surface, a tray, and a few light organizers instead of a full mudroom.
Adhesive parts have limits
Hooks and strips still depend on surface condition, product directions, weight, temperature, and careful removal.
Small zones can overflow
If every item near the door is allowed to stay, the setup quickly becomes a clutter station instead of a drop zone.
When to Get Extra Help
Ask for extra help if the entryway has fragile plaster, peeling paint, wallpaper, tile you do not own, electrical panels, old trim, or a door that already rubs. Also pause if the setup would hold heavy backpacks, sports gear, loaded purses, or anything that could hurt someone if it fell.
If you want storage near a closet or bathroom instead of the front door, review tension rod storage ideas for bathrooms, closets, and cabinets. Tension setups can solve some hidden storage problems, but they also need careful measurement and light loads.
Frequently Asked Questions
What should I check first in a no-drill entryway drop zone?
Check the items first. If the entryway needs to hold heavy bags, wet umbrellas, or bulky shoes, start with a freestanding piece instead of wall hooks.
How often should I review the setup?
Review it after the first week, then during normal cleaning. Remove old mail, return items to other rooms, and check that hooks, trays, and baskets are still doing useful jobs.
What should I do if I am not sure an adhesive hook is safe?
Do not guess. Read the product instructions, check the surface, keep the load light, and choose a freestanding option when the wall or lease rules are uncertain.
Can I undo a no-drill drop zone later?
Most freestanding pieces, trays, baskets, and carts are easy to move. Adhesive products depend on surface condition and removal technique, so plan the undo step before applying them.
Final Thoughts
A renter-friendly entryway drop zone should make daily life calmer without asking too much from the wall. Start with the items you actually use, choose one freestanding anchor, and add only the light no-drill pieces that support the routine.
The best version is small, repeatable, and easy to undo. If a product needs perfect conditions or feels risky at move-out, choose the lower-pressure option and keep the wall out of the job.