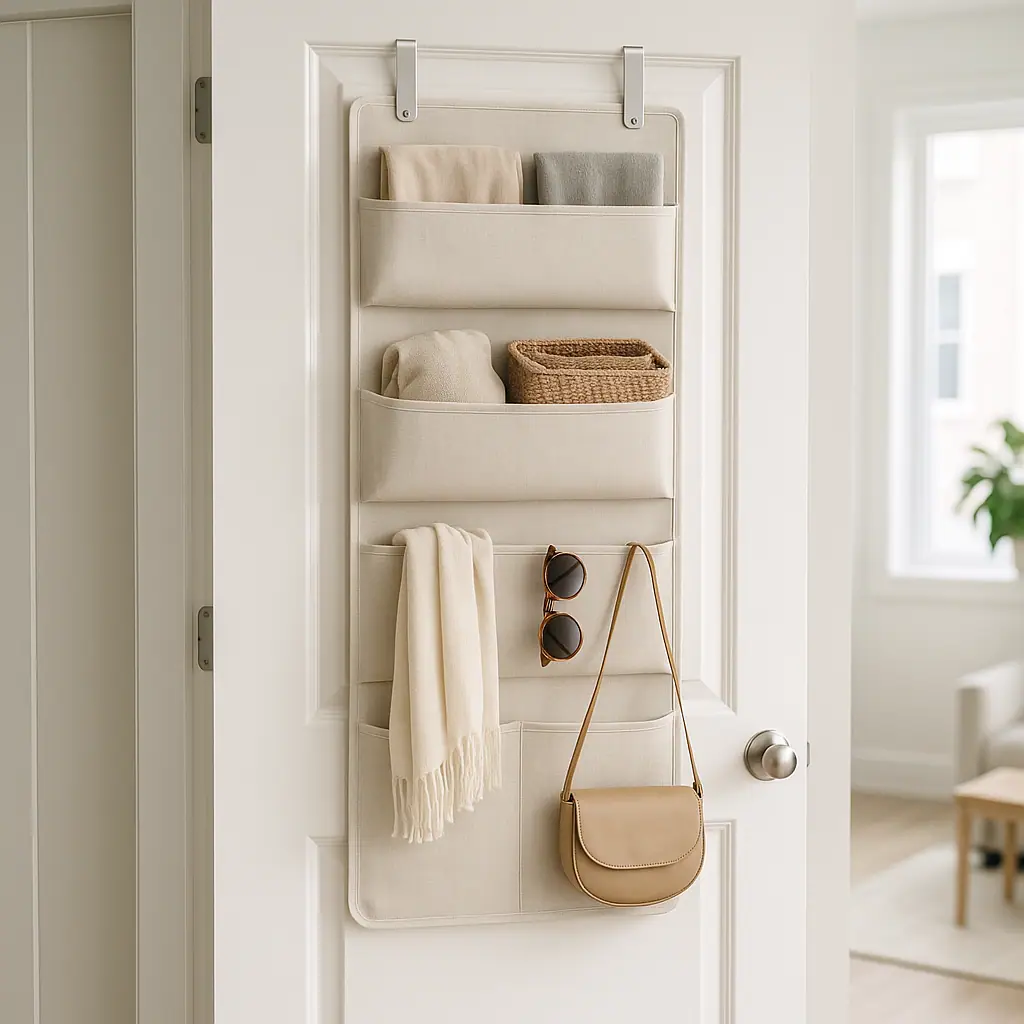
Over-the-door organizers that look neat instead of temporary usually have one thing in common: they are chosen for the door, the room, and the items they need to hold. The organizer itself matters, but the cleaner result comes from weight control, color matching, door clearance, and not treating the back of a door like a dumping zone.
For renters, this is a useful no-drill option because it does not ask you to make holes in a wall or cabinet. Still, it can scrape paint, strain hinges, rattle, block a door from closing, or look messy if it carries too much. The goal is to make the organizer feel intentional, removable, and easy to live with.
Why This Matters
Over-door storage is tempting because it turns unused vertical space into reachable storage. That can be helpful in a bathroom, closet, pantry, bedroom, laundry area, or entryway. The problem is that visible over-the-door organizers can quickly look temporary when the frame is bulky, the pockets sag, or the contents are a mix of unrelated items.
The other reason to plan carefully is the door itself. A narrow hook may not fit a thick door. A metal bracket may scrape trim. A deep basket may keep the door from opening fully. A full organizer may make a lightweight hollow-core door feel clumsy every time it moves.
Start With the Storage Job, Not the Organizer
Before shopping, decide exactly what problem the organizer needs to solve. A clean-looking setup usually has one job: scarves near a closet, toiletries near a bathroom, gift wrap in a utility closet, pantry packets in a kitchen, or cleaning cloths near laundry supplies. When one organizer tries to hold every leftover item, it starts to look temporary.
Pick one category of items
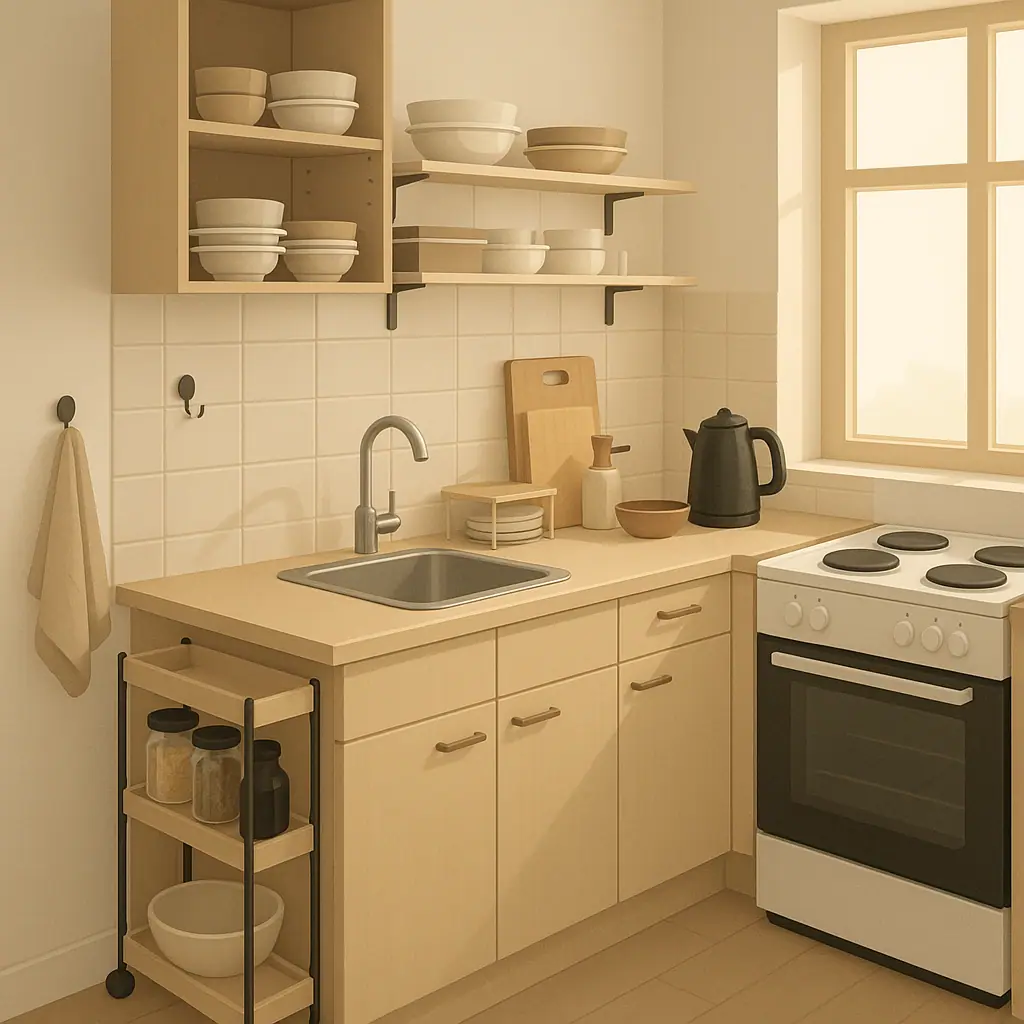
- Bathroom: rolled hand towels, hair tools after they are cool, toiletries, spare soap, or lightweight cleaning cloths.
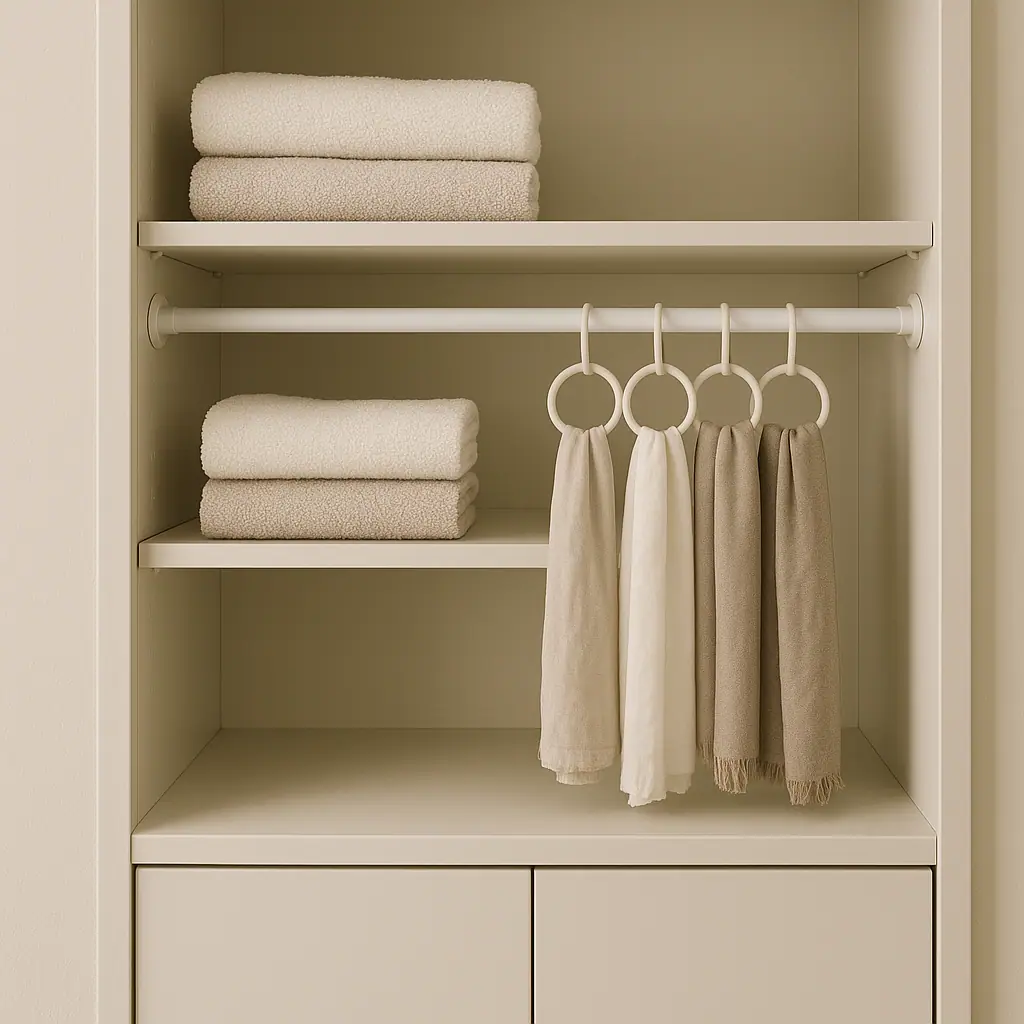
- Closet: scarves, belts, hats, small bags, lint rollers, or seasonal accessories.
- Pantry: packets, wraps, lightweight snacks, reusable bags, or small kitchen linens.
- Entryway: umbrellas, dog leashes, gloves, keys in a small tray, or outgoing mail if the organizer is shallow.
That first decision does more for the look than any decorative finish. A white pocket organizer filled with ten unrelated things still reads as clutter. A simple rack that holds one useful category can look deliberate.
What to Check First for Over-the-Door Organizers
Check the door before you check the product photos. Measure the door thickness, the gap above the door, the depth available behind it, and whether the door swings near trim, towel bars, shelves, or furniture. The organizer should move with the door without rubbing or forcing anything.
If you plan to add adhesive clips, hooks, or stabilizers to keep the organizer from shifting, follow the product instructions rather than general advice. Command's hook guidance, for example, tells users to check weight limits, clean approved surfaces with rubbing alcohol, wait after painting, avoid wallpaper or soft surfaces, and remove strips by pulling straight down. The current manufacturer details are available on the Command indoor and outdoor hooks guide.
That source is useful as a reminder that removable does not mean universal. Different brands and products have different surface lists, wait times, temperatures, and weight ratings. If the organizer comes with its own padding, bumpers, or adhesive pieces, those instructions should guide the installation.
Check the rental side too
Some leases and property rules are strict about door hardware, adhesive products, or anything that changes paint and trim. For broad housing and tenant-resource direction in the United States, USA.gov's housing help page points readers toward rental and tenant-rights resources. Your lease, property manager, and local rules still decide what applies to your home.
How to Make Over-the-Door Organizers Look Neat Step by Step
A neat result is less about hiding that the organizer exists and more about making it look like it belongs there. Use the same care you would use for a small shelf: measure first, limit the load, group similar items, and leave some open space.
Step 1: Match the organizer to the door
Choose a style that fits the door and room. Slim metal racks can look cleaner in pantries and laundry areas. Fabric pocket organizers can work in closets when the color is quiet and the pockets do not bulge. Clear pockets are useful when visibility matters, but they can look busy in an open bedroom or hallway.
Step 2: Protect contact points
Look for smooth hooks, padded brackets, soft bumpers, or removable felt pads where the organizer touches the door. The top hook, lower corners, and swinging points are the areas most likely to rub. Do not add thick padding if it makes the door bind against the frame.
Step 3: Keep the load light and even
Spread weight across the organizer instead of loading one pocket or basket. Keep heavy bottles, tools, books, glass containers, and bulky electronics somewhere more stable. A door organizer should not make the door pull, sag, rattle, or slam.
Step 4: Create a simple visual rhythm
Use matching bins, repeated colors, or one type of item per row. In a closet, put scarves together and hats together. In a pantry, group packets by type. In a bathroom, use small containers inside larger baskets so loose items do not spill forward.
Step 5: Edit it after one week
Live with the organizer for a week, then remove anything you did not use or that made the door harder to operate. A slightly under-filled organizer usually looks more permanent than a fully packed one.
Common Lightweight Storage Mistakes to Avoid
The most common mistake is buying the organizer before measuring the door. Product photos rarely show the exact door gap, trim shape, hinge strength, or walkway clearance in your rental. A beautiful organizer is still the wrong choice if it makes the door scrape every time it closes.
- Ignoring thickness: hooks that are too tight can damage the top edge of the door, while hooks that are too loose can rattle.
- Overfilling pockets: bulging fabric pockets make even a neutral organizer look temporary and messy.
- Using it for risky weight: heavy bottles, glass, tools, and valuables should usually live on a stable shelf or cart.
- Letting it swing: if the organizer bangs the door, add approved bumpers or choose a shallower option.
- Forgetting removal: check for rub marks and pressure points before move-out, not on the final day.
A Simple Checklist
Use this quick checklist before buying or installing an over-the-door organizer:
- Door fit: the hook matches the door thickness and still lets the door close normally.
- Clearance: the organizer does not hit trim, shelves, towel bars, furniture, or people walking by.
- Surface protection: contact points are smooth, padded, or easy to inspect.
- Weight: the loaded organizer is light enough for the door and below any product limit.
- One purpose: the organizer has a clear job and does not become a catch-all.
- Visual calm: colors, containers, and item groups look intentional from normal room distance.
- Lease and removal: you know whether door hardware and adhesive stabilizers are allowed.
Pros and Cons
Adds storage without drilling
Over-the-door organizers can create useful vertical storage without holes, anchors, or permanent wall changes.
Easy to move between rooms
If the first location feels awkward, many over-door options can be relocated after you check fit and clearance.
Can look intentional with editing
Grouped items, calm colors, and a lighter load help the organizer feel planned instead of temporary.
May rub doors or trim
Poorly fitting hooks, swinging baskets, and heavy loads can leave marks or make the door harder to close.
Clutter shows quickly
Because the organizer is vertical and visible, mixed items and overfilled pockets can make the room feel unfinished.
When to Get Extra Help
Ask your landlord, property manager, or maintenance contact before using an organizer on a fragile, freshly painted, unusually thin, damaged, or high-value door. It is also worth asking before adding adhesive stabilizers to painted trim or a door face.
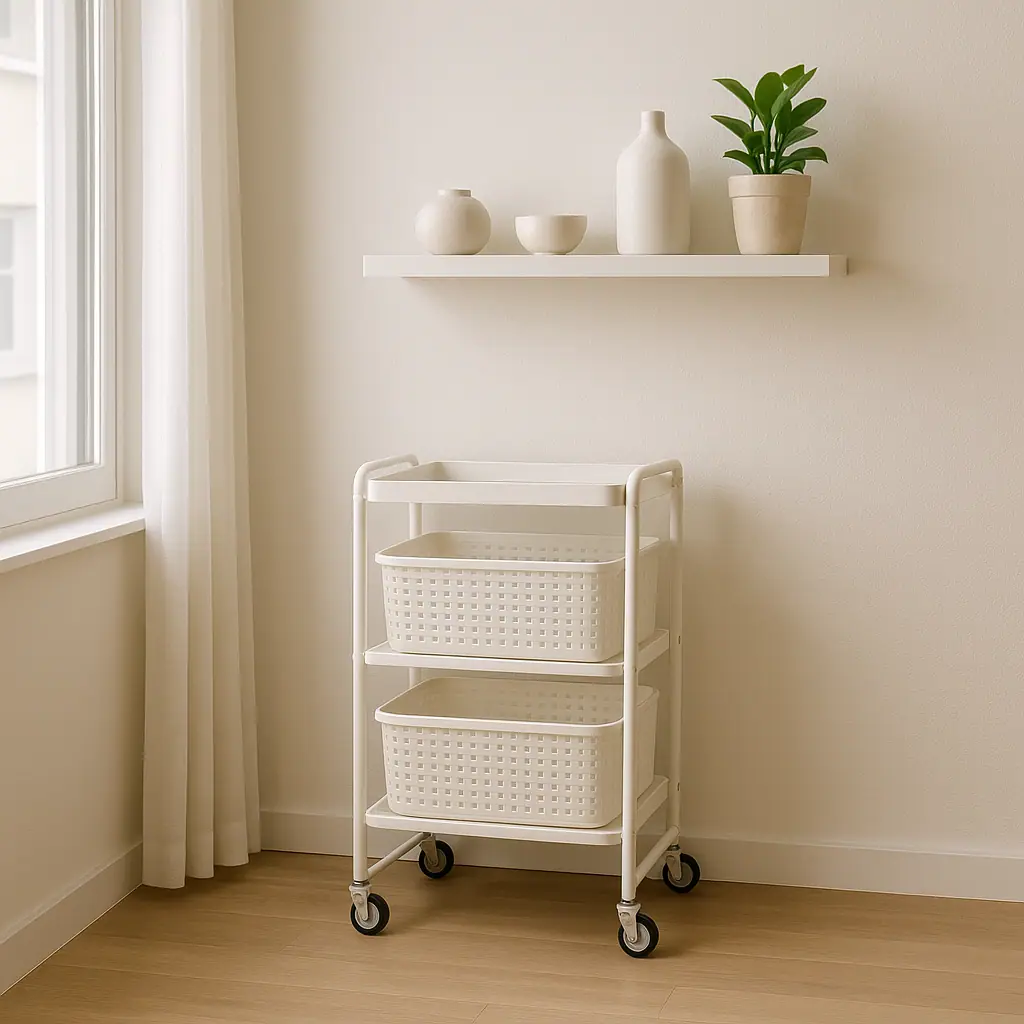
If the door starts scraping, hinges feel strained, paint rubs off, or the organizer keeps sliding, stop using it in that spot. Do not solve a fit problem by forcing the door closed. The better answer may be a freestanding shelf, rolling cart, drawer divider, or a narrower organizer designed for a different door.
Frequently Asked Questions
What should I check first for over-the-door organizers?
Measure the door thickness and the gap above the door. Then check clearance behind the door and confirm the organizer will not scrape trim or block normal movement.
How often should I review an over-door organizer?
Check it after the first week, then during normal cleaning. Look for rub marks, loose hooks, sagging pockets, rattling, and items that no longer need to be there.
What should I do if I am not sure the door can handle it?
Choose the lighter option or ask the property manager before installing. If the door is damaged, thin, freshly painted, or hard to close, avoid adding weight to it.
Can I undo this storage upgrade later?
Often, yes, especially if the organizer only hangs over the door. Remove it slowly, check contact points, clean gently, and follow any instructions for adhesive stabilizers or bumpers.
Final Thoughts
Over-the-door organizers that look neat instead of temporary start with restraint. Pick one job, measure the door, choose a quiet style, protect contact points, and leave enough empty space that the setup can breathe.
If the organizer makes the door easier to use and the room calmer after a week, it is probably doing the right job. If it rattles, bulges, scrapes, or turns into a catch-all, edit it down or choose a less visible storage method.