Learning how to remove peel-and-stick wallpaper with less wall damage starts before you pull the first corner. For renters, the goal is not to rip the paper off quickly. The goal is to protect the paint, notice trouble early, and stop before a small problem becomes a move-out repair.
Peel-and-stick wallpaper can be easier to remove than traditional pasted wallpaper, but it is still adhesive on paint. The age of the paint, wall texture, humidity, product quality, and how long the wallpaper has been up can all change the result. This guide walks through a careful, renter-aware removal method that favors patience over force.
Why This Matters
Wall damage during removal usually happens when the adhesive bond is stronger than the paint or primer below it. If the wall was painted recently, cleaned with residue-heavy products, repaired poorly, or covered with older paint layers, the wallpaper may pull more than just itself away from the surface.
The safest removal plan treats the first few inches as a test. If the paper releases cleanly, you can continue in small sections. If it grabs paint, tears the surface, or leaves gummy adhesive, the better next step may be heat, slower technique, or asking the property manager before going further.
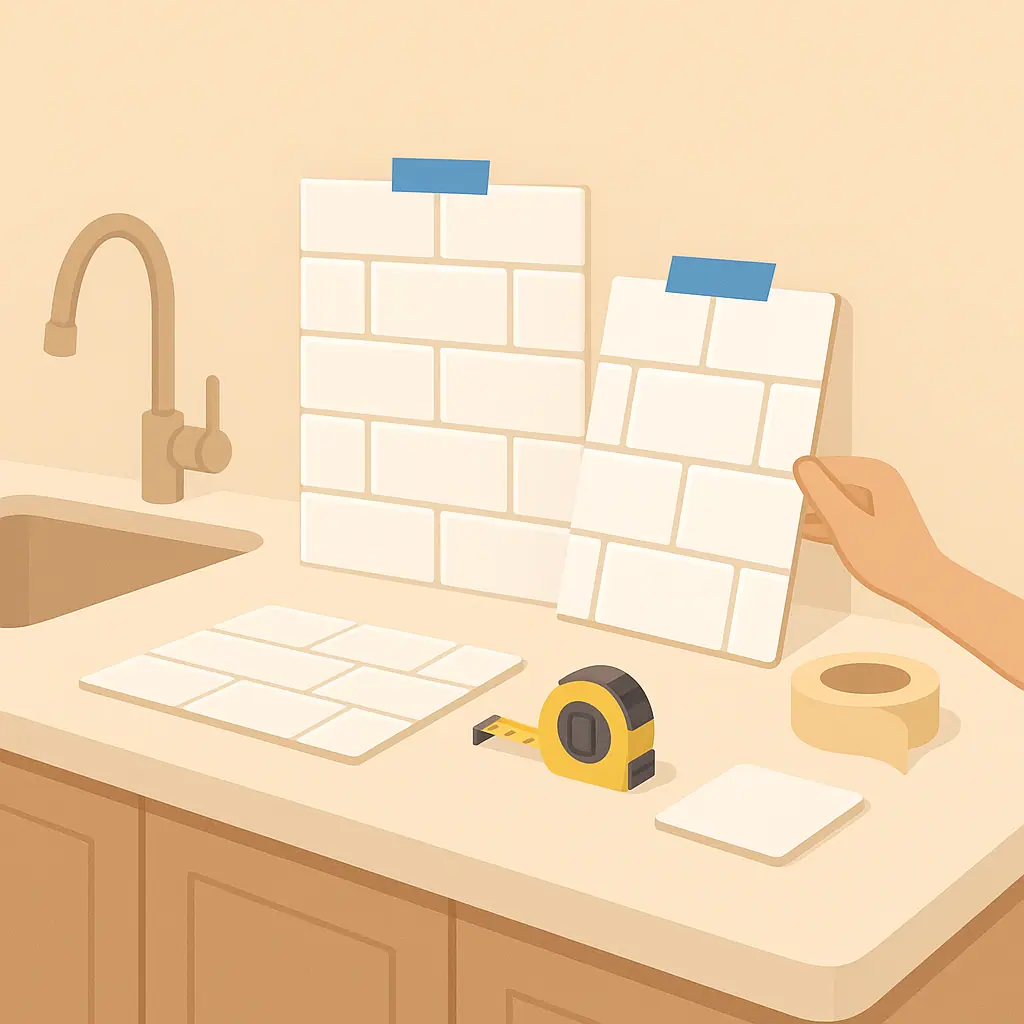
Start With Peel-and-Stick Surface Upgrades
Peel-and-stick surface upgrades are best when you know the original surface can handle both installation and removal. A smooth, well-cured, properly primed wall usually gives you more margin than chalky paint, textured plaster, fresh paint, or a wall that has already peeled in the past.
Check the wall before you remove
- Look at edges: lifting corners, bubbling seams, or stretched wallpaper can show where adhesive is already stressed.
- Check paint condition: flakes, cracks, or soft spots mean the paint layer may release before the wallpaper does.
- Notice moisture: bathrooms, kitchens, and exterior walls can make adhesive behavior less predictable.
- Find the last panel installed: many removable wallpaper guides recommend working backward from the most recent panel when possible.
Manufacturer instructions matter because products are not identical. Command, for example, gives removal guidance for adhesive strips that emphasizes pulling slowly in the intended direction rather than yanking away from the wall. That same conservative habit is useful with wallpaper even when the product itself is different.
What to Check First Before Pulling
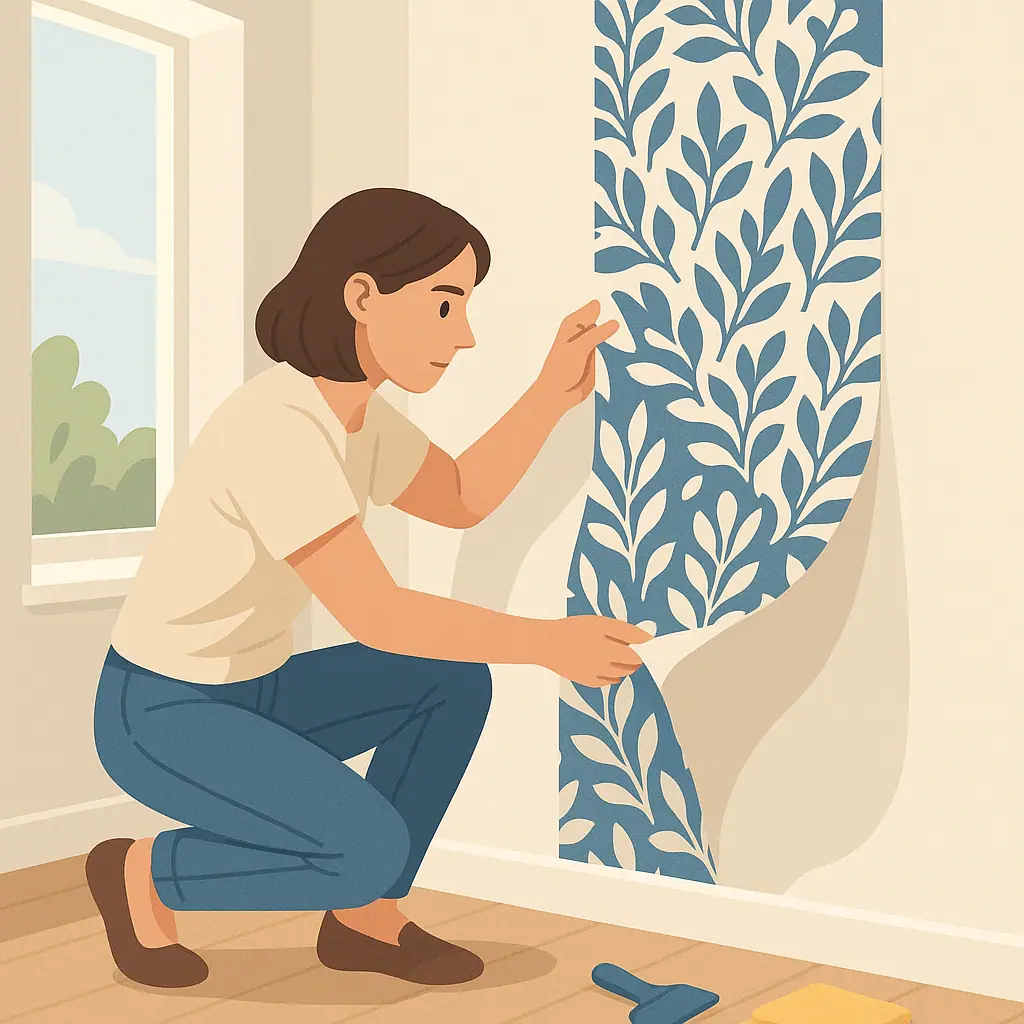
Before removing a full panel, choose a low-visibility corner near the bottom or side. Lift only enough to understand how the adhesive behaves. If the paper comes up cleanly, keep working. If paint starts stretching, lifting, or separating from the drywall paper, pause instead of forcing it.
Spoonflower's peel-and-stick wallpaper instructions describe pulling the material downward at a 180-degree angle, parallel to the wall surface, to help reduce paint or primer removal. You can review that manufacturer guidance on Spoonflower's peel-and-stick wallpaper instruction page.
That does not mean every brand should be removed exactly the same way. It means the safer pattern is slow, low-angle removal rather than pulling the sheet straight out toward the room. If your wallpaper came with its own removal card, follow that first.
How to Remove Peel-and-Stick Wallpaper Step by Step
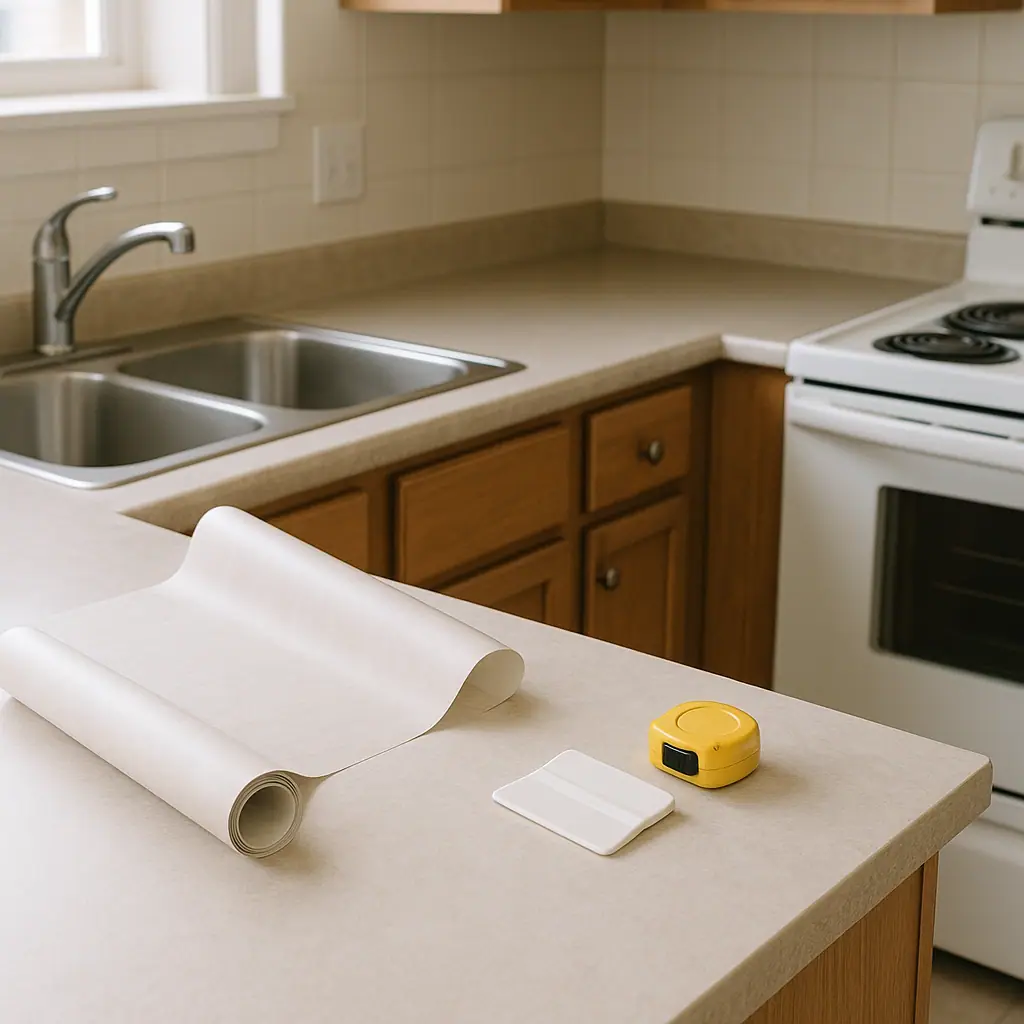
Set up before you start. Clear furniture away from the wall, protect the floor with a sheet, and gather a hair dryer or low-heat tool, a plastic scraper, a clean microfiber cloth, mild soap, and a small trash bag for removed panels. Avoid metal blades against the wall unless the product instructions specifically require one and you are confident the surface can handle it.
Step 1: Start at a corner
Use a fingernail or plastic scraper to lift a corner. Do not dig into the paint. If the wallpaper edge will not lift, warm the corner gently for a few seconds and try again. Heat should soften adhesive, not cook the wall.
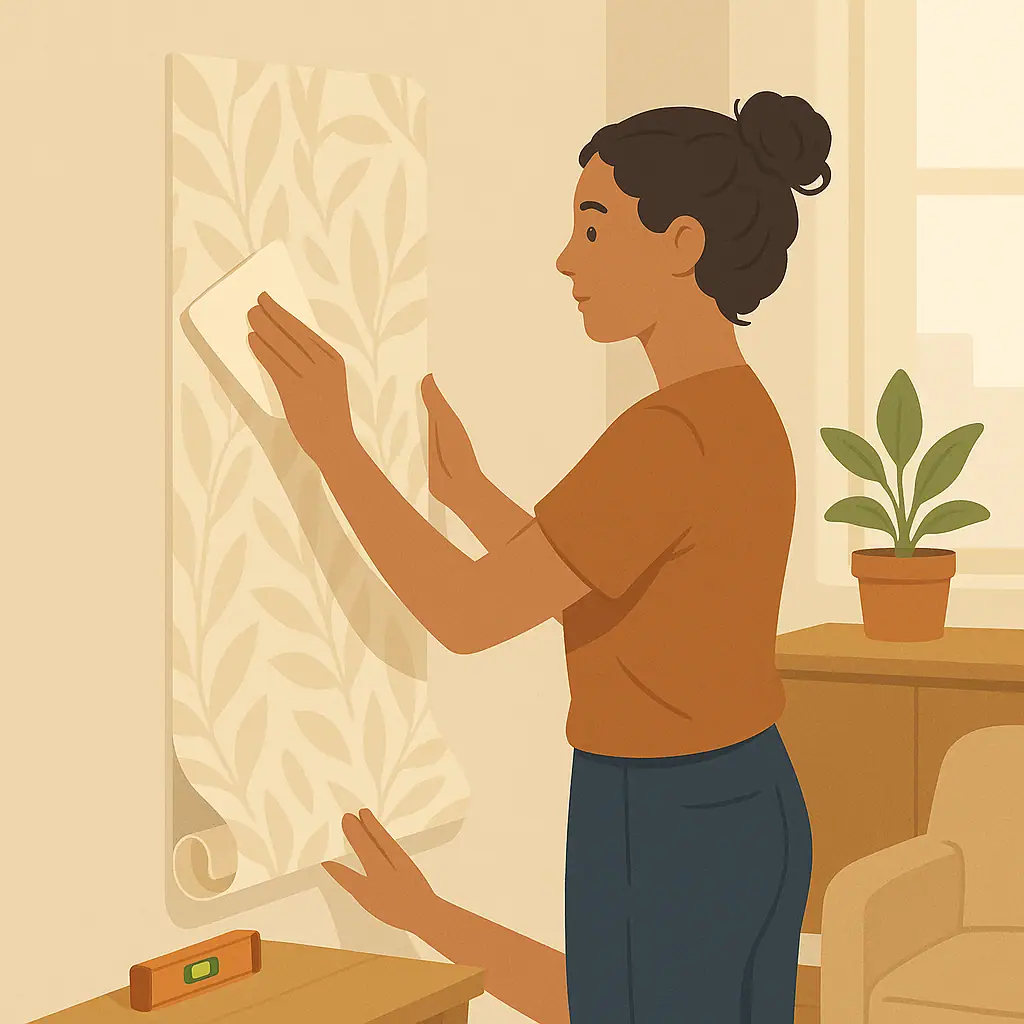
Step 2: Pull low and slow
Hold the wallpaper close to the wall and pull it back over itself, keeping the angle low. Work a few inches at a time. If you pull outward, the force is more likely to lift paint away from the wall.
Step 3: Use warmth only as needed
If the paper resists, warm the section ahead of your hand and keep moving slowly. Do not overheat one spot. Too much heat can soften paint, make adhesive messier, or make thin wallpaper stretch and tear.
Step 4: Stop when paint lifts
If paint begins to come off, stop immediately. Press the loose paint back gently, let the area cool, and reassess. Continuing quickly can turn a tiny lifted spot into a large patch that needs repair.
Step 5: Clean residue gently
After removal, wipe small adhesive residue with a damp cloth and mild soap if the wall finish allows it. Test first. Strong solvents, abrasive pads, and aggressive scraping can create more damage than the wallpaper did.
Common Peel-and-Stick Removal Mistakes to Avoid
The biggest mistake is treating removal like peeling a label from a jar. A wall is layered: paint, primer, drywall paper or plaster, and sometimes several older paint coats. The wallpaper is only one layer in that stack.
- Pulling straight out: this increases stress on the paint instead of letting the adhesive release gradually.
- Working too fast: fast pulling hides early warning signs until a larger section has already lifted.
- Skipping heat when needed: gentle warmth can help with stubborn adhesive, but it should be controlled and brief.
- Using a metal putty knife: metal edges can gouge drywall paper or leave visible scratches.
- Removing everything at once before documenting: renters should take photos before, during, and after removal in case questions come up later.
A Simple Checklist
Use this checklist before you remove more than one test strip:
- Lease: you know whether removable wallpaper was allowed or needs disclosure.
- Surface: paint is not already flaking, bubbling, chalky, or soft.
- Tools: plastic scraper, cloth, mild cleaner, and gentle heat are ready.
- Technique: you will pull low, slow, and parallel to the wall.
- Stop point: you have decided to pause if paint lifts or drywall paper tears.
- Photos: the wall is documented before removal begins.
Pros and Cons
Controlled removal reduces surprises
Testing a small area first gives you a chance to change technique before a large section is damaged.
Low-angle pulling is gentler
Keeping the wallpaper close to the wall usually puts less stress on paint than pulling outward.
Documentation helps renters
Before-and-after photos make it easier to explain what happened if a move-out question comes up.
Clean removal is not guaranteed
Older paint, weak primer, moisture, and long installation time can still lead to touch-ups.
Slow work takes patience
Careful removal can feel tedious, especially on a full accent wall or thin wallpaper that tears easily.
When to Get Extra Help
Ask for help before continuing if the wallpaper pulls drywall paper, exposes brown backing, reveals damp spots, or removes paint in sheets. Those signs suggest the issue is bigger than normal adhesive residue.
If the concern is your rental agreement or a possible deposit dispute, start with your lease and property manager. For general housing and tenant-resource direction in the United States, USA.gov's housing help page points readers toward rental, housing, and landlord-complaint resources. Local rules and your lease still decide what applies to your situation.
Frequently Asked Questions
What should I check first before removing peel-and-stick wallpaper?
Check a hidden corner and watch how the paint reacts. If paint lifts right away, stop before removing a larger section.
Should I use heat to remove peel-and-stick wallpaper?
Gentle warmth can help soften stubborn adhesive, but use it carefully. Avoid overheating one spot or forcing hot, stretchy wallpaper off the wall.
Can peel-and-stick wallpaper damage rental walls?
Yes, it can. Damage depends on the product, wall prep, paint quality, moisture, installation time, and removal technique.
What should I do if adhesive residue stays behind?
Test a damp cloth and mild soap in a small spot first. Avoid harsh solvents unless the wallpaper and paint instructions say they are safe.
Final Thoughts
How to remove peel-and-stick wallpaper with less wall damage comes down to three habits: test first, pull slowly at a low angle, and stop when the wall shows stress. A careful removal may take longer, but it gives the paint and your security deposit a better chance.
If the wallpaper releases cleanly, continue in small sections and clean residue gently. If the wall reacts badly, do not turn the project into a bigger repair. Pause, document the problem, and choose the most conservative next step for your rental.