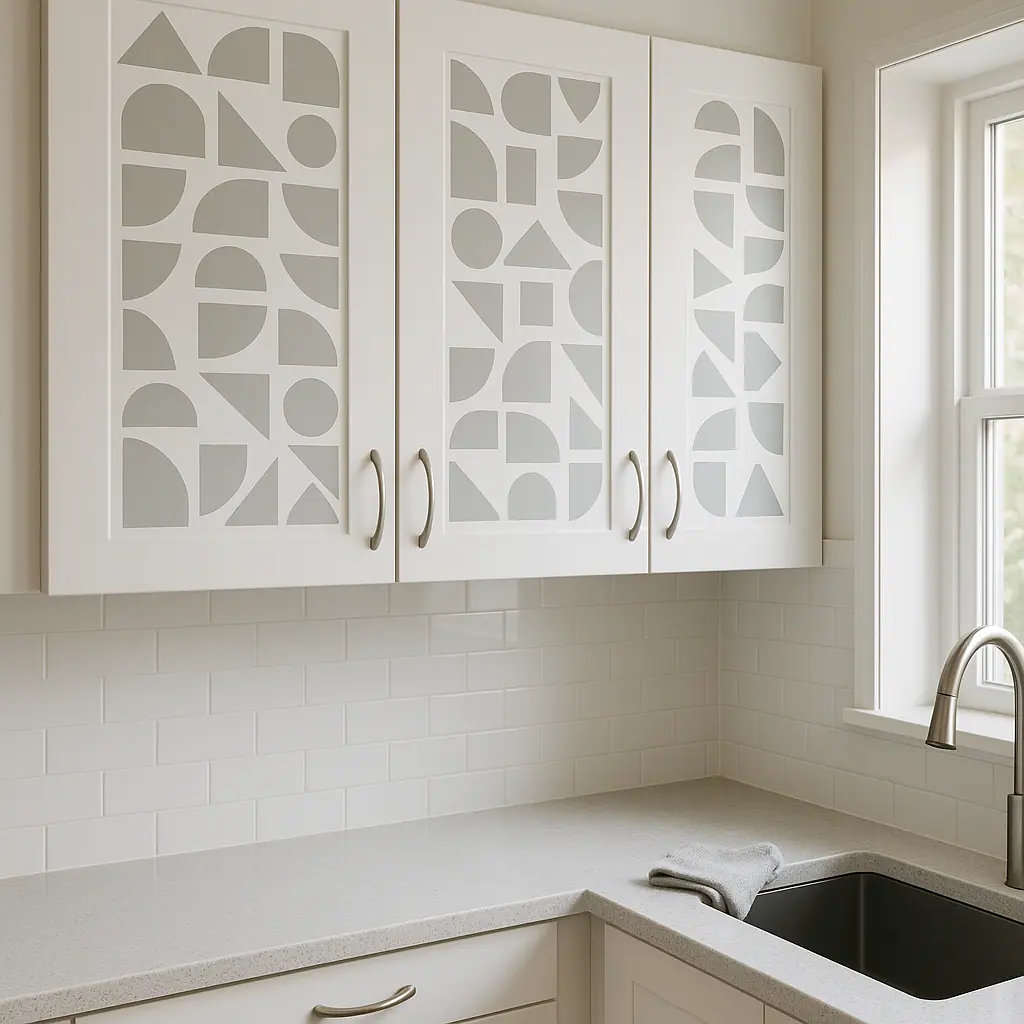
If your cabinets look plain but your lease makes drilling, painting, or hardware changes feel risky, removable decals can be a useful middle ground. The key is to treat them like a surface project, not a quick sticker job. A cabinet door gets touched, wiped, opened, and closed often, so the prep and removal plan matter as much as the design.
This guide explains how to use removable decals to refresh plain cabinets with a careful, renter-aware process. You will choose a realistic decal type, test the finish, apply slowly, and keep a record for move-out instead of assuming every peel-and-stick product is automatically safe.
Why This Matters
Plain rental cabinets can make a kitchen, bathroom, laundry area, or hallway storage zone feel unfinished. Removable decals can add a cleaner visual rhythm without changing the cabinet structure, but they still rely on adhesive. That means the surface finish, cleaning products, humidity, and how long the decal stays in place can all affect the result.
The safest approach is small, measured, and reversible. Start with one cabinet face or the inside of a door before committing to an entire kitchen. If the test area lifts finish, leaves residue, or shows a shadow line, you have learned that before the project became expensive.
Start With Peel-and-Stick Surface Upgrades
For cabinet refreshes, removable decals work best as decorative surface upgrades. They are not meant to repair damaged laminate, hide swollen particleboard, or replace a full cabinet refinishing job. Think of them as a visual layer that can add pattern, color, or contrast when the base surface is already clean and stable.
Good cabinet candidates
- Smooth painted doors: these can work if the paint is fully cured, not chalky, and not already peeling.
- Flat laminate fronts: a smooth laminate surface often gives decals a cleaner bond, but residue risk still depends on the product.
- Inside panels: the inside of a door is a lower-visibility place to test a pattern before using it outside.
Cabinets to avoid
- Flaking paint: adhesive can pull loose paint away during removal.
- Greasy kitchen surfaces: oils stop decals from bonding evenly and can create lifted edges.
- Deep texture or raised grain: decals may bridge over texture instead of sitting flat.
What to Check First Before Applying Decals
Before you buy a large sheet or a full set of cabinet decals, measure one door and inspect the finish in good light. Look for chipped corners, sticky residue near handles, water damage under sink doors, and glossy clear coats that may react differently from painted sections.
Also read the product page or package for surface limits, cleaning instructions, weight or use limits if the decal includes any attached accessory, and removal steps. For example, the Command brand organizes its official product guidance around use instructions, surface fit, weight limits, and clean removal, which is the kind of manufacturer information renters should check before relying on any adhesive product: Command product and how-to guidance.
That does not mean every decal behaves like a Command product. It means your safest default is to verify the exact product you plan to use instead of relying on a generic promise like renter-friendly or damage-free.
How to Use Removable Decals to Refresh Plain Cabinets Step by Step
Work slowly and treat the first cabinet as a test installation. A careful first door teaches you how the decal handles corners, hardware openings, and daily touch points.
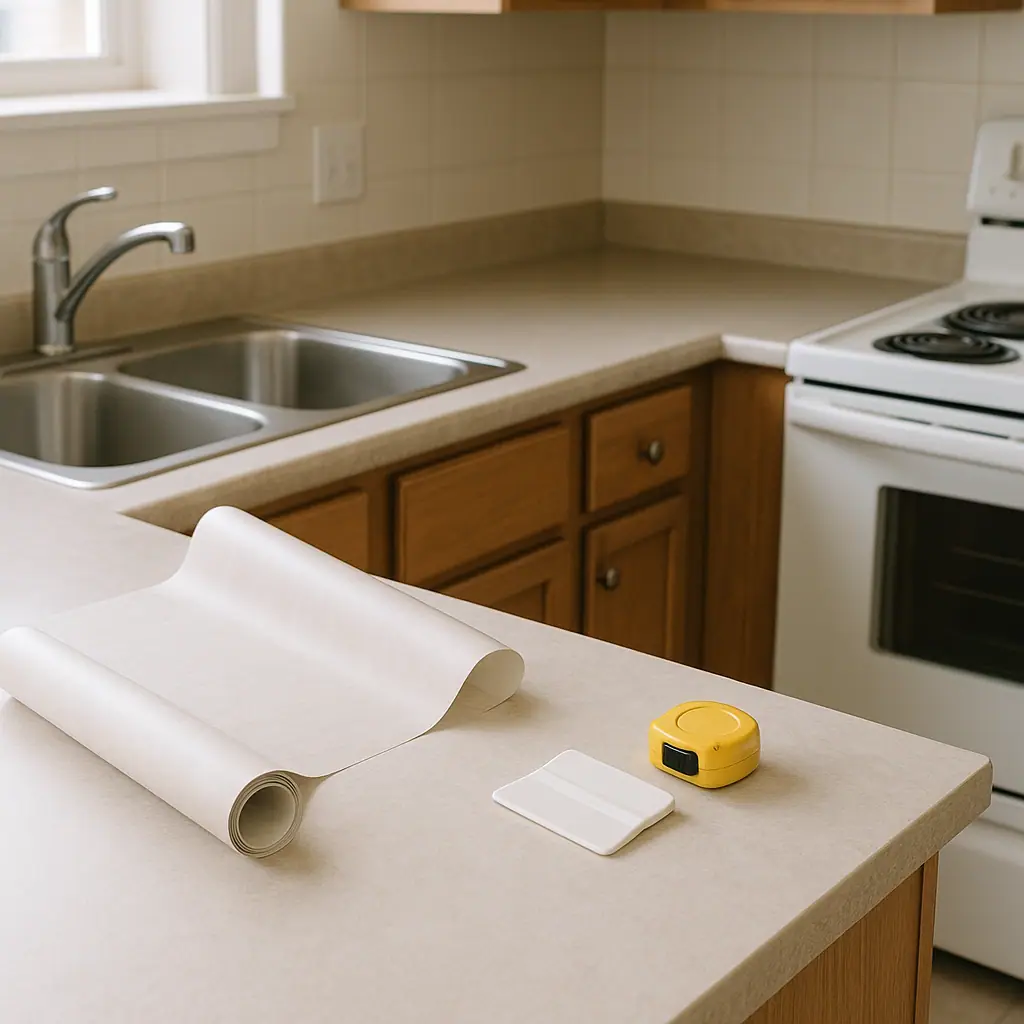
Step 1: Clean without leaving residue
Wipe the cabinet face with a mild cleaner that is safe for the finish, then remove cleaner residue with a lightly damp cloth. Let the surface dry fully. Avoid oily polishes right before application because they can stop the adhesive from gripping evenly.
Step 2: Test a hidden area
Apply a small sample on the inside edge of a door or another low-visibility spot. Leave it in place long enough to see whether edges lift or the finish reacts. Remove it according to the product instructions and check for paint transfer, tacky residue, or dulling.
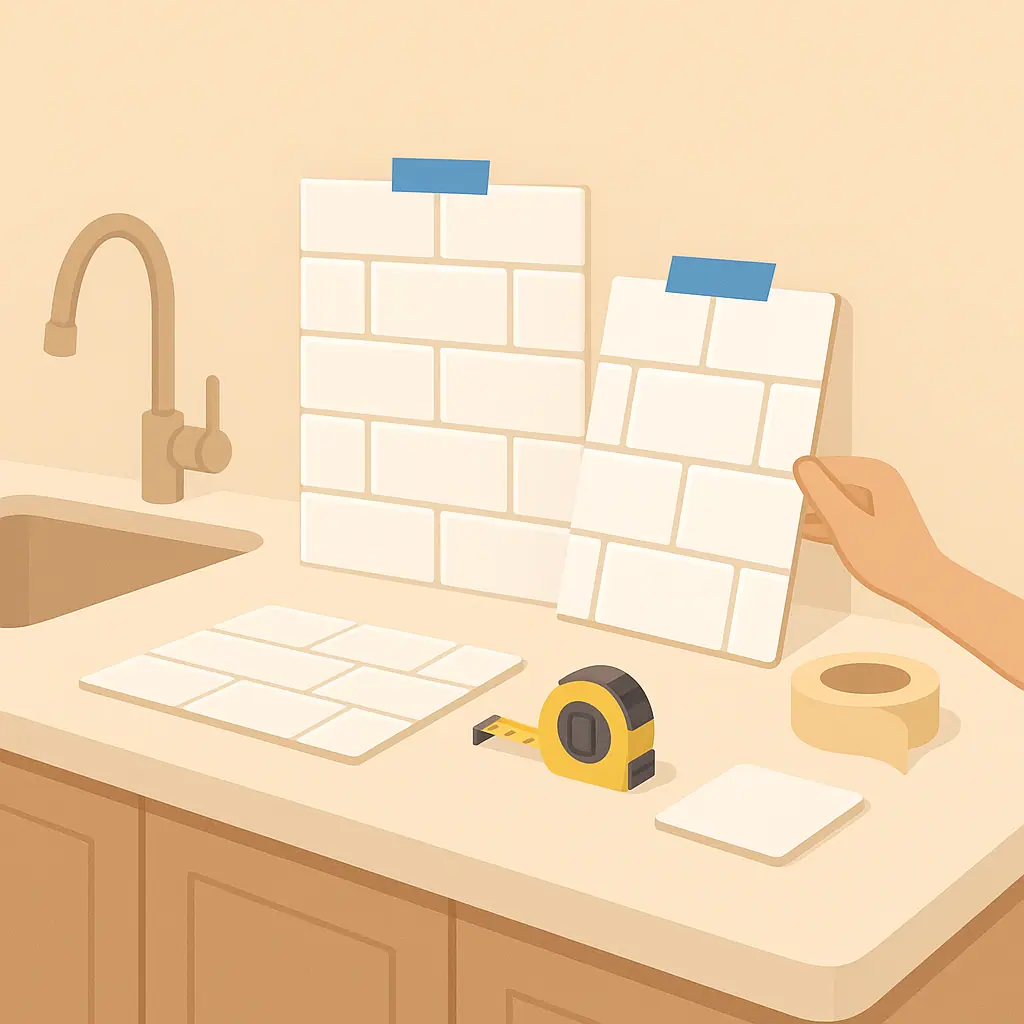
Step 3: Measure and make a paper template
Measure the height and width of the flat cabinet area you want to cover. If the door has a raised frame, keep the decal inside the flat center panel unless the product is flexible enough for edges. A paper template helps you see whether the design will look centered before adhesive touches the door.
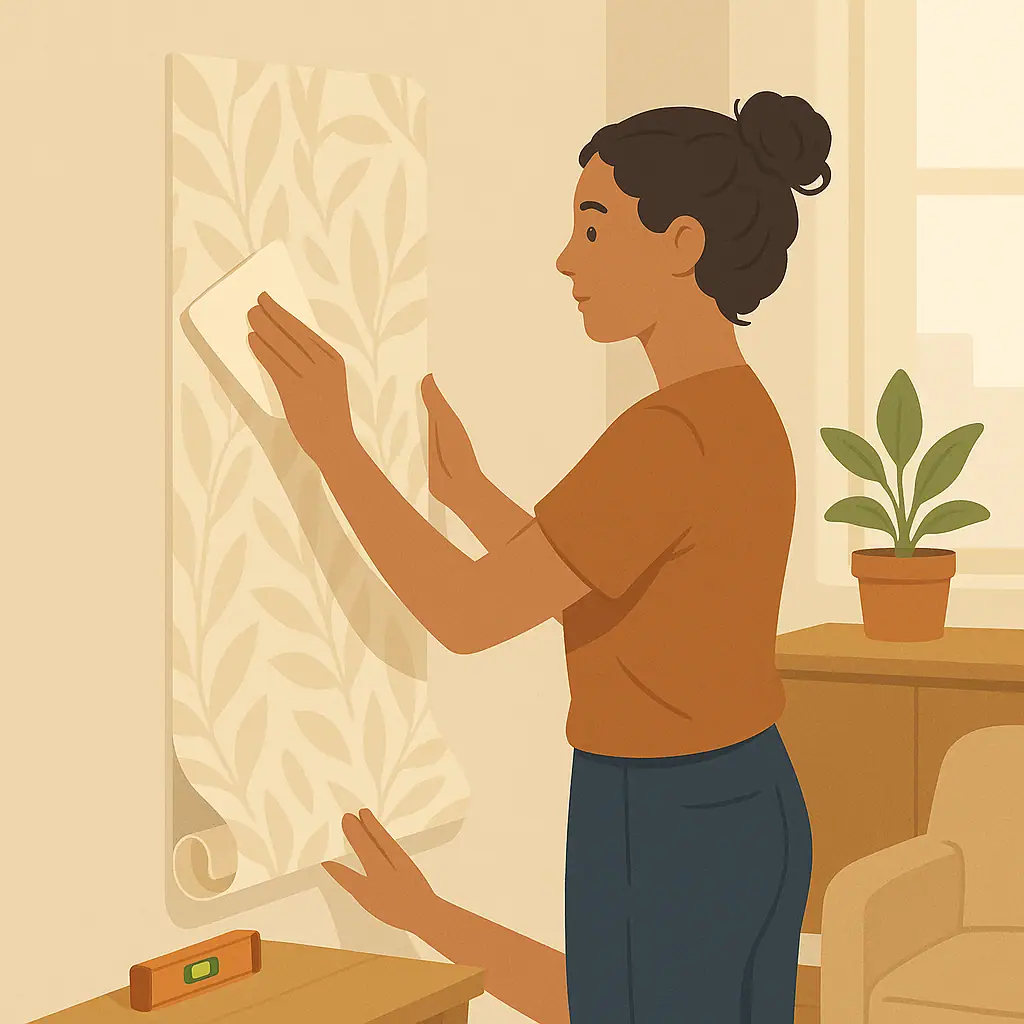
Step 4: Apply from one edge
Peel back only a small section of backing, align the top or side edge, and press gradually with a soft cloth or plastic smoothing tool. Move slowly to push air outward. If the decal stretches, stop and reset while the adhesive is still fresh.
Step 5: Trim only if you can do it safely
If trimming is needed, remove the cabinet door first only if your lease and comfort level allow it, and use a stable cutting surface. Never cut toward your hand or against a finished countertop. For most beginners, pre-cut decals or designs that fit inside the panel are safer than trimming on the cabinet.
Common Peel-and-Stick Surface Upgrade Mistakes to Avoid
The most common mistake is rushing the prep because the project looks simple. Adhesive projects fail quietly at first: one lifted corner, one greasy spot, or one stretched section can turn into a messy removal later.
- Skipping the test patch: a small test is boring, but it protects you from finding out too late that the finish is fragile.
- Covering damaged surfaces: decals do not stabilize peeling paint or swelling cabinet material.
- Ignoring humidity: bathroom and sink-base cabinets need extra caution because moisture can weaken adhesive edges.
- Pulling straight out during removal: many removable products come off more cleanly when pulled slowly and low against the surface, but always follow the exact product instructions.
A Simple Checklist
Use this quick checklist before you apply the first full decal:
- Surface: smooth, dry, stable, and not actively peeling.
- Lease: no rule against adhesive coverings or cabinet changes.
- Product: instructions reviewed for compatible surfaces and removal method.
- Test: sample applied and removed without visible finish damage.
- Design: measured, centered, and limited to areas you can remove later.
Pros and Cons
Reversible visual change
Decals can refresh plain cabinets without new holes, paint, or hardware swaps when the surface is suitable.
Beginner-friendly scale
You can test one door, one drawer, or an inside panel before doing a larger room update.
Helpful for testing style
A small decal section lets renters try color, pattern, or panel rhythm before spending money on a larger cabinet refresh.
Not safe for every finish
Fragile paint, heat, moisture, or old residue can make removal less predictable.
Edges need care
High-touch doors may lift near handles or corners if the surface was not cleaned well.
When to Get Extra Help
Ask your landlord, property manager, or a trusted maintenance person before applying decals if the cabinets are newly painted, already peeling, part of a furnished rental, or listed in the lease as a protected fixture. It is also worth asking if you plan to cover a large visible area that could affect move-out inspection.
Frequently Asked Questions
What should I check first before using removable decals on cabinets?
Check the cabinet finish. If paint is peeling, sticky, chalky, or water-damaged, do not cover it until you know the surface can handle adhesive.
How often should I review the decals after installing them?
Look at corners and handle areas after the first day, first week, and then during normal cleaning. Early lifting is easier to correct than a large curled edge.
What should I do if I am not sure the decal is safe?
Use a hidden test patch and read the product instructions. If the cabinet belongs to a rental, ask before covering a large visible area.
Can I undo removable cabinet decals later?
Usually, that is the goal, but removal depends on the product, surface, time in place, and cabinet condition. Follow the exact removal instructions and work slowly.
Final Thoughts
Removable decals can make plain cabinets feel more intentional, especially in rentals where drilling, painting, and permanent hardware changes are not worth the risk. The safest path is simple: test first, choose smooth stable surfaces, follow the manufacturer instructions, and keep your design limited enough that removal still feels realistic.
Start with one cabinet door or drawer front. If it installs cleanly, stays flat, and removes well from your test area, you can decide whether the full refresh is worth doing.