Kitchen upgrades for renters that do not change cabinets permanently are useful when your kitchen feels dated, cramped, or unfinished, but painting, drilling, replacing doors, or changing hardware is not allowed. The goal is not to force a renovation into a rental. The goal is to make the kitchen easier to use and calmer to look at while keeping the original cabinets intact.
A rental kitchen has a few risk zones: cabinet finishes, adhesive residue, heat, steam, food splatter, and move-out inspections. Before adding anything removable, check the lease, the surface, the product instructions, and the removal plan. A small upgrade that comes off cleanly is better than a dramatic cabinet change that leaves peeled veneer, sticky residue, or screw holes later.
Why This Matters
Cabinets dominate a kitchen visually, so renters often want to change them first. But cabinets are also one of the easiest places to create move-out trouble. Doors, frames, hinges, and drawer fronts may be old, painted many times, covered in thin veneer, or finished with materials that do not tolerate aggressive adhesive removal.
Product limits matter. Command's official product weight limits guide shows that adhesive products vary by intended load and use case. In a kitchen, that means a hook for a light towel is a different decision from a caddy, rail, shelf, pan, or anything touched several times a day.
Once you plan around those limits, kitchen upgrades become less stressful. You can improve lighting, storage, counter order, backsplash style, and cabinet appearance without permanently changing the cabinets themselves.
Start With Renter-Friendly Room Refreshes
Renter-friendly room refreshes work best when they begin with the problem you want to solve. A kitchen may feel cluttered, dark, mismatched, short on storage, or visually heavy because the cabinets are not your style. Each problem points to a different low-risk upgrade.
If the kitchen feels cluttered
Start with function before decor. Clear the counters, remove duplicate tools, and choose one visible home for daily items such as cooking oil, coffee supplies, dish soap, or utensils. A tray, narrow cart, drawer organizer, or under-sink bin can make the cabinets feel less overwhelming because the work surfaces look calmer.
If the cabinets look dated
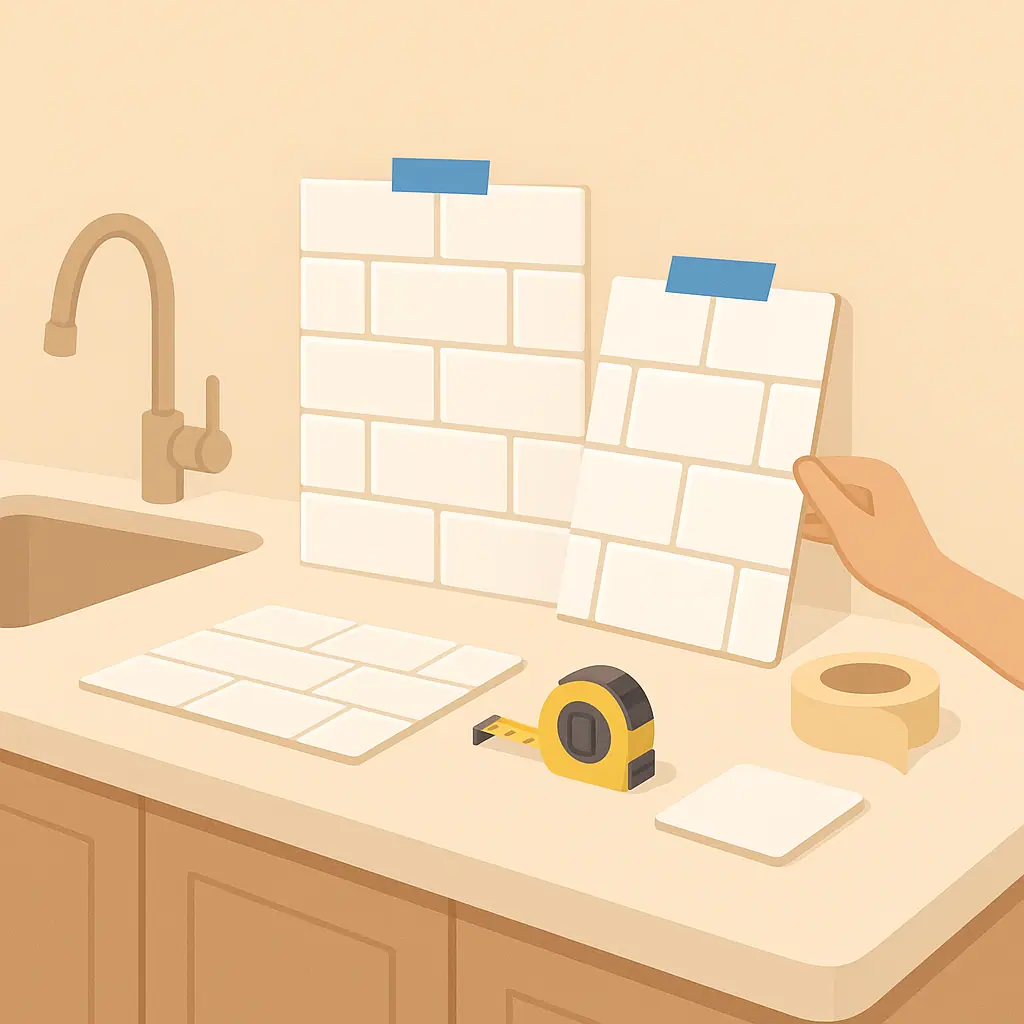
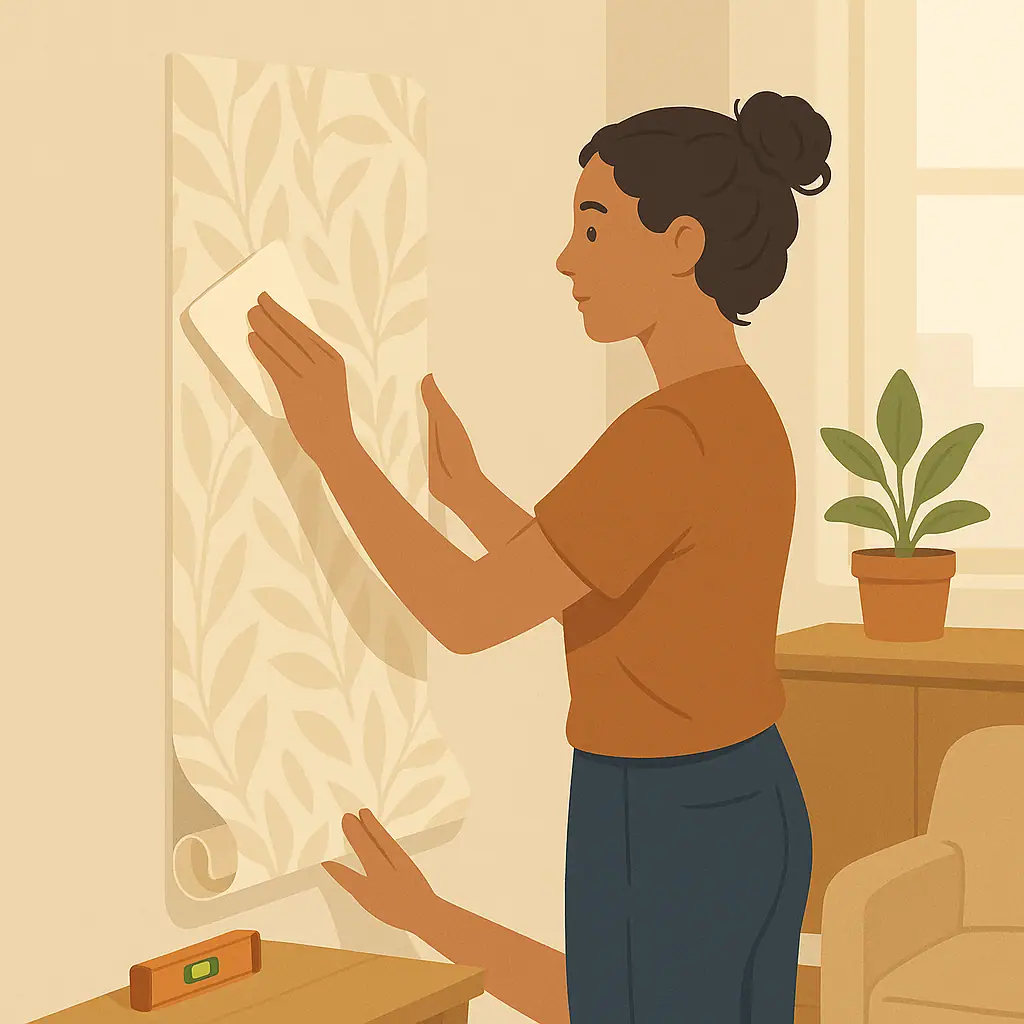
Work around them instead of covering every door. A better rug, cleaner backsplash area, warm lighting, coordinated towels, and tidy countertop storage can soften outdated cabinets without touching the finish. If you do use removable film or decals, test a hidden spot first and avoid weak paint, peeling laminate, and high-heat areas.
What to Check First for Kitchen Upgrades for Renters That Do Not Change Cabinets Permanently
Before buying anything, inspect the kitchen like a move-out checklist. Look at cabinet material, door edges, paint condition, grease buildup, heat exposure, steam zones, drawer clearances, and whether cabinet doors close cleanly. A removable product can still fail if the surface is dirty, textured, loose, or frequently warmed by appliances.
Lease rules come next. Some property managers allow removable organizers but do not allow peel-and-stick film on cabinet fronts, contact paper inside shelves, adhesive tile, or visible changes to doors. General resources like USA.gov tenant rights guidance can help readers find broader housing support, but your own lease and written property rules decide what is allowed in your unit.
Check heat and moisture zones
Divide the kitchen into dry, splash, steam, and heat zones. Dry zones include a pantry door, a side wall, or a cart. Splash zones include the sink and prep counter. Steam and heat zones include the stove, dishwasher edge, kettle area, and places near ovens or toasters. The closer an upgrade is to heat or steam, the more conservative it should be.
Check cabinet movement
Open every door and drawer before installing anything. Over-door organizers, adhesive bins, towel holders, and removable clips can scrape neighboring doors, hit walls, or keep drawers from closing. If the upgrade changes how the cabinet moves, it may be annoying even if it is technically removable.
How to Handle Kitchen Upgrades Step by Step
Use this sequence to keep the project useful and reversible.
Step 1: Reset the counters
Remove everything from the main counter and put back only what you use daily. Group the rest by task: coffee, cooking, cleaning, lunch prep, or baking. If an item is used weekly, it probably does not need prime counter space. This reset often makes the kitchen feel upgraded before you buy anything.
Step 2: Improve lighting without hardwiring
A dark kitchen can make cabinets look heavier than they are. Try plug-in or battery task lights only where they are safe from water, heat, and food splatter. Do not block ventilation, hide cords near hot appliances, or place lights where they can fall into a sink or cooking area.
Step 3: Add freestanding storage first
Use a rolling cart, narrow shelf, counter riser, drawer divider, or over-the-door pantry organizer before adding adhesive storage to cabinet fronts. Freestanding pieces are easier to move, clean around, and remove at move-out. They also avoid putting daily weight on cabinet finishes.
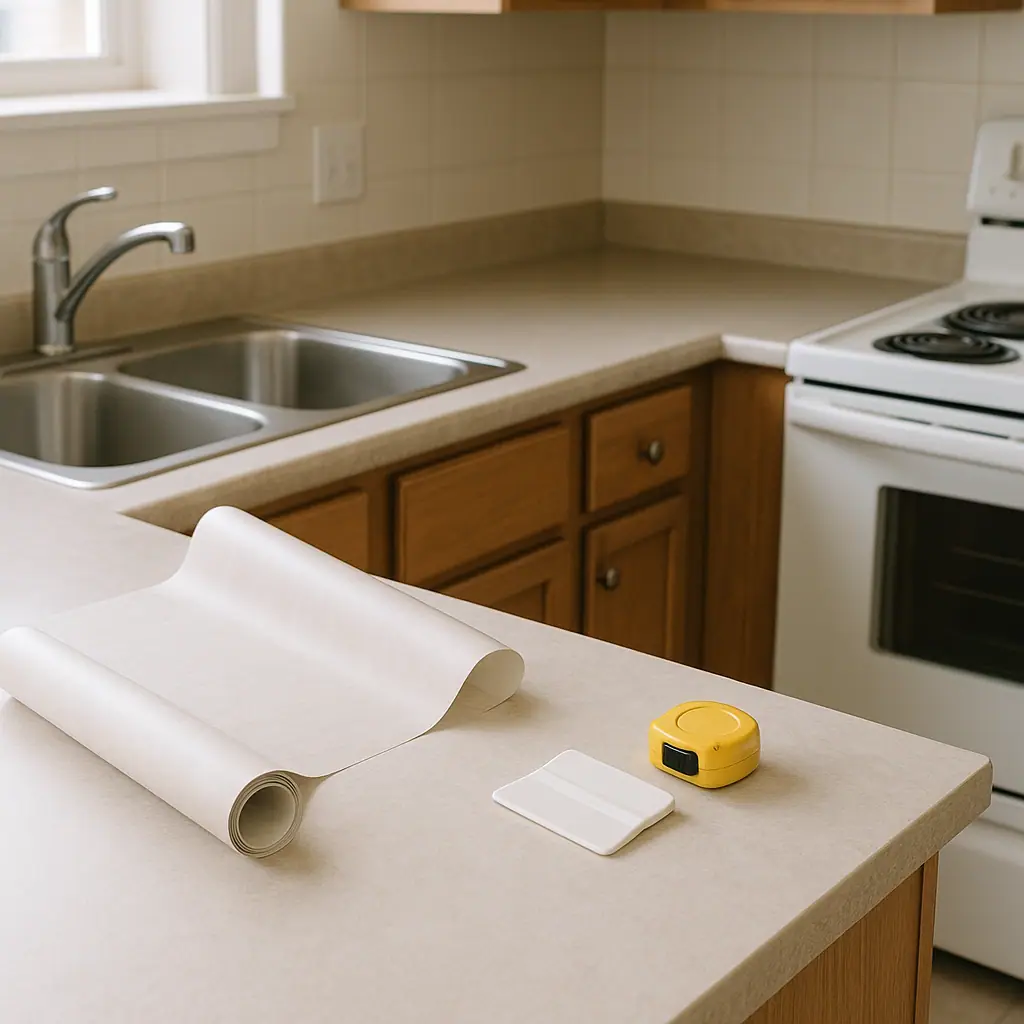
Step 4: Use removable accents in small doses
If the lease allows it, consider small reversible accents: a washable runner, a removable backsplash panel in a low-risk spot, plain bin labels, or a peel-and-stick accent on a surface you have tested. Avoid covering every cabinet door unless you have written permission and a proven removal plan.
Step 5: Protect cabinet fronts from daily pull
Do not hang heavy baskets, pans, cutting boards, or loaded caddies from cabinet doors unless the product and cabinet design clearly support that use. Door hinges are not storage hardware. If an organizer makes the door sag, rub, or slam, remove it.
Step 6: Photograph and save instructions
Take photos before installation, after installation, and during removal. Keep product packaging, removal directions, and any written permission. This record helps you remember what changed and gives you a cleaner move-out process.
Common Renter-Friendly Room Refreshes Mistakes to Avoid
The biggest mistake is assuming removable means cabinet-safe. Kitchen surfaces collect grease, heat, moisture, and cleaning residue, so adhesives may behave differently than they do on a bedroom wall.
- Covering weak cabinet finishes: peeling paint, worn veneer, and chipped laminate can lift during removal.
- Ignoring heat zones: adhesive products near ovens, kettles, dishwashers, or stovetops can loosen or leave residue faster.
- Overloading cabinet doors: heavy organizers can stress hinges and make doors close poorly.
- Skipping cleaning prep: grease and dust can make removable products unreliable.
- Changing too much at once: large peel-and-stick projects are harder to test, document, and remove cleanly.
Pros and Cons
Improves the room without cabinet work
Lighting, storage, textiles, and counter organization can make a kitchen feel fresher while leaving cabinet doors, hinges, and hardware unchanged.
Easier to document at move-out
Freestanding and lightly removable upgrades are simpler to photograph, clean, remove, and explain than painted or drilled cabinet changes.
Works in small kitchens
A few focused changes can improve storage and daily flow even when the kitchen has limited cabinets or awkward counter space.
Cabinet surfaces can be fragile
Old paint, veneer, laminate edges, and grease buildup can make removable products risky on doors and drawer fronts.
Some ideas still need permission
Peel-and-stick cabinet film, backsplash panels, visible coverings, and adhesive hardware may require lease or property-manager approval.
A Simple Checklist
Use this checklist before installing kitchen upgrades:
- Lease: does your rental agreement allow adhesive products, surface coverings, or visible cabinet changes?
- Surface: is the cabinet or wall smooth, stable, clean, dry, and approved by the product instructions?
- Zone: is the item away from heat, steam, sink splash, and food grease?
- Weight: will the product hold the real loaded weight, not just the empty organizer?
- Movement: can doors, drawers, appliances, and walkways still move normally?
- Removal: do you know how the item comes down before you install it?
When to Get Extra Help
Ask for extra help before anything involving electrical work, plumbing, appliance movement, cabinet hardware changes, large adhesive coverings, heavy storage, damaged surfaces, or unclear lease language. These are not good places to guess.
For everyday changes, a second opinion can still help. Ask someone to check whether a cart blocks traffic, a light creates glare, a rug catches under a door, or a storage bin makes the counter harder to clean. A good kitchen refresh should make daily cooking easier, not just add more objects.
Frequently Asked Questions
What should I check first for renter-friendly kitchen upgrades?
Check the lease, cabinet surface, heat and moisture zones, product instructions, and loaded weight. If the item touches a cabinet finish, be especially cautious.
How often should I review these upgrades?
Check them after the first week, then monthly. Look for peeling edges, loose hooks, trapped grease, rubbing doors, sagging organizers, or residue around adhesive areas.
What should I do if I am not sure a product is safe for my cabinets?
Do not install it yet. Read the product instructions, test only where appropriate, check the lease, and choose a freestanding option if the cabinet finish seems weak.
Can I undo these kitchen changes later?
Many upgrades are removable, but clean removal depends on product type, surface condition, heat exposure, time, and following directions carefully. Plan removal before installation.
Final Thoughts
Kitchen upgrades for renters that do not change cabinets permanently should make the room easier to cook in, simpler to clean, and calmer to look at. Start with counters, lighting, freestanding storage, and small accents before attaching anything to cabinet surfaces.
The best rental kitchen refresh is modest, documented, and easy to reverse. Choose one visible problem, solve it with the least permanent method, and let the kitchen improve one careful layer at a time.