Laundry area upgrades for renters with no built-in storage work best when the setup starts with the real problem: where do detergent, hampers, hangers, lint tools, and drying items go without drilling into walls or changing cabinets? A rental laundry corner may be a hallway closet, a bathroom nook, a shared basement shelf, or the space around a stacked washer and dryer. The right upgrade needs to fit that exact routine.
The safest approach is to keep weight on the floor, furniture, or appliances only when the appliance manual allows it, and to use walls lightly. Before buying bins or adhesive hooks, check your lease, measure the clearances, and decide what must be reachable every laundry day.
Why This Matters
Small laundry spaces fail quietly. A bottle sits on the dryer, a hamper blocks the door, drying racks lean against trim, and loose supplies migrate into nearby rooms. None of that feels like a storage system, but renters often hesitate to improve it because they cannot add shelves or permanent hooks.
A renter-friendly laundry area should make the repeated routine easier without creating move-out repairs. That means thinking about moisture, heat, vibration, door swing, appliance access, and product weight before choosing anything that sticks, clamps, hangs, or rolls.
Start With the Laundry Path
Before adding storage, walk through one normal load of laundry. Notice where dirty clothes wait, where detergent is measured, where clean clothes land, and where items need to dry. The best upgrade usually supports one of those steps instead of trying to make the whole area look custom.
Keep the floor plan honest
Measure the width of the walkway, the washer and dryer door swing, and the space needed to open any closet or cabinet doors. A slim cart that looks perfect online can become frustrating if it blocks the dryer door or has to be moved every time you fold towels.
Separate daily-use from backup supplies
Detergent, stain remover, dryer balls, and a lint roller may need to be close. Extra paper products, bulk detergent, spare hangers, and seasonal laundry bags can live farther away. If you treat every item as daily-use, the laundry zone will feel crowded again within a week.
What to Check First for Laundry Area Upgrades for Renters With No Built-In Storage
Start with permission and surfaces. Read the lease or resident handbook before attaching items to walls, doors, cabinets, tile, or appliances. Some rentals allow removable products in general but still restrict adhesive on painted surfaces, closet doors, bathroom tile, or shared laundry rooms.
Next, check the product instructions. Command's official picture hanging strip instructions show why surface prep, surface type, weight limits, indoor conditions, and careful removal matter. Even if you are using a different removable product, the habit is the same: read the package before trusting the word removable.
Check moisture, heat, and vibration
Laundry areas can be warmer and more humid than a bedroom wall. A hook that works for a lightweight frame in a dry hallway may not be the right place for a damp delicates bag beside a dryer. Avoid attaching storage to peeling paint, textured walls, dusty trim, old cabinet veneer, or any surface that already shows swelling or soft spots.
Check landlord and housing rules when unsure
If the change affects a shared laundry room, a utility closet, water hookups, ventilation, or a landlord-owned appliance, do not guess. USAGov's tenant rights resource points renters toward state-level housing guidance, but your lease, property rules, and local rules are the documents that control what you can change.
How to Handle Laundry Area Upgrades Step by Step
Use this sequence to improve a laundry area without asking the wall to carry the whole routine.
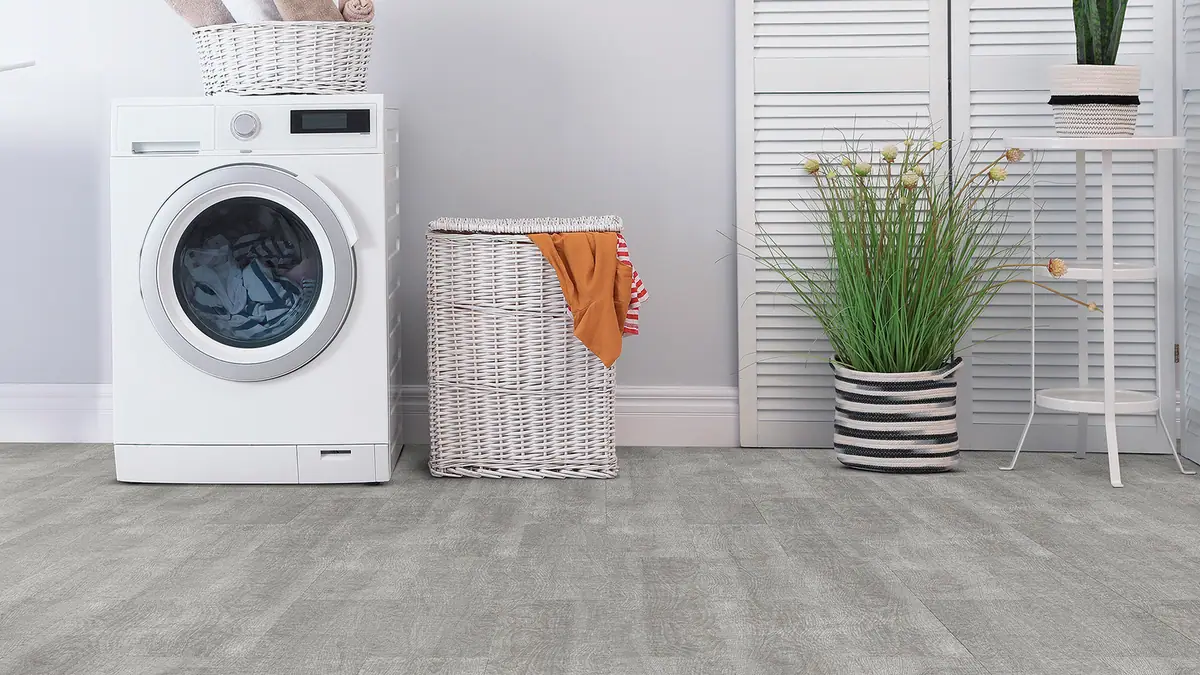
Step 1: Choose one main landing spot
Pick one place for clean items after they leave the dryer: a folding surface, basket, collapsible hamper, or rolling cart. If clean clothes currently land on the washer lid, the floor, or a nearby chair, solving that landing spot will improve the routine faster than adding decor.
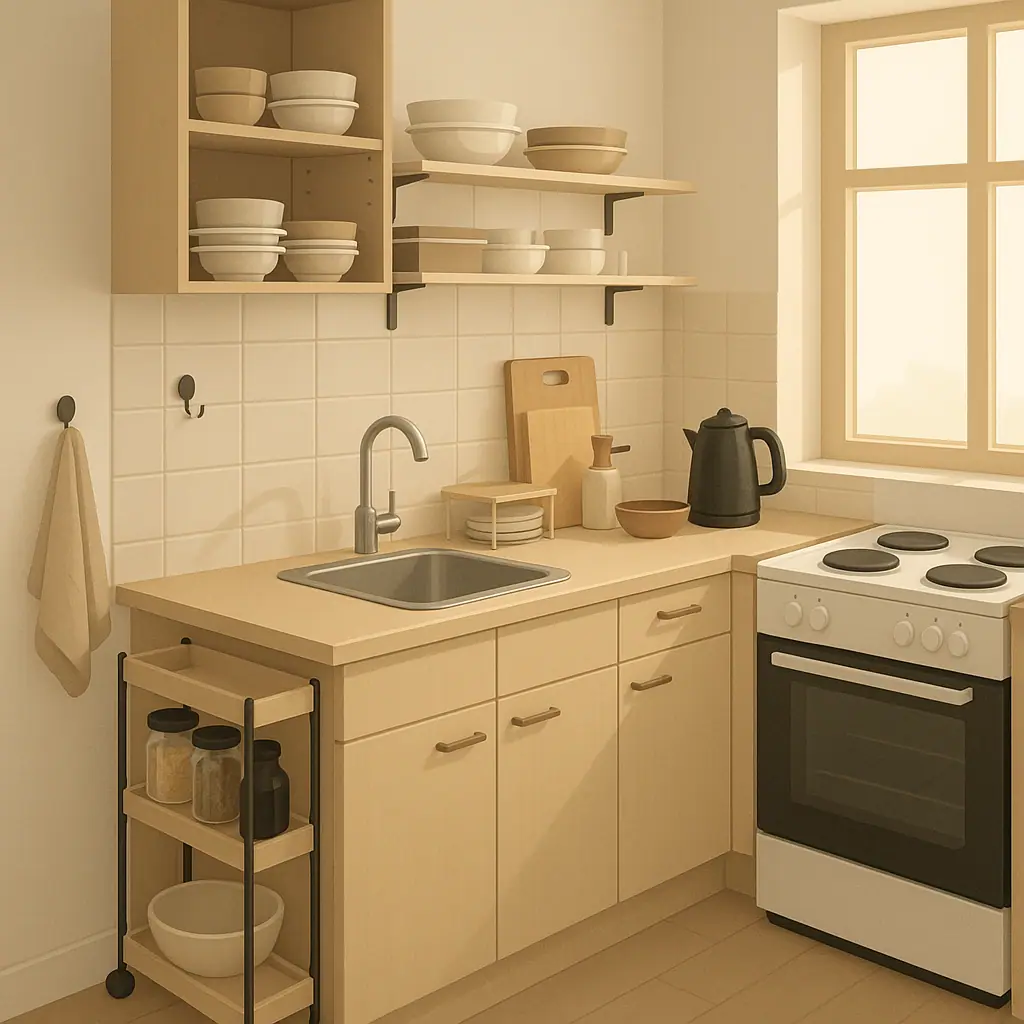
Step 2: Add floor-supported storage first
A narrow rolling cart, freestanding shelf, lidded bin, or small cabinet can hold detergent and tools without drilling. Choose something with a stable base, washable surfaces, and enough clearance for doors, hoses, vents, and appliance service access.
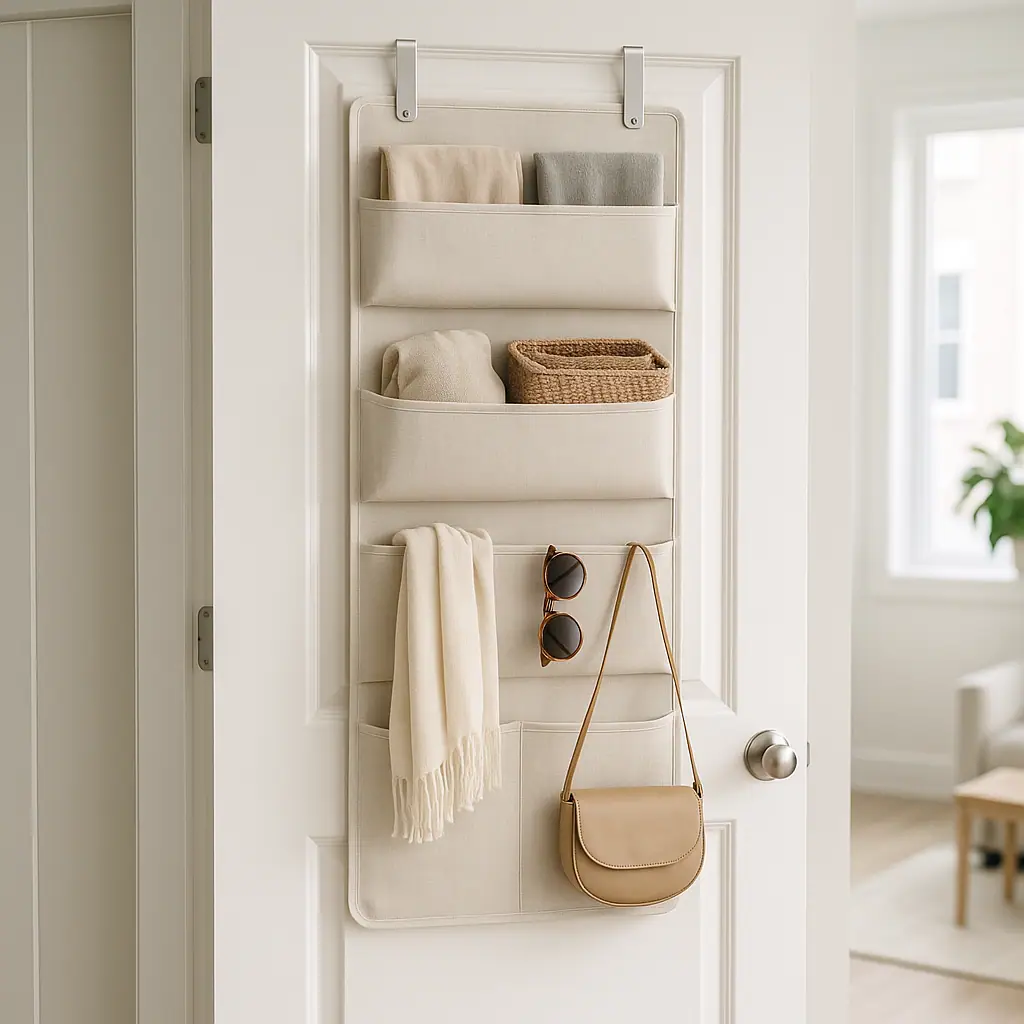
Step 3: Use doors and tension carefully
Over-the-door organizers can help with dryer sheets, mesh bags, lint rollers, and spare clothespins. Check that the door still closes, the hooks do not scrape trim, and the organizer does not hit the washer or dryer. A tension rod can support a few empty hangers or lightweight air-drying items, but it should not become a heavy closet rod.
Step 4: Keep adhesive jobs light and specific
If the surface and lease allow removable products, use adhesive for small, light, low-risk items: a lint brush holder, a tiny label-free bin, a cord clip, or a lightweight hook for an empty mesh bag. Do not use adhesive shelves for full detergent bottles, wet towels, irons, or anything that could fall onto an appliance.
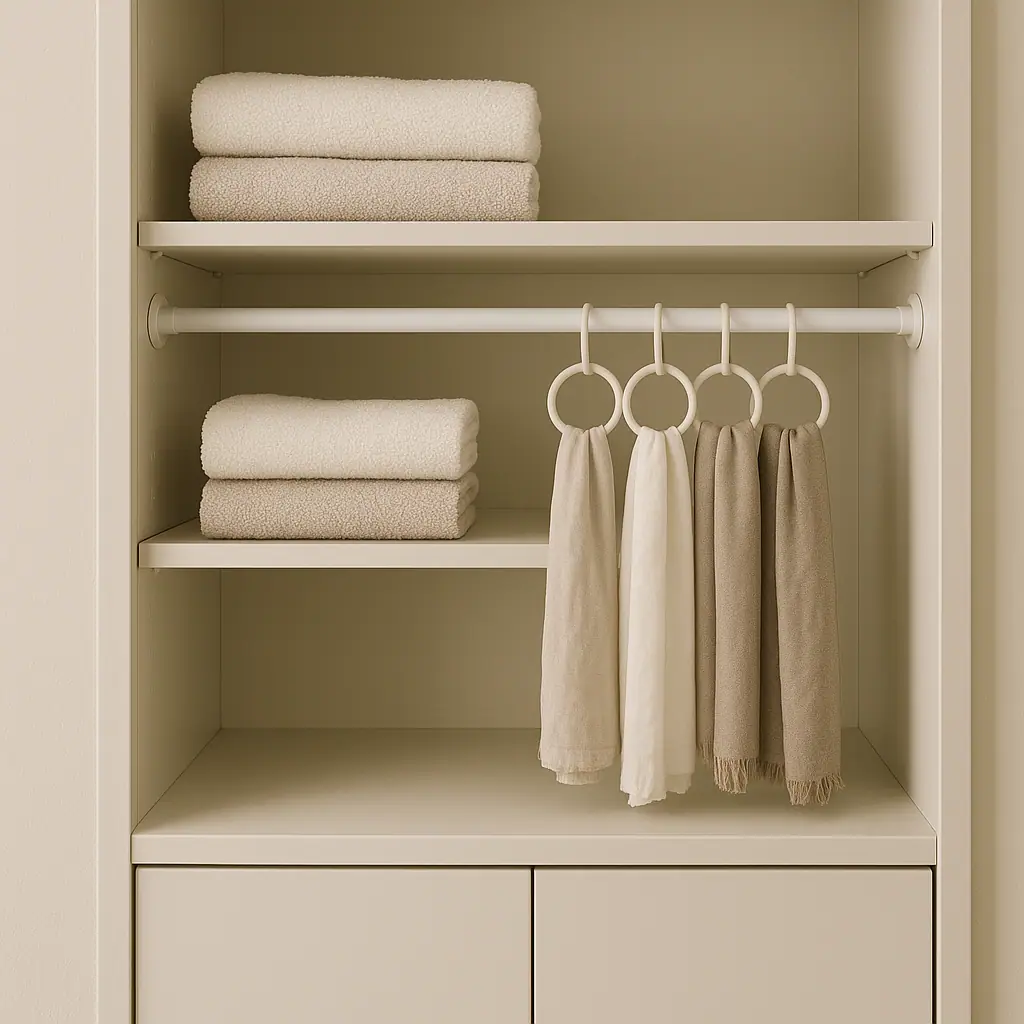
Step 5: Build a drying plan
Many rental laundry areas need a place for hang-dry items. A fold-flat drying rack, door-mounted rack, shower rod in a bathroom, or freestanding garment rack is usually safer than wall-mounted hooks. Keep damp items away from electrical outlets, appliance controls, and surfaces that could stain or swell.
Step 6: Test the setup for one week
After the first week, look for the item that still lands in the wrong place. If detergent is still on top of the dryer, the cart needs a better position. If damp items are still on chairs, the drying plan is too small. Adjust one thing at a time.
Common Renter-Friendly Laundry Mistakes to Avoid
The most common mistake is treating a laundry area like a permanent mudroom. Heavy wall shelves, adhesive bins filled with bottles, and overstuffed door organizers can create more risk than storage. Renters need upgrades that stay useful under real laundry-day movement.
- Blocking access: keep hoses, vents, shutoff valves, outlets, doors, and appliance panels reachable.
- Ignoring loaded weight: a small basket is not small once it holds wet cleaning cloths or a full bottle.
- Using adhesive near heat or moisture without checking: laundry rooms can challenge products that were tested on clean, dry walls.
- Forgetting removal: save instructions and remove strips slowly according to the product directions.
- Buying before measuring: measure door swing, appliance depth, hallway width, and cart clearance before ordering storage.
Pros and Cons
Works without permanent shelving
Floor-supported carts, bins, racks, and over-the-door pieces can add real function without drilling into rental walls.
Easier to remove at move-out
Most of the setup can be lifted, folded, rolled, or packed instead of patched and repainted.
Adapts to awkward laundry spaces
The same planning method works in closets, bathrooms, kitchens, hallway nooks, shared laundry rooms, and utility corners.
Less built-in appearance
Freestanding storage may look lighter and more flexible than custom cabinets or permanent shelves.
Requires regular weight checks
Laundry supplies are dense, and small organizers can become overloaded if refills and wet items are added casually.
A Simple Checklist
Run through this checklist before changing a renter laundry area:
- Lease: does the lease or resident guide allow removable products in this location?
- Access: can you still reach hoses, vents, shutoffs, doors, and outlets?
- Weight: is the item lighter than the rating after it is fully loaded?
- Surface: is any adhesive area clean, dry, smooth, stable, and approved by the product instructions?
- Moisture: will wet items dry without touching paint, outlets, or appliance controls?
- Move-out: do you know exactly how each piece will come down or move out?
When to Get Extra Help
Ask the property manager before changing anything connected to plumbing, ventilation, electrical access, shared laundry rules, or landlord-owned appliances. A storage idea is not worth a lease dispute or blocked maintenance access.
Also get help if you see water damage, mold-like staining, a loose outlet, a hot cord, or an appliance that moves more than expected. Those are not decor problems. They are maintenance issues to document and report through the proper channel.
Frequently Asked Questions
What should I check first in a renter laundry area?
Check the lease, then measure the door swing, appliance access, walkway, and storage depth. If a freestanding option solves the problem, start there.
How often should I review the setup?
Review it after the first week, then monthly. Look for overloaded baskets, loose hooks, blocked vents, damp items, and supplies drifting back onto appliance tops.
What should I do if I am not sure a product can stick there?
Do not install it yet. Read the product instructions, check the surface type, and ask the property manager if the location affects paint, tile, doors, cabinets, or shared space.
Can I undo these laundry upgrades later?
Most freestanding, rolling, folding, and over-the-door upgrades are easy to remove. Adhesive products depend on the surface, room conditions, installed weight, and careful removal.
Final Thoughts
Laundry area upgrades for renters with no built-in storage should make laundry easier without hiding maintenance access or risking wall damage. Start with the laundry path, keep heavy items supported by the floor, use doors and tension lightly, and treat adhesive as a small-item tool rather than a shelving system.
A good rental laundry setup does not need to look permanent. It needs to be reachable, removable, stable, and honest about what the space can safely hold.