No-drill closet upgrades that add storage without permanent changes should begin with the closet you actually have, not the closet you wish came with the apartment. A narrow reach-in closet, a deep but awkward closet, or a shared bedroom closet can all work better with the right mix of freestanding, over-door, tension, and lightweight removable pieces.
The goal is not to make every inch hold something. The goal is to add storage without drilling holes, stressing weak surfaces, or creating a move-out problem later. For renters, that means choosing upgrades that are light, reversible, easy to inspect, and honest about weight limits.
Why This Matters
Closets often fail because they are asked to store too many categories at once: clothes, shoes, laundry, bags, linens, cleaning supplies, seasonal items, and random things that did not find another home. When storage is crowded, people tend to buy more organizers before deciding what the closet should stop holding.
This matters even more in rentals because the wall, trim, door, and shelf supports may not belong to you. A no-drill product can still leave paint stress, sticky residue, dents, or lease questions if it is used on the wrong surface or for the wrong load.
Start With Lightweight Storage and Organization
Lightweight storage and organization works best when heavy items stay low and removable pieces handle lighter jobs. Before buying anything, empty one section of the closet and sort items by weight, frequency, and whether they truly belong there.
Separate closet jobs before choosing products
- Daily clothing: keep the easiest reach space for items worn most often, not special-occasion pieces.
- Shoes and bags: use low shelves, floor cubes, or over-door pockets instead of asking wall hooks to hold bulky weight.
- Folded items: shelf dividers, fabric bins, and freestanding drawers can control stacks without attaching to the wall.
- Seasonal overflow: store higher or deeper only if the item is light and easy to retrieve safely.
- Heavy or awkward items: keep tools, large storage bins, loaded backpacks, and appliances off adhesive hooks and thin closet rods.
Measure the useful space, not just the opening
Measure the closet width, depth, hanging height, shelf depth, door clearance, baseboard position, and how far sliding or bifold doors actually open. A product that fits the closet on paper may still block hangers, scrape the door, or make daily use harder.
If the closet is close to a bathroom or cabinet area, compare your plan with tension rod storage ideas for bathrooms, closets, and cabinets. Tension-based storage can be helpful, but it still needs careful sizing, light loads, and surfaces that can handle pressure.
What to Check First for No-Drill Closet Upgrades That Add Storage Without Permanent Changes
Start by checking the lease, the closet surfaces, and the product instructions. No-drill does not automatically mean lease-friendly. Some leases or property rules may limit adhesives, over-door hardware, or anything that marks painted trim.
Check removable product instructions
If you use adhesive hooks, strips, or small caddies inside the closet, verify the exact product directions. Command's official hook instructions explain that hooks come in different sizes and weight limits, give surface-prep steps, list surfaces and situations to avoid, and warn that instructions matter for preventing damage on the Command indoor and outdoor hooks instruction page.
That source is useful because it shows why one adhesive hook should not be treated like every adhesive hook. A closet may have older paint, dusty walls, textured surfaces, humidity from nearby rooms, or daily bumps from hangers and bags. Those conditions should push heavier storage toward freestanding pieces.
Check lease and tenant questions early
When you are unsure whether a closet change is allowed, ask before applying anything to walls, doors, trim, or built-in shelves. USA.gov's housing help page points renters toward tenant-rights and landlord complaint resources on its housing help page, which is a reminder that rental rules are local and property-specific.
For a closet project, the practical version is simple: read your lease, keep product packaging or instructions, take before photos, and choose changes that can be removed without surprise repairs.
How to Handle No-Drill Closet Upgrades That Add Storage Without Permanent Changes Step by Step
Use this process before shopping. It keeps the closet upgrade focused on storage problems instead of turning the closet into a collection of organizers.
Step 1: Remove one category at a time
Do not empty the whole closet if that will create chaos. Start with one category: shoes, bags, folded sweaters, accessories, cleaning supplies, or seasonal clothes. Decide what stays before adding any storage product.
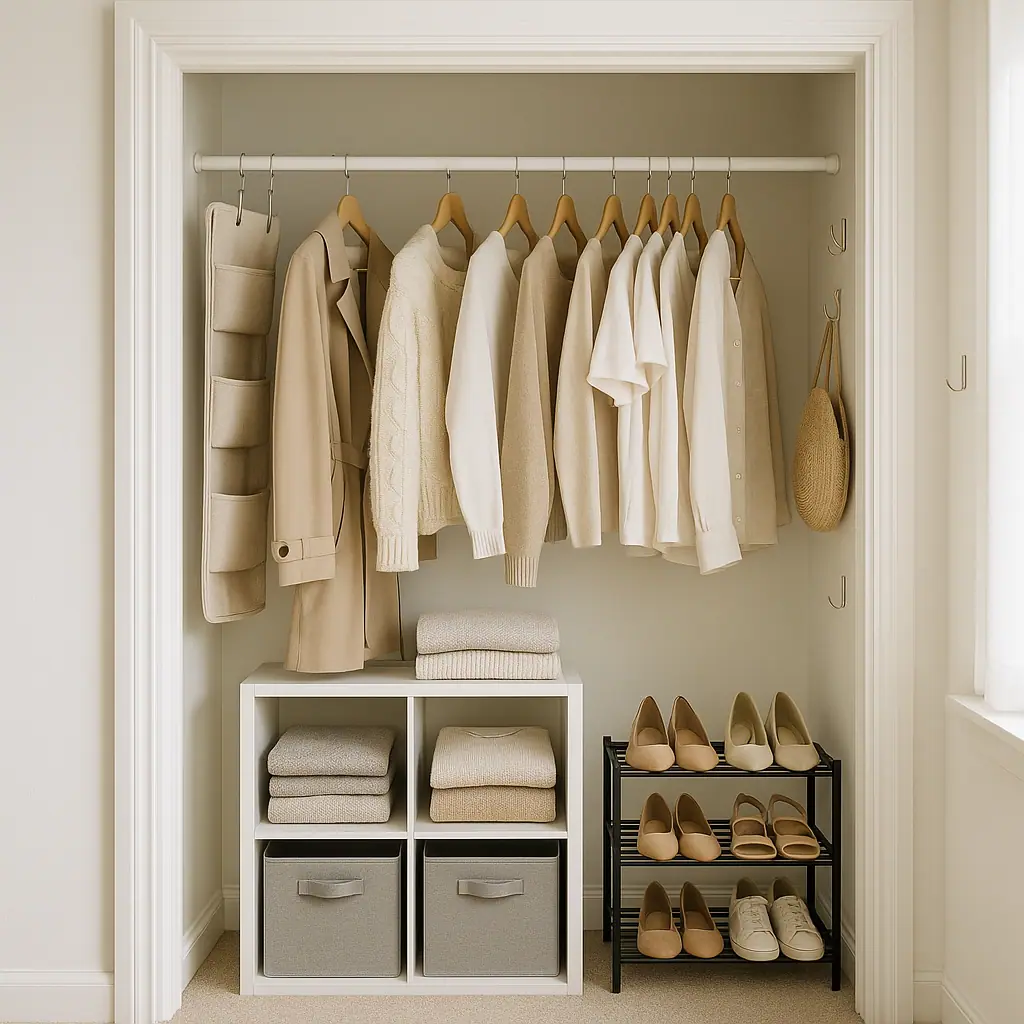
Step 2: Put weight on the floor first
Floor-based storage is usually the safest starting point. A narrow shoe rack, stackable cube, freestanding drawer unit, or low basket can add capacity without relying on wall paint, door trim, or adhesive strength.
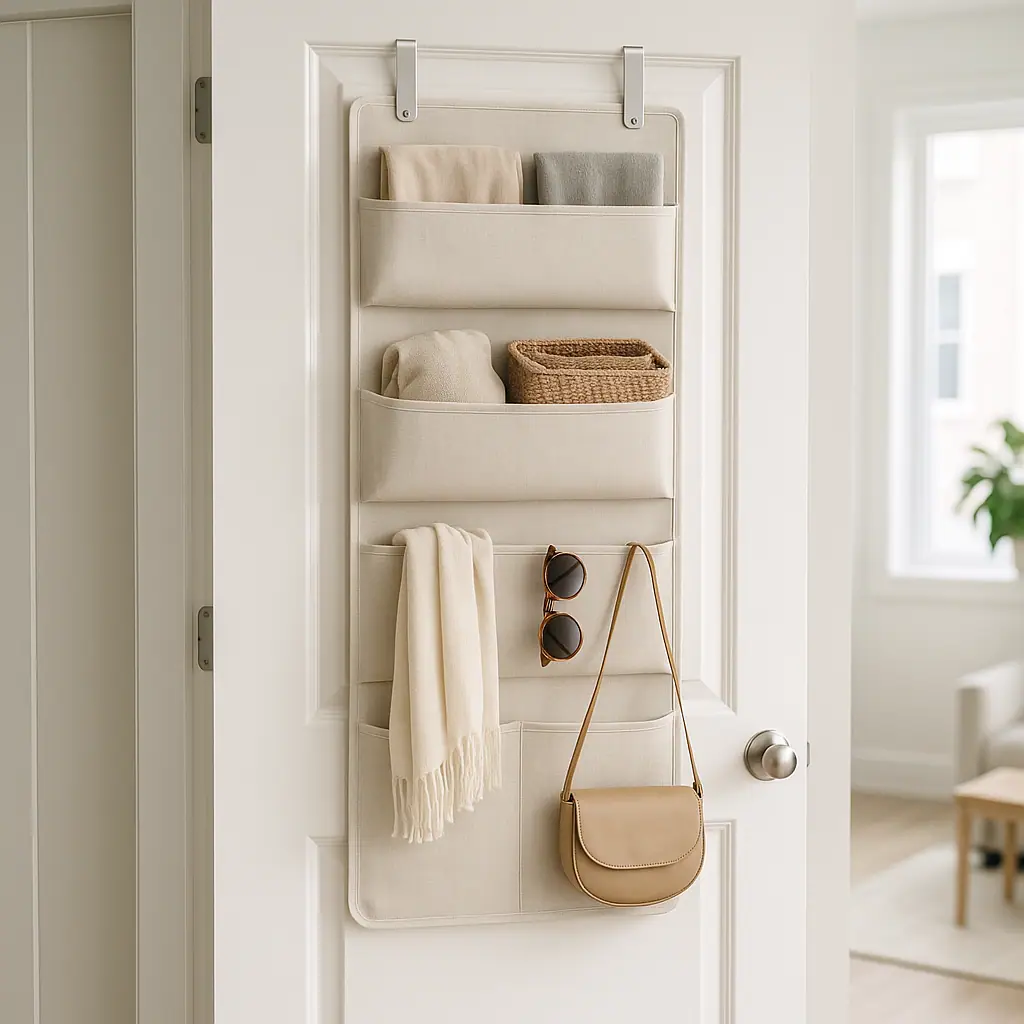
Step 3: Use the door carefully
Over-door organizers can add useful vertical storage, especially for shoes, scarves, belts, small bags, and folded accessories. Check that the door still closes, hinges do not strain, the organizer does not scrape paint, and the items are not so heavy that the door feels pulled out of alignment.
Step 4: Add shelf control before adding more shelves
If the closet has a shelf, use bins, shelf dividers, or labeled baskets to stop piles from spreading sideways. A controlled shelf often adds more usable storage than a new mounted shelf, especially when drilling is off the table.
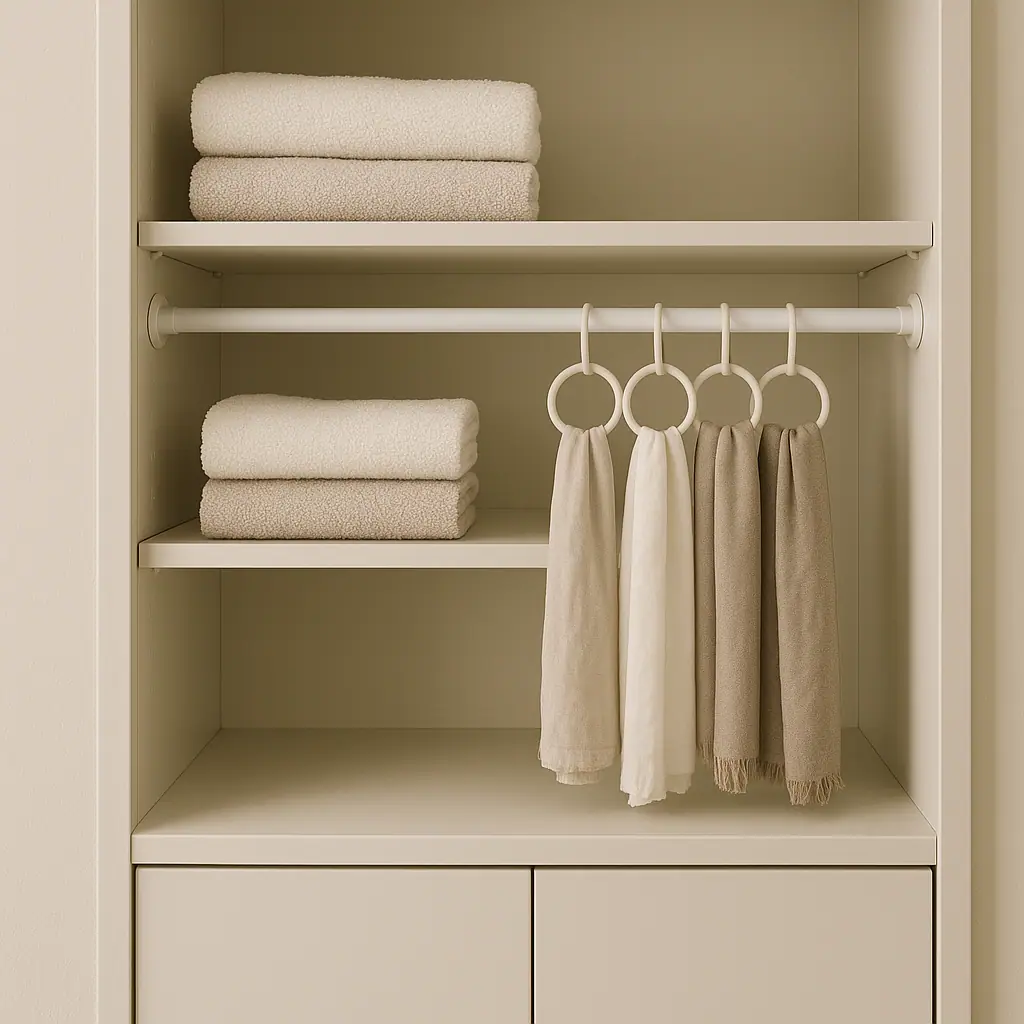
Step 5: Use tension rods only for light secondary tasks
A tension rod can create a scarf rail, cap zone, light accessory divider, or small hanging area in the right closet. It should not replace a real closet rod for heavy clothes unless the product and surfaces clearly support that use.
Step 6: Reserve adhesive hooks for predictable light loads
Adhesive hooks can work for a robe belt, lightweight tote, measuring tape, lint roller, or a small accessory pouch. Avoid using them for loaded backpacks, heavy handbags, wet items, or anything valuable. Keep a safety margin instead of treating the maximum rating as the daily target.
Step 7: Photograph the setup and removal plan
Take a quick photo once the closet is organized. Save the product instructions if removal steps matter. At move-out, the photo helps you remember what changed and whether each item can be removed in the right order.
Common Lightweight Storage and Organization Mistakes to Avoid
The most common mistake is adding vertical storage before reducing the closet load. More pockets, hooks, and bins will not solve a closet that is holding items from every room in the apartment.
- Overloading over-door organizers: a full organizer can make a door hard to close, rub trim, or strain hinges.
- Using adhesive on dusty closet walls: closet walls often collect lint, dust, and fabric fibers that can weaken removable products.
- Ignoring hanger clearance: bins and shelf dividers should not block clothes from moving naturally along the rod.
- Storing heavy items high: large bins, tools, and dense stacks are safer low, where they cannot fall from above shoulder height.
- Skipping the undo plan: know how each hook, strip, rod, or organizer comes off before it goes up.
A Simple Checklist
Use this checklist when planning a no-drill closet upgrade:
- Choose one problem: shoes, bags, folded items, accessories, or seasonal overflow.
- Measure the closet: include width, depth, shelf height, rod clearance, and door movement.
- Keep weight low: use floor racks, cubes, baskets, and drawers for heavier storage.
- Check surface limits: read adhesive, tension, and over-door instructions before use.
- Protect trim and paint: avoid pressure points that rub each time the door opens.
- Leave breathing room: a closet needs open space so items can be reached without pulling everything out.
- Review after one week: remove organizers that make the closet harder to use.
Pros and Cons
Easy to test in stages
You can improve one shelf, one door, or one floor zone before buying a full closet system.
Better for move-out planning
Freestanding bins, over-door pieces, and light removable hooks are easier to undo than drilled rails or permanent shelves.
Works in awkward rentals
No-drill options can help closets with odd depths, short rods, shared storage, or limited shelf space.
Not every product is wall-safe
Adhesives, tension rods, and over-door hooks still depend on surface condition, fit, weight, and removal technique.
Small organizers can hide clutter
Extra pockets and bins may create more storage for items that should leave the closet entirely.
When to Get Extra Help
Get extra help if the closet has peeling paint, wallpaper, old plaster, loose shelves, a bowed rod, a door that already sticks, or signs of moisture. Also pause if you want to store anything heavy above shoulder height or attach anything near electrical panels, pipes, or built-in hardware you do not own.
If your storage problem is really a room problem, keep the closet plan small enough that it can be adjusted without damage. A closet should not become the backup storage area for every item that lacks a better home.
Frequently Asked Questions
What should I check first in lightweight storage and organization?
Check what the closet is trying to hold. If shoes, bags, folded clothes, and seasonal bins are all competing for the same space, solve one category first.
How often should I review a no-drill closet setup?
Review it after the first week, then during normal laundry or cleaning. If a bin, hook, or organizer is always overfull, change the category instead of adding more weight.
What should I do if I am not sure a product is safe for my closet?
Do not guess. Read the product instructions, check the surface, reduce the load, and ask your property manager if the lease or surface rules are unclear.
Can I undo these closet upgrades later?
Most freestanding pieces, baskets, and over-door organizers are easy to remove. Adhesive and tension products depend on proper application, surface condition, and careful removal.
Final Thoughts
No-drill closet upgrades that add storage without permanent changes work best when they are modest, measured, and easy to undo. Start with the storage category that causes the most daily friction, keep weight low, and add removable pieces only where they make the closet easier to use.
A good renter-friendly closet should feel calmer without depending on risky wall loads. When a product feels uncertain, choose the option that protects the surface first and adds storage second.