Peel-and-stick floor tiles can look like an easy rental upgrade: no grout, no saw, no drilling, and no permanent remodel. For renters, though, the real question is not whether the tiles can stick. It is whether they make sense for your floor, your lease, your timeline, and your move-out plan.
This guide explains where peel-and-stick floor tiles for renters are most reasonable, where they are risky, and how to decide before you cover a floor you may need to return in good condition later.
Why This Matters
Floors take more abuse than walls. They handle shoes, chairs, pet bowls, bathroom humidity, kitchen spills, cleaning products, and constant pressure. A peel-and-stick surface upgrade that works on a small backsplash may behave very differently under a rolling chair or near a damp bathroom threshold.
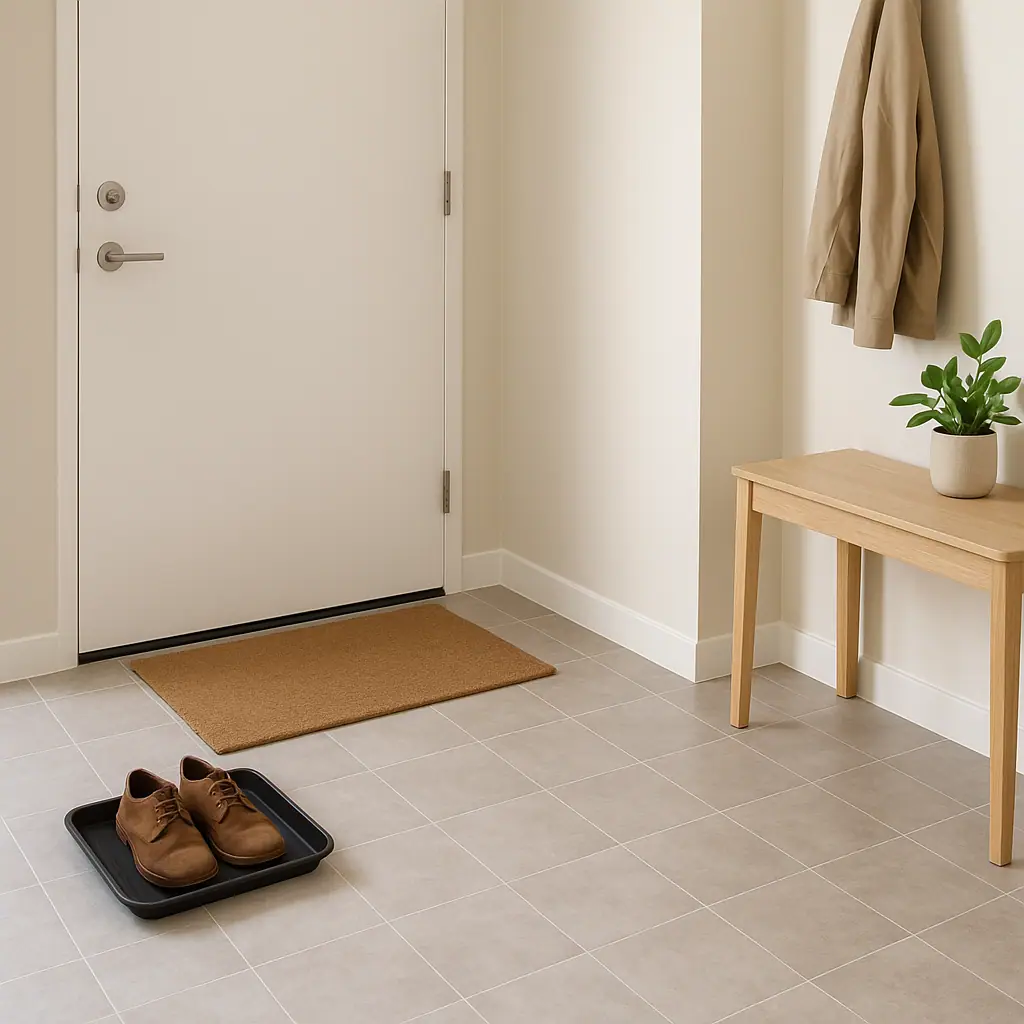
The safest projects are usually limited, low-moisture, and easy to inspect. A small entry zone, powder room, laundry closet, or temporary floor refresh may be more realistic than covering an entire kitchen with fragile old vinyl underneath.
Start With Peel-and-Stick Surface Upgrades
Peel-and-stick surface upgrades work best when the original surface is smooth, stable, clean, and not precious. That matters even more on floors because adhesive tiles need consistent contact. If the floor has deep texture, loose corners, crumbling grout, cracked old tile, or peeling vinyl, the new tile is only bonding to a weak base.
Better candidates
- Smooth existing vinyl: a clean, flat vinyl floor can sometimes be a practical base if the lease and product instructions allow it.
- Small low-traffic areas: a compact laundry nook or closet gives you a contained test before you commit to a larger room.
- Temporary visual fixes: peel-and-stick floor tiles can help a dated surface feel cleaner when the goal is a modest refresh, not a permanent renovation.
Riskier candidates
- Uneven tile or grout lines: the tile may telegraph bumps, sink into grooves, or lift at edges.
- Wet bathrooms: frequent moisture can challenge edges, seams, and adhesive over time.
- Floors you must preserve perfectly: if a deposit depends on the original floor staying untouched, adhesive flooring deserves extra caution.
What to Check First for Peel-and-Stick Floor Tiles
Before buying boxes of tile, choose one hidden corner or removable sample area and study the existing floor. Look for wax buildup, loose seams, water damage, old adhesive residue, soft spots, or floor movement. If the base shifts, flakes, or feels sticky already, peel-and-stick tiles are unlikely to solve the underlying problem.
Also check your lease or property rules before changing a floor surface. If you need general housing guidance or help understanding where to look for tenant resources, the official USA.gov housing help page can point readers toward housing assistance and tenant-related resources. Your actual lease, landlord, or local tenant rules still control what is allowed in your rental.
Finally, read the exact product instructions. Some tiles are meant for specific smooth surfaces, some require acclimation, and some have removal warnings. Do not rely only on marketing words like removable, renter-friendly, or damage-free.
How to Handle Peel-and-Stick Floor Tiles Step by Step
Treat the first tile as a test, not the beginning of a full-room makeover. A small trial shows how the adhesive handles your floor, your cleaning routine, and the amount of traffic in that spot.
Step 1: Define the project boundary
Decide whether this is a small accent zone, a closet floor, a laundry area, or a full room. Renters usually have less risk with contained projects because they are easier to remove, document, and discuss with a property manager if needed.
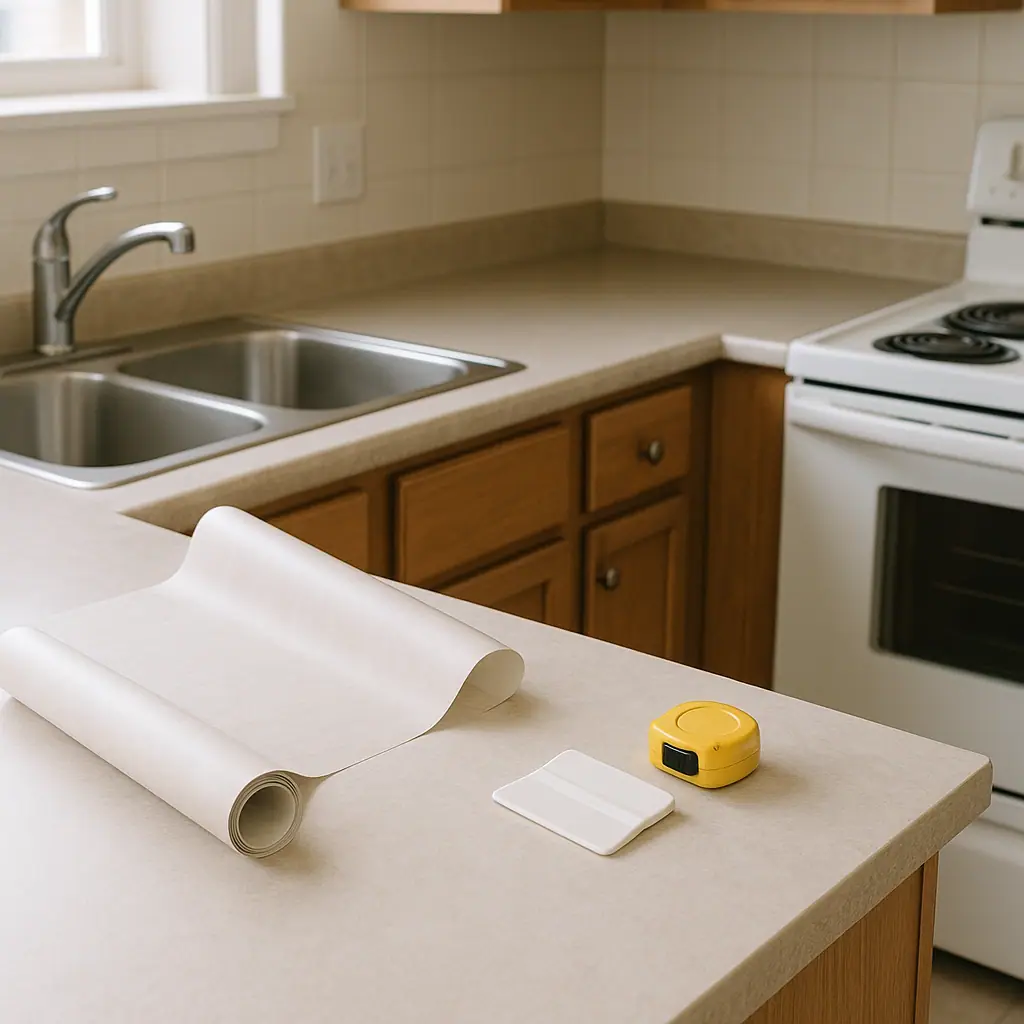
Step 2: Clean and dry the surface
Sweep thoroughly, wipe away grime, and remove residue with a cleaner that is safe for the existing floor. Let the area dry completely. Adhesive flooring does not forgive dust, wax, oil, or damp seams.
Step 3: Test one tile first
Apply one sample tile in a low-visibility spot. Walk on it for a few days, clean around it normally, and check whether the corners lift or the floor finish reacts. If removal pulls up finish, leaves heavy residue, or exposes damage, stop there.
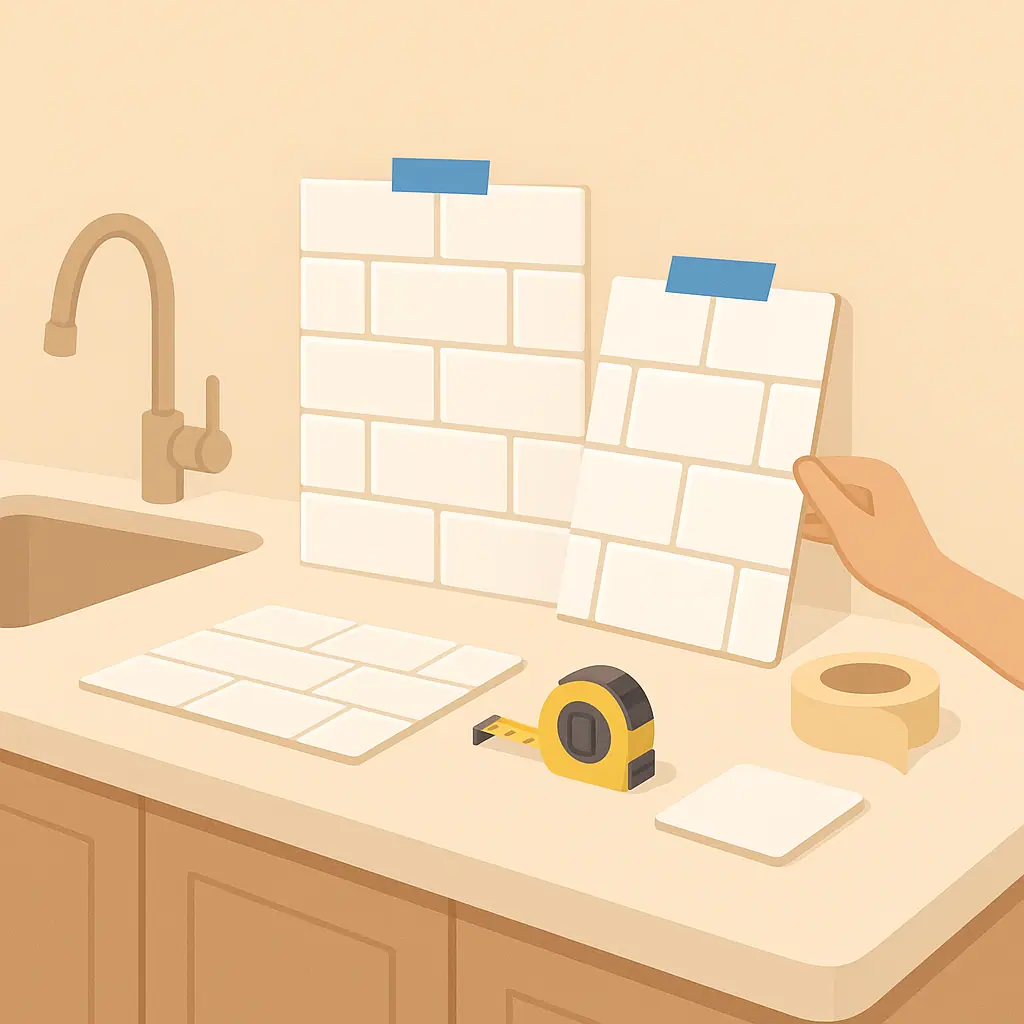
Step 4: Dry-fit the layout
Place several tiles without peeling the backing so you can see the pattern, cuts, and doorway edges. Avoid starting with a tiny sliver at the most visible wall. A careful layout looks more intentional and reduces rushed trimming.
Step 5: Install slowly and document
Peel backing gradually, press from the center outward, and keep seams tight without stretching the tile. Take before photos, save product instructions, and note the installation date. That record helps when you need to remove the tiles later.
Common Peel-and-Stick Surface Upgrade Mistakes to Avoid
The biggest mistake is treating peel-and-stick floor tiles like oversized stickers. Floors are active surfaces, so shortcuts become visible quickly.
- Skipping the lease check: even a removable project may count as an alteration if the lease says flooring cannot be changed.
- Covering damaged floors: adhesive tiles can trap existing problems instead of fixing them.
- Installing in high-moisture zones: repeated water near seams can make edges less predictable.
- Ignoring door clearance: thicker tiles can rub under doors, appliances, or transition strips.
- Forgetting removal: if you cannot picture how you will remove the tiles at move-out, the project is probably too large.
A Simple Checklist
Use this checklist before you install more than one test tile:
- Surface: smooth, stable, dry, and not peeling.
- Lease: no clear rule against temporary flooring changes.
- Moisture: no frequent standing water, leaks, or damp seams.
- Product: instructions reviewed for compatible surfaces and removal.
- Layout: dry-fit complete before adhesive is exposed.
- Move-out: photos and product details saved for later removal.
Pros and Cons
Fast visual improvement
Peel-and-stick floor tiles can make a dated small area feel cleaner without a traditional renovation.
Good for contained tests
A closet, laundry nook, or small entry area lets renters try the look without covering an entire apartment.
No drilling or permanent hardware
The project avoids anchors, screws, and tools that change walls or trim.
Removal can be uncertain
Adhesive behavior depends on the product, floor finish, time installed, heat, moisture, and cleaning habits.
Not ideal for every room
Large, wet, uneven, or high-traffic areas can turn a simple upgrade into a difficult move-out job.
When to Get Extra Help
Ask your landlord, property manager, or a local tenant resource before installing peel-and-stick floor tiles if the existing floor is expensive, newly installed, already damaged, or specifically mentioned in the lease. It is also worth asking before covering a bathroom, kitchen, or any area that a move-out inspector will examine closely.
Frequently Asked Questions
What should I check first before using peel-and-stick floor tiles?
Check the existing floor. It should be smooth, stable, clean, dry, and not already peeling, soft, or sticky.
How often should I review the tiles after installing them?
Check corners, seams, and doorway edges after the first day, first week, and then during normal cleaning.
What should I do if I am not sure my lease allows it?
Do not guess. Read the lease, ask the property manager, or look for local tenant guidance before changing a floor surface.
Can I undo peel-and-stick floor tiles later?
Often that is the goal, but clean removal is not guaranteed. Follow the product instructions, work slowly, and stop if the original floor begins to lift or react.
Final Thoughts
Peel-and-stick floor tiles for renters make the most sense in small, dry, smooth, low-risk areas where the lease allows temporary surface changes and removal feels realistic. They make less sense on fragile floors, wet rooms, uneven surfaces, or anywhere a deposit dispute would be costly.
Start with one test tile and one honest question: would you feel comfortable removing this at move-out? If the answer is yes after a careful test, the project may be worth expanding. If the answer is no, a reversible rug or freestanding solution may be the smarter renter-friendly upgrade.