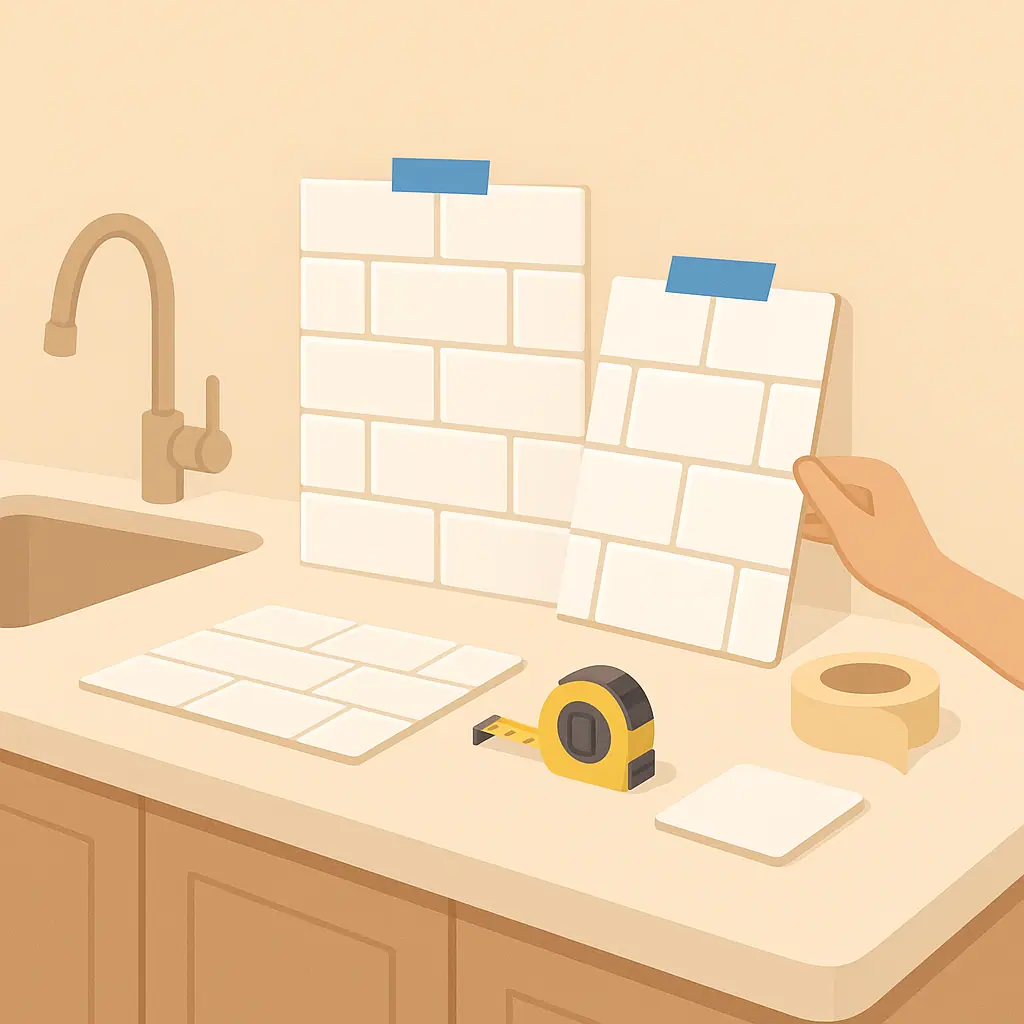
Utility knife safety for peel-and-stick projects matters because the easiest-looking cuts are often the ones beginners rush. Contact paper, peel-and-stick tile, removable backsplash panels, decals, and trim pieces all look simple until the material shifts, the blade drags, or the cut line runs too close to your hand.
For renters, a safe cut is not only about avoiding injury. It also protects the project. A cleaner edge means fewer wasted sheets, less tugging on sticky backing, and fewer last-minute fixes that can make a temporary upgrade look uneven or damage-prone.
Why Utility Knife Safety for Peel-and-Stick Projects Matters
Peel-and-stick work asks you to handle thin material, sticky backing, measuring marks, and sharp blades at the same time. That is a lot for a small apartment table or kitchen counter. The goal is to slow the job down enough that the knife only does one thing: make a controlled cut through the material.
Ohio State Environmental Health and Safety's box cutter safety guidance highlights several practical habits that also fit home projects: expose only enough blade to cut the material, cut away from the body, secure the material, keep hands away from the cutting path, and retract the blade when not in use.
Those ideas sound basic, but they are exactly where small peel-and-stick mistakes start. A blade extended too far can catch. A loose sheet can slide. A dull blade can make you press harder than you should.
Start With a Beginner Tool Setup
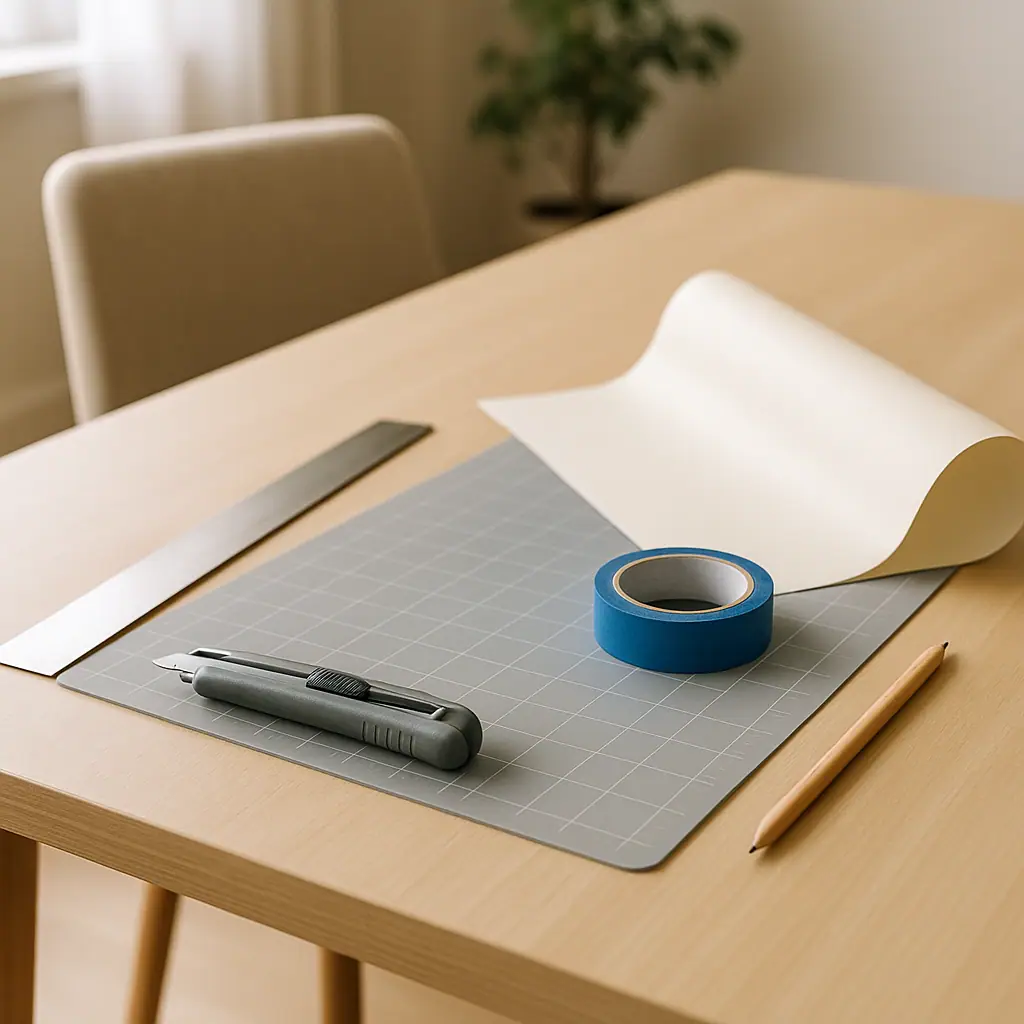
You do not need a professional kit, but you do need a safe cutting setup. Before opening a blade, gather the few things that make the work calmer: a cutting mat or scrap board, a metal straightedge, painter's tape, a pencil, good lighting, a trash container for backing paper, and a place to put used blades.
Choose the right cutting surface
Do not cut directly on a rental counter, floor, cabinet door, or dining table. Use a self-healing cutting mat when possible. If you do not own one, use a thick scrap board or another surface you are allowed to mark. Cardboard can help for very light trimming, but it can also flex, catch the blade, or hide uneven pressure.
Keep the work area boring
A safe cutting zone is not decorative. Move mugs, cords, packaging, loose backing paper, pets, and sleeves away from the path. If the project is happening on the floor, avoid kneeling in a way that puts your leg behind the blade line.
What to Check First for Utility Knife Safety
Before cutting a peel-and-stick product, confirm the product instructions, surface rules, and removal plan. Command's official product and how-to hub is a useful reminder that removable products can have specific surface, weight, use, and removal guidance depending on the item.
Even when you are cutting a separate peel-and-stick sheet rather than an adhesive hook, the same thinking applies: the product instructions matter. Some materials score cleanly in several light passes. Others tear, stretch, chip, or need scissors for small curves.
Check your lease and location
Utility knife safety also means knowing where the project belongs. A removable upgrade may still be a problem if the lease limits adhesives on painted walls, cabinet faces, floors, tile, or doors. USA.gov's housing help page points renters toward tenant-rights and housing resources, but your lease, property rules, and written permission are the practical source for your own rental.
If a cut piece will be placed on a surface you are unsure about, test a small hidden area first and choose the easiest-to-remove option. A clean cut does not make a risky surface lease-friendly.
How to Handle Utility Knife Safety Step by Step
Use this routine for contact paper, peel-and-stick backsplash sheets, removable tile, liner, decals, and other thin no-drill materials. The exact product may vary, so treat these as safe defaults, then follow the manufacturer's instructions where they are more specific.
Step 1: Inspect the knife
Check that the blade locks firmly, retracts smoothly, and is not rusty, chipped, loose, or dull. Yale Environmental Health and Safety's safe use of utility knives guidance recommends inspecting the tool, using the knife only as intended, keeping the cut path away from the body and other hand, and resting the workpiece on a firm stable surface.
Step 2: Extend only a small amount of blade
For thin peel-and-stick material, more exposed blade usually adds risk, not control. Extend just enough to cut through the sheet. If you need more blade because the material is thick, make several lighter passes instead of forcing one deep pass.
Step 3: Secure the material before cutting
Tape the material lightly, hold it with a straightedge, or use clamps when they make sense. Keep your fingers to the side of the straightedge, not ahead of the blade. If the sheet curls, flatten it before you start.
Step 4: Cut away from your body
Position the material so the blade moves away from you and away from your other hand. If that feels awkward, rotate the material or move yourself. Do not accept an unsafe angle just because the piece is already lined up.
Step 5: Use light passes
Score the line first, then repeat if needed. Light passes are easier to control than one hard cut. If the blade drags, stop and check whether the blade is dull, the surface is soft, or the material is shifting.
Step 6: Retract and store the blade immediately
When the cut is finished, retract the blade before you smooth the adhesive, peel backing, move scraps, or answer a phone. Used blades should go into a rigid container or appropriate sharps disposal method, not loose in a trash bag where someone can press against them later.
Common Beginner Tool Kit Mistakes to Avoid
The biggest mistake is treating the utility knife like a quick opener instead of a cutting tool. Peel-and-stick projects often happen during a room refresh, so it is tempting to cut on the nearest surface and keep moving. That shortcut can damage the rental, waste material, or put your hand in the wrong place.
- Cutting on the final surface: trim on a mat or scrap board before installation whenever possible.
- Using a dull blade: dull blades need more pressure, which makes slips more likely.
- Holding the material in the cutting path: fingers should never sit ahead of where the blade will travel.
- Skipping the straightedge: freehand cuts are harder to control on long peel-and-stick pieces.
- Leaving the blade open: retract it before setting the knife down, changing tasks, or smoothing adhesive.
Pros and Cons
Cleaner project edges
A safer cutting setup usually creates straighter lines, fewer torn corners, and less material waste.
Better control for beginners
Light passes, a straightedge, and a stable surface make the knife easier to manage without needing advanced DIY skills.
Less rental risk
Cutting away from the final surface helps protect counters, floors, cabinet fronts, and walls from accidental scores.
Takes more setup time
A cutting mat, straightedge, and clear workspace add a few minutes before the visible project begins.
Still requires judgment
Some materials, surfaces, and lease situations are not solved by a clean cut. The product and rental rules still matter.
A Simple Checklist
Before you cut, run through this short utility knife safety checklist:
- Knife: does the blade lock, retract, and cut cleanly without wobbling?
- Blade exposure: is only enough blade showing to cut the material?
- Surface: are you cutting on a mat, scrap board, or allowed work surface?
- Direction: will the blade move away from your body and your other hand?
- Straightedge: is the guide stable, with fingers outside the cutting path?
- Product rules: have you checked the manufacturer's instructions before trimming or applying?
- Lease rules: is the final placement allowed on that surface?
When to Get Extra Help
Get help if the material is thick, brittle, expensive, oversized, or hard to replace. Also pause if you need to cut near plumbing fixtures, electrical outlets, appliance panels, glass, stone, or a surface you cannot afford to mark.
For some projects, scissors, a rotary cutter, pre-cut panels, or a freestanding alternative may be safer than a utility knife. The best no-drill choice is the one that gives you control during installation and a realistic removal path later.
Frequently Asked Questions
What should I check first before using a utility knife?
Check the knife itself. The blade should be sharp, stable, and able to retract. Then check that your material is on a firm surface and that your cut will move away from your body.
How often should I replace the blade?
Replace it when it drags, tears material, needs extra pressure, shows rust, or feels loose. A fresh blade used lightly is usually easier to control than a dull blade forced through a sheet.
What should I do if I am not sure the product can be cut?
Read the product instructions first and test on an offcut if you have one. If the material chips, stretches, or cracks, stop before cutting a visible piece.
Can I undo a bad peel-and-stick cut later?
Sometimes, but not always neatly. Small gaps may be hidden with careful placement, but jagged edges, overcuts, or damaged surfaces are harder to fix. Measure twice and cut slowly.
Final Thoughts
Utility knife safety for peel-and-stick projects is mostly about setup. Use a stable surface, expose less blade, cut away from your body, keep fingers out of the path, and retract the knife as soon as the cut is done.
That slower routine helps the finished project look cleaner and keeps the rental safer. Before the next peel-and-stick upgrade, prepare the cutting zone first. The blade should be the last thing you open, not the first thing you reach for.